
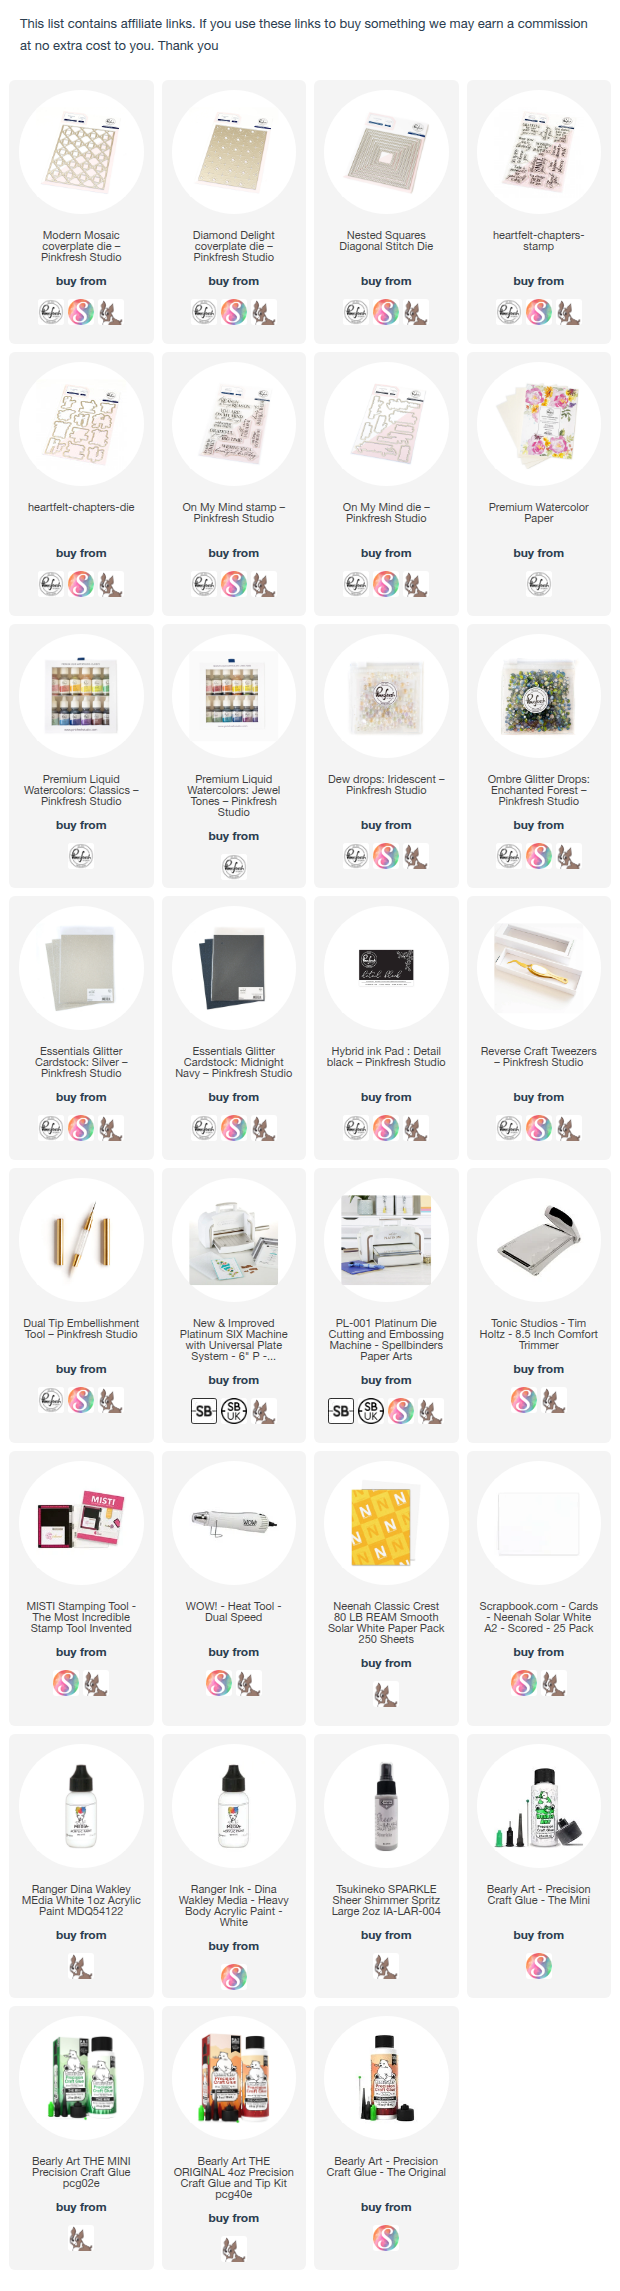
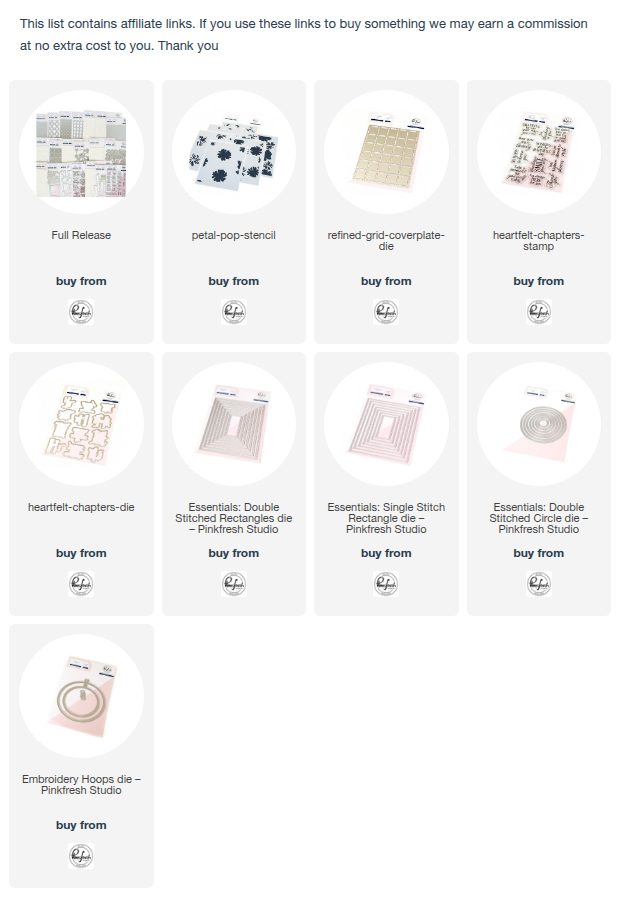
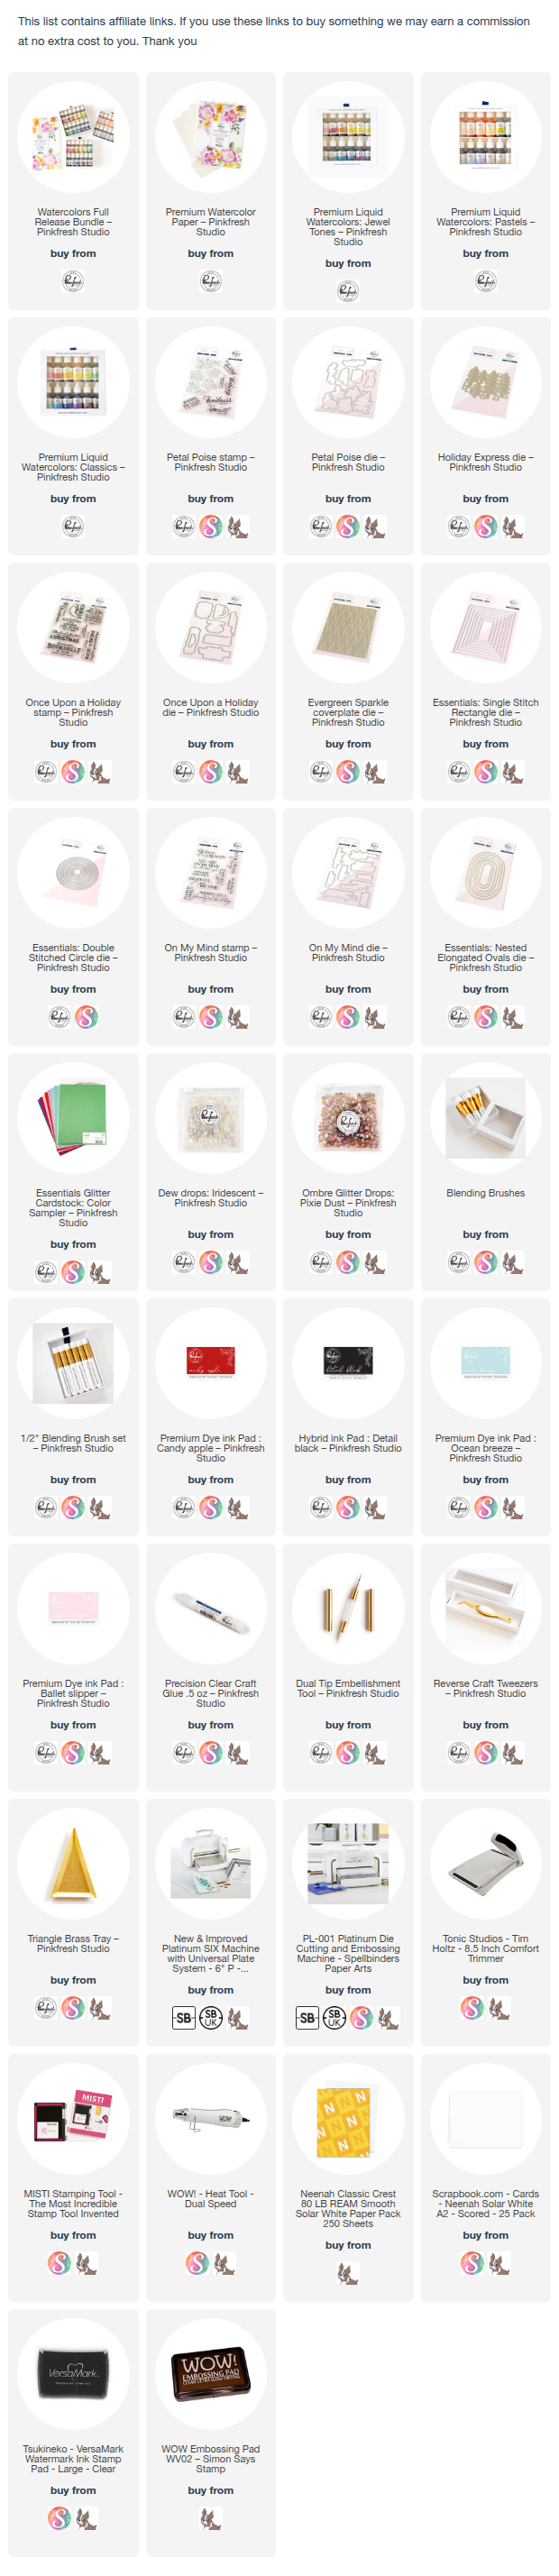
Hi crafty friends! Today I’m sharing two easy cards made using cover plate dies and watercolor backgrounds — a simple combination that creates a lot of visual impact with very few supplies. I used the products by Pinkfresh Studio.
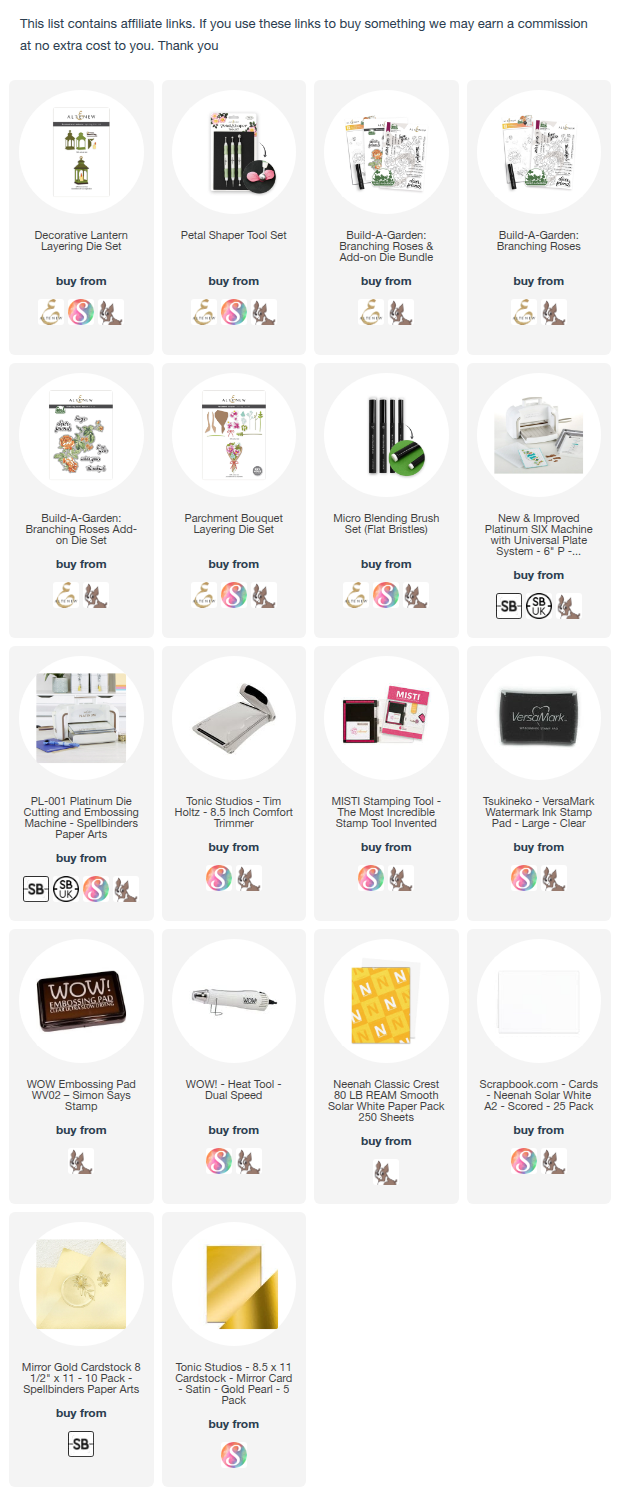
All the supplies I used are in the description box below and I really appreciate you using my affiliate links. Thank you so much

I painted loose watercolor panels first, then layered white geometric cover plates on top for a clean, modern look. By changing just the colors and layout, you can get completely different results, from bold and dramatic to soft and cheerful. These designs are perfect when you want something striking but still quick to make.
Card 1: Galaxy Mosaic Birthday (Diagonal Design)
This first card has a bold, dramatic watercolor look with a diagonal mosaic pattern and a clean white center. I love the mysterious galaxies so simply went for it.

Step-by-Step
- Create the watercolor background. On watercolor paper, paint a loose “galaxy wash” using deep shades (blue, pink, yellow a little black).
- Let it blend naturally and dry completely.
- Add shimmer spray.
- Flick watered-down white paint or white watercolor over the panel for a starry effect. and let it dry.

- Die-cut the cover plate (Modern Mosaic) from white cardstock. I love the details and clean cut.
- Adhere to the galaxy background.
- Cut diagonal pieces
- Assemble the card
- Stamp and die-cut your sentiment (I used a birthday greeting) from the On My Mind stamps and dies. offset with navy glitter card.

- Pop it up with foam tape in the center strip.
- To finish, add a few glitter ombre drops in Enchanted Forest, near the sentiment for balance.
Quick Tip: If your watercolor is very dark, use slightly more white splatter—it helps the background feel “alive” and not flat.
Card 2: Pastel Mosaic + Diamond Sentiment
This second card is softer and brighter, using pastel watercolor blocks under the cover plate, plus a vellum diamond for the greeting.

Step-by-Step
- Create a pastel watercolor panel by painting a simple wash in sections using light shades (aqua, turquoise, lavender).
- Keep it soft. Let dry completely.
- Die-cut a white panel using the Modern Mosaic coverplate die.
- I left the centre square pieces inside.

- Cut the watercolor panel with Diamond Delight coverplate. This gives a beautiful detailed look.
- Layer the white panel over the watercolor cut panel.
- Adhere the watercolor panel to a silver glitter cardstock and then adhere this whole panel to a white card base.
- This adds shine without clutter.
- Die-cut a vellum diamond using the Nested Squares Diagonal stitched die.
- Stamp and die-cut the sentiment from the Heartfelt Wishes stamp and dies, offset with silver glitter card, then adhere it to the vellum.

- Adhere the vellum diamond with foam tape in the centre.
- To finish, add a few iridescent droplets around the sentiment.
If you try either version, I’d love to know: Do you prefer the bold galaxy look or the soft pastel one? Thank you for dropping by and have a nice day!


.jpg)


.jpg)