Showing posts with label Altenew. Show all posts

Thursday, January 29, 2026

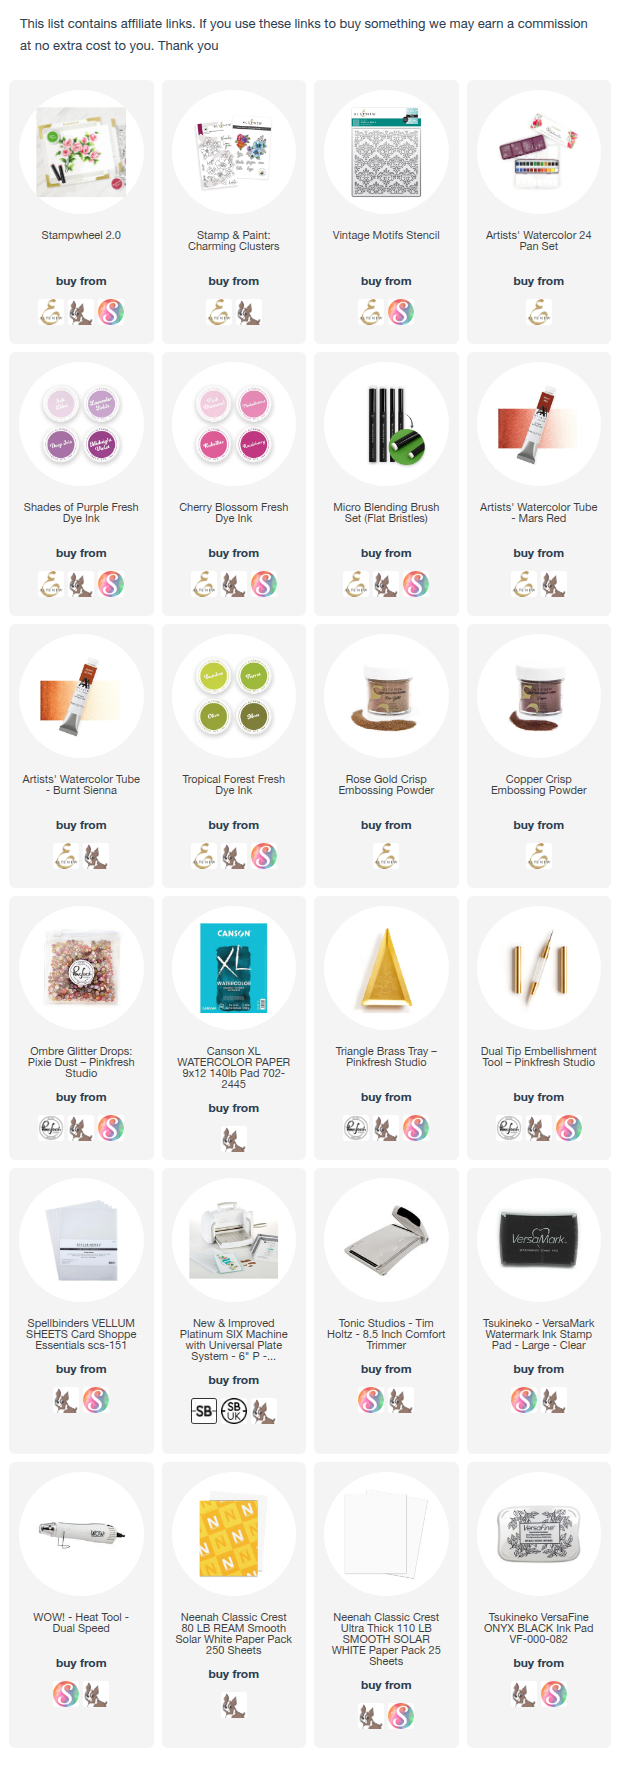
Altenew- Easy Mixed Media for Cardmakers: Slimline Floral Card

Hello everyone! I had created this card for my post as Altenew Ambassador but I got covid and couldn't post it. For this card, I wanted to combine soft mixed-media texture with bright, cheerful florals. This slimline design uses gentle ink blending, subtle texture in the background, and layered die-cut flowers to create lots of dimension without complicated steps. It’s a great project if you love colorful cards but still want something relaxing and easy to make.

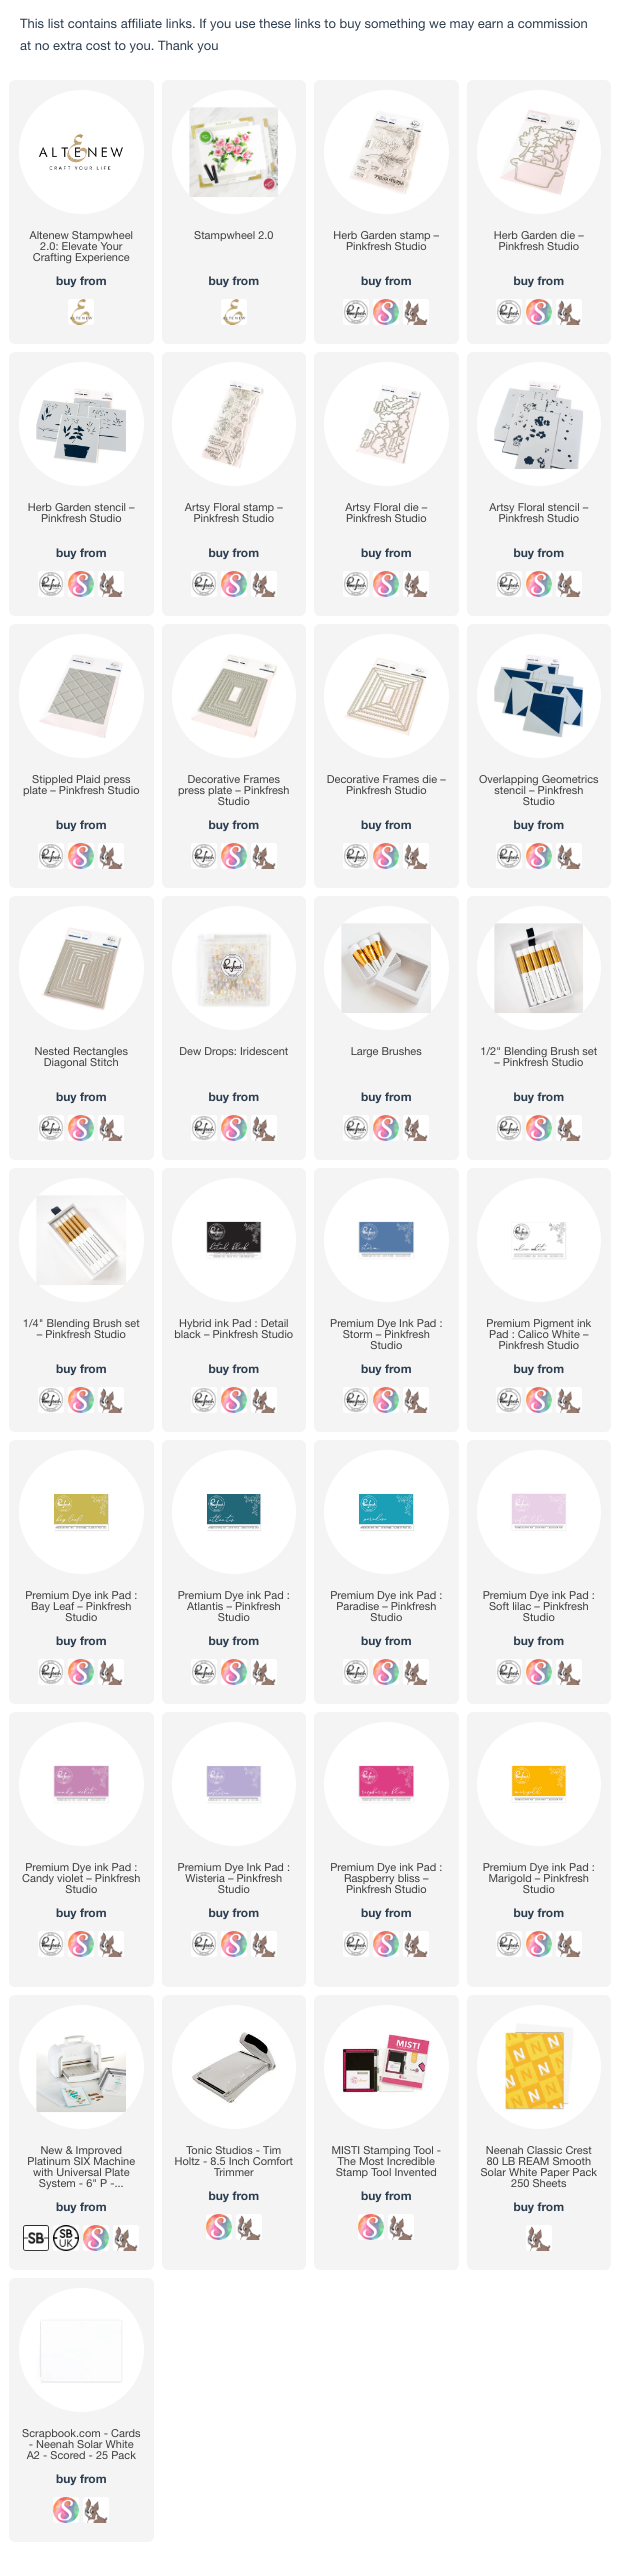
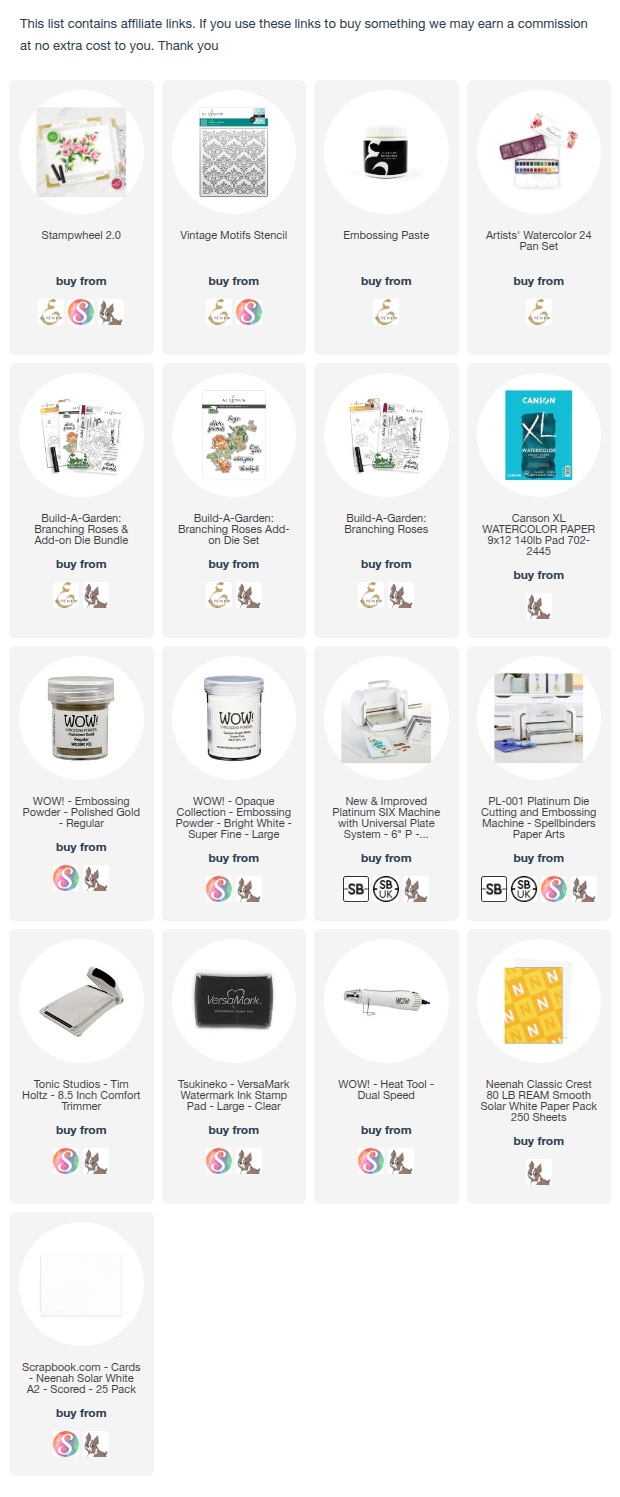
All the supplies are listed below.

  • Cut and fold a slimline card base (approx. 3.5" × 8.5").
  • Trim a watercolor panel slightly smaller than the card front and set it aside for the background.
  • Apply light watercolor wash using pastel shades (soft blue, yellow, and pink) over the panel.
  • Let the panel dry completely.
  • Use the Vintage Motifs stencil and apply texture paste lightly in a few areas.
  • Stamp and Color the Floral Images using stencils.
  • Die-cut  the image
  • Arrange flowers onto the panel to guide the eye from top to bottom.
  • Use foam tape behind some flowers 
  • Tuck smaller flowers and leaves behind the main blooms for a natural layered look.
  • Add Sentiment
  • Adhere the finished panel to the slimline card base.
Thank you for dropping by and have a nice day!
Monday, December 15, 2025

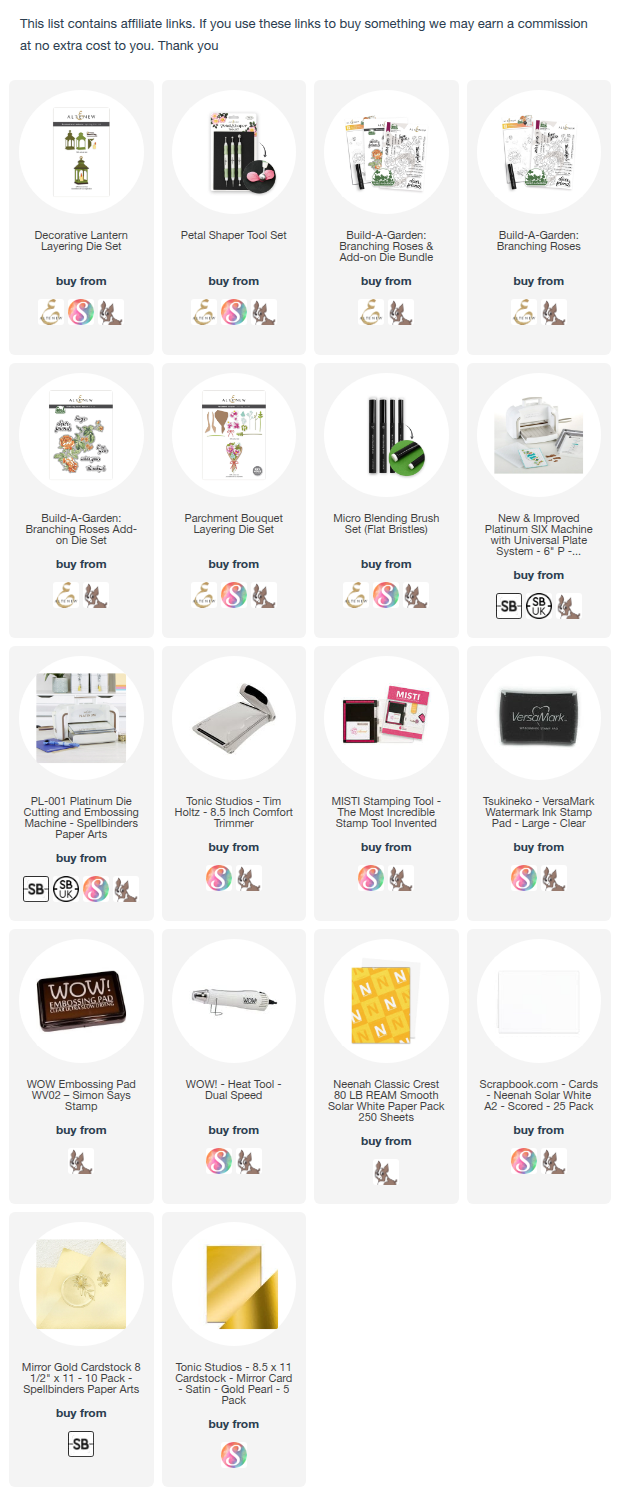
• Cardmaking with a Glow + Altenew Giveaway

Hello everyone!
I’m excited to share a card today featuring Altenew’s products

There’s something so comforting about cards that include light—lanterns, candles, and soft glows, which always feel warm and meaningful. Today I’m sharing this delicate lantern card,, along with a small giveaway to celebrate!


For this card, I used the Decorative Lantern Layering Die Set as the focal point. I love how the layered pieces add instant dimension, especially when paired with soft ink blending and nature-inspired details. The leafy branch frames the lantern beautifully and helps draw the eye toward the center of the card. The new Petal shaper tool helps shape the petals with ease.


The lantern was die-cut from cardstock and softly ink-blended to give it depth while keeping the look light and airy. I added a subtle glow behind it using pale watercolor wash and a few ink splatters for texture. The layered leaves and tiny flowers bring in a gentle pop of color without overpowering the design.

A simple sentiment finished the card—perfect for sending encouragement, love, or just a thoughtful note.
Full Supply list is listed below

To celebrate today, get a chance to win a $20 gift card to Altenew on my Instagram Account! Just follow these easy steps for a chance to win:

1. FOLLOW @ishaguptadesigns and @altenewllc

2. LIKE the post on Instagram

3. COMMENT on the post on Instagram

Winners will be announced on this post on 22nd December 2025
Thank you for dropping by and have a wonderful day!

Thursday, November 27, 2025

“One Stamp, Two Stunning Cards | Altenew Vellum Embossing & Watercolor Backgrounds”

 Hello crafty friends! Today I’m sharing a fun creative journey that started with a single idea… and ended up becoming two very different cards. I’m thrilled to inspire/create with you as an Altenew Ambassador for a couple of months :)


Before we start, there are black Friday offers going on and also the free US shipping and a discount for internationals (No code needed). Here is the link, if you want to take up on the offer and get your favourite products. I have added the full supply list below too. I would really appreciate it. Thank you :)


I have a process video for these cards and a 20$ giveaway on my YouTube channel 


For these cards, I used the Charming Clusters stamp and die set (already on sale, if you want) from the November release. The coordinating dies include two floral clusters and six sentiment words, making it a wonderfully flexible set. I also incorporated the Vintage Motifs stencil for added texture.

The first card features a soft watercolor wash paired with delicate rose-gold heat embossing on vellum, distressed gold edges, and layered die-cuts. The look is elegant, airy, and beautifully detailed.


The second card uses the floral cluster embossed in copper, with ink-blended color on the back of the vellum, a soft pink watercolor wash, and stenciled texture in the background. This combination creates a brighter, more contemporary feel.


Both designs use the same stamp set — but the techniques completely change the final look. I love how versatile this set is, and I hope these ideas inspire you to try vellum embossing, watercolor washes, and layered die-cutting in your own projects.

I hope you got inspired. Which card do you like more? Let me know — I’d love to hear!


A process video and giveaway on my YouTube channel

Thanks for stopping by, and happy crafting!

Wednesday, November 12, 2025

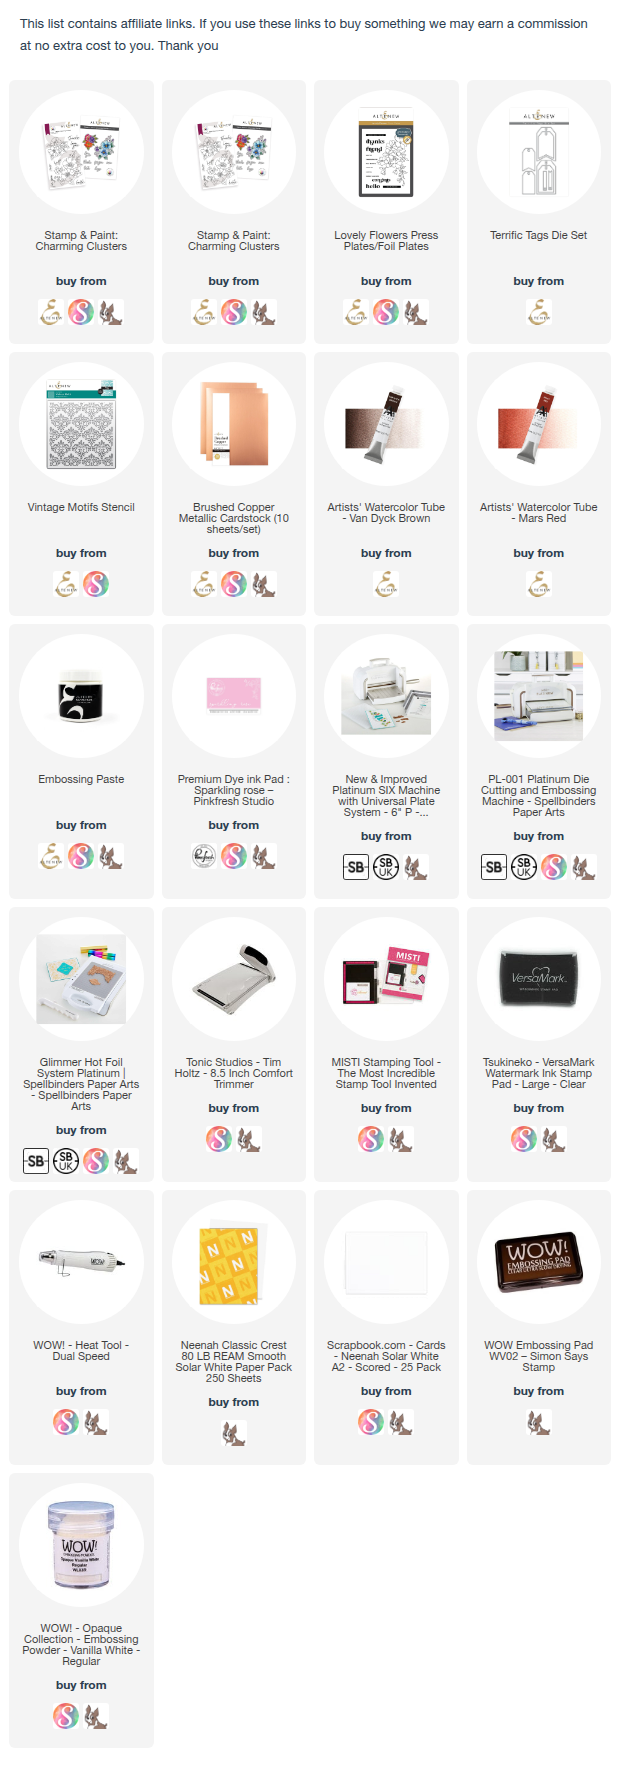
Altenew “For You” and “Hello” Cards – Two Looks, Same Products with few Techniques

Hi everyone!
I’m excited to share a pair of floral cards today featuring Altenew’s products — and a fun twist on how one design can look completely different with just a change in technique and color palette.


Both cards use the same floral press plate and tag die, but one celebrates soft and delicate watercolor vibrance, while the other embraces elegant simplicity and clean lines. Let’s dive in!

I have listed the products below :)

 Card 1: Watercolored Tags – Bright & Playful


For this card, I used the letterpress system with the press plate onto watercolor paper. Die-cut two tags out of it. Then, I watercolored the flowers using Altenew’s Artists’ Watercolor, mixing pinks, reds and corals for a natural petal variation.


I added embossing paste through the Vintage Motifs stencil in the background.and the two tags are slightly offset for a dimensional layered look.

I finished with a sentiment from Build-A-Garden: For You, some black twine, and a few sequins for sparkle. 

Card 2: Sleek & Minimalist Tag Design


This card shows how elegant simplicity can be! I used glimmer hot foil machine to foil on the Brushed Copper cardstock.


Then, I die-cut the tag on a black card layer for contrast and added a bold white-embossed sentiment, “hello,” to tie everything together.

A few black enamel dots add just the right touch of texture and sophistication.

Final Thoughts
I love how these two cards showcase the versatility of  the same products — from soft watercolor feel to modern graphic minimalism.
Sometimes, all you need is a shift in technique, color and finish to create a whole new mood.

Which one speaks to your style — soft and colorful or clean and elegant? I’d love to know in the comments!

Discount Code: 

To celebrate today, I have an Exclusive Discount Code for my followers!

Code name: ISHAFREE

Duration: From November 12th - 19th. at 11:59 pm EDT

Offer: FREE Crafter's Essential Micro-Tip Tweezers ($8.99 value) on every order over $79

Instructions: Add the Crafter's Essential Micro-Tip Tweezers to your cart and use the code ISHAFREE at checkout to get it for free.

Link to Use: https://altenew.com/discount/ISHAFREE?sca_ref=6333953.TchYT5DdF6q (Note: This link is integrated with the code)

Thank you for dropping by and have a wonderful day!

Thursday, September 18, 2025

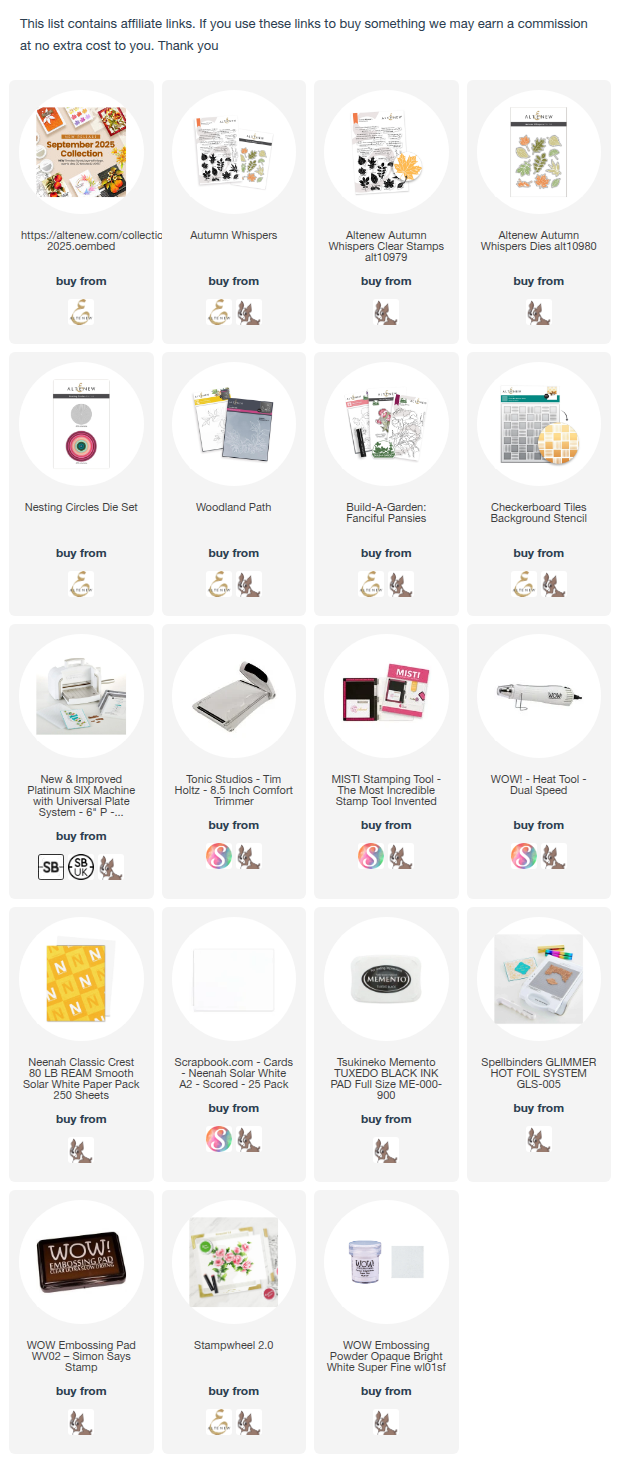
Altenew September Release Blog Hop + Giveaway + 4 Cards to Brighten Your Day

Hello, crafty friends! I’m excited to join Altenew September Release blog hop today! There are lots of wonderful products for a variety of style. Each one has its own vibe — from bold and graphic, to soft and painterly. Let’s dive in! I used a few of them here.


You can check out the entire release HERE

Card 1: Sending Love and Sunshine


For the first card, I started with the Checkerboard Tiles stencil to create a cheerful pink-to-yellow ink-blended background. Doesn’t it just scream sunshine? I paired it with bold black foliage from the Autumn Whispers stamp and die set. The contrast makes the leaves pop right off the card! A little gold thread adds a finishing touch.

  1. Mask the white panel on a flat surface. 

  2. Ink blend lightly starting with a yellow and fading to pink at the bottom to create a smooth ombré

  3. Position the checkerboard stencil. Start with the lightest ink (yellow) at the top and finish with the pink at the bottom.

  4. Remove stencil, set panel aside. 

  5. Stamp foliage in black onto white cardstock; die-cut. For crisp blacks use a pigment or crisp dye ink.

  6. Arrange leaves on the lower right of the blended panel. Adhere some pieces flat and lift others with foam tape for dimension.

  7. Tie a small gold thread bow and attach near the stems. Add the sentiment top-left with foam tape.

Question for you: Do you love bright backgrounds with bold accents, or do you usually go tone-on-tone?

Card 2: Wishing You a Day Full of Smiles


This card is all about the gorgeous Fanciful Pansies stamp, dies and the coordinating stencil.


  1. Die-cut all the images.

  2. Adhere the flower on foam tape slightly over the panel edge for a modern look. Add the sentiment die/strip at the lower right. Cut the vellum panel and add behind the main floral image.

Card 3: Woodland Magic

I played with the Woodland Path set. Look at those mushrooms! I love how the teal and orange combo creates a whimsical, storybook feel. A soft ink-blended background and gold splatters ties it all together.


  1. Emboss the mushroom cluster using the 3D embossing folder onto white cardstock. Use a detail ink for clean edges.

  2. Add base colors with ink blending: teal for accent leaves, warm orange for mushroom caps, golden browns for stems. Use layered blending: light color → darker in shadow areas.

  3. Add depth with a small detail brush or marker — deepen shadows where elements overlap.

  4. Trim or die-cut the cluster as needed. Lightly blend a soft horizon or background color on your panel (pale aqua) so the scene doesn’t float on stark white.

  5. Adhere the scene to the panel with a mix of flat glue and foam tape for dimension. Add sentiment above center. Finish with gold splatters or a touch of clear shimmer on mushrooms.

Tell me: Do you enjoy using unexpected colors for nature scenes, or do you prefer staying realistic?

Finally for my fourth and last card

I used the Autumn Whispers stamps and dies, Checkerboard Tiles stencil and the Nesting Circles die set


  1. Dry emboss a white panel using the stencil. 

  2. Sponge a touch of pink and turquoise ink to the cardbase.

  3. Stamp the leaf image using various ink colors. Die.cut them.

  4. Die-cut a circle from the embossed panel. Die-cut a gold frame using two of the smaller dies. Adhere the panel to the card using 3d foam. Adhere the circle using liquid adhesive and the frame using 3d foam. 

  5. Assemble the leaves on a semi wreath format.

💛 That’s all four for today! Each card shows a different side of Altenew’s versatility — playful, elegant, and magical.

Which of these four is YOUR favorite style? I’d love to hear in the comments!

Giveaway info:
$300 in total prizes! To celebrate this release, Altenew is giving away a $100 gift certificate to 1 lucky winner and a $50 gift certificate to 4 winners! Please leave a comment on the Altenew Blog and each designer’s blog post on the blog hop list below by September 24th for a chance to win. Altenew will draw 5 random winners from the comments left on each stop of this blog hop and announce the winners on the Altenew's Blog Hop Post on September 26th, 2025.

The winner of the $100 gift certificate will be chosen from comments left on the Altenew blog.

You can check out the entire release HEREYou are invited to the Inlinkz link party!

Tuesday, January 21, 2025

Altenew x Pinkfresh Studio Stampwheel 2.0 Collaboration

Hello, crafty friends! I’m excited to join a fun collaboration between altenew and pinkfreshstudio  with a Instagram Hop today to celebrate the crafter’s must-have stamping tool, Stampwheel 2.0

The details of the prizes can be found on Instagram @ishaguptadesigns

I enjoyed using my pinkfresh products with this tool. It really makes crafting easier. I made two cards for today. 

I thought of sharing my cards here for the my blog followers.


 The stampwheel, really helps with how we position, re-stamp the same image, stencil etc. The wonderful feature of the Stampwheel 2.0 is that it's possible to remove one arm and that is really helpful if the cardstock or the stamp is bigger than usual.

I did make a video but could not edit it. I will try to finish it and post it here :)

I have added the supplies in the description box below. Enjoy more photos of the projects.


 Here is the 2nd. card. I kept most of the supplies and colors the same.


Monday, July 25, 2022

Altenew Celebrating Watercolors Blog Hop + Giveaway ($300 in Total Prizes!)

Hello and welcome to the Celebrating Watercolors blog hop by Altenew. I love this theme as you all know my love for coloring, especially watercolors.

You should have come here from Ishani Sai's blog


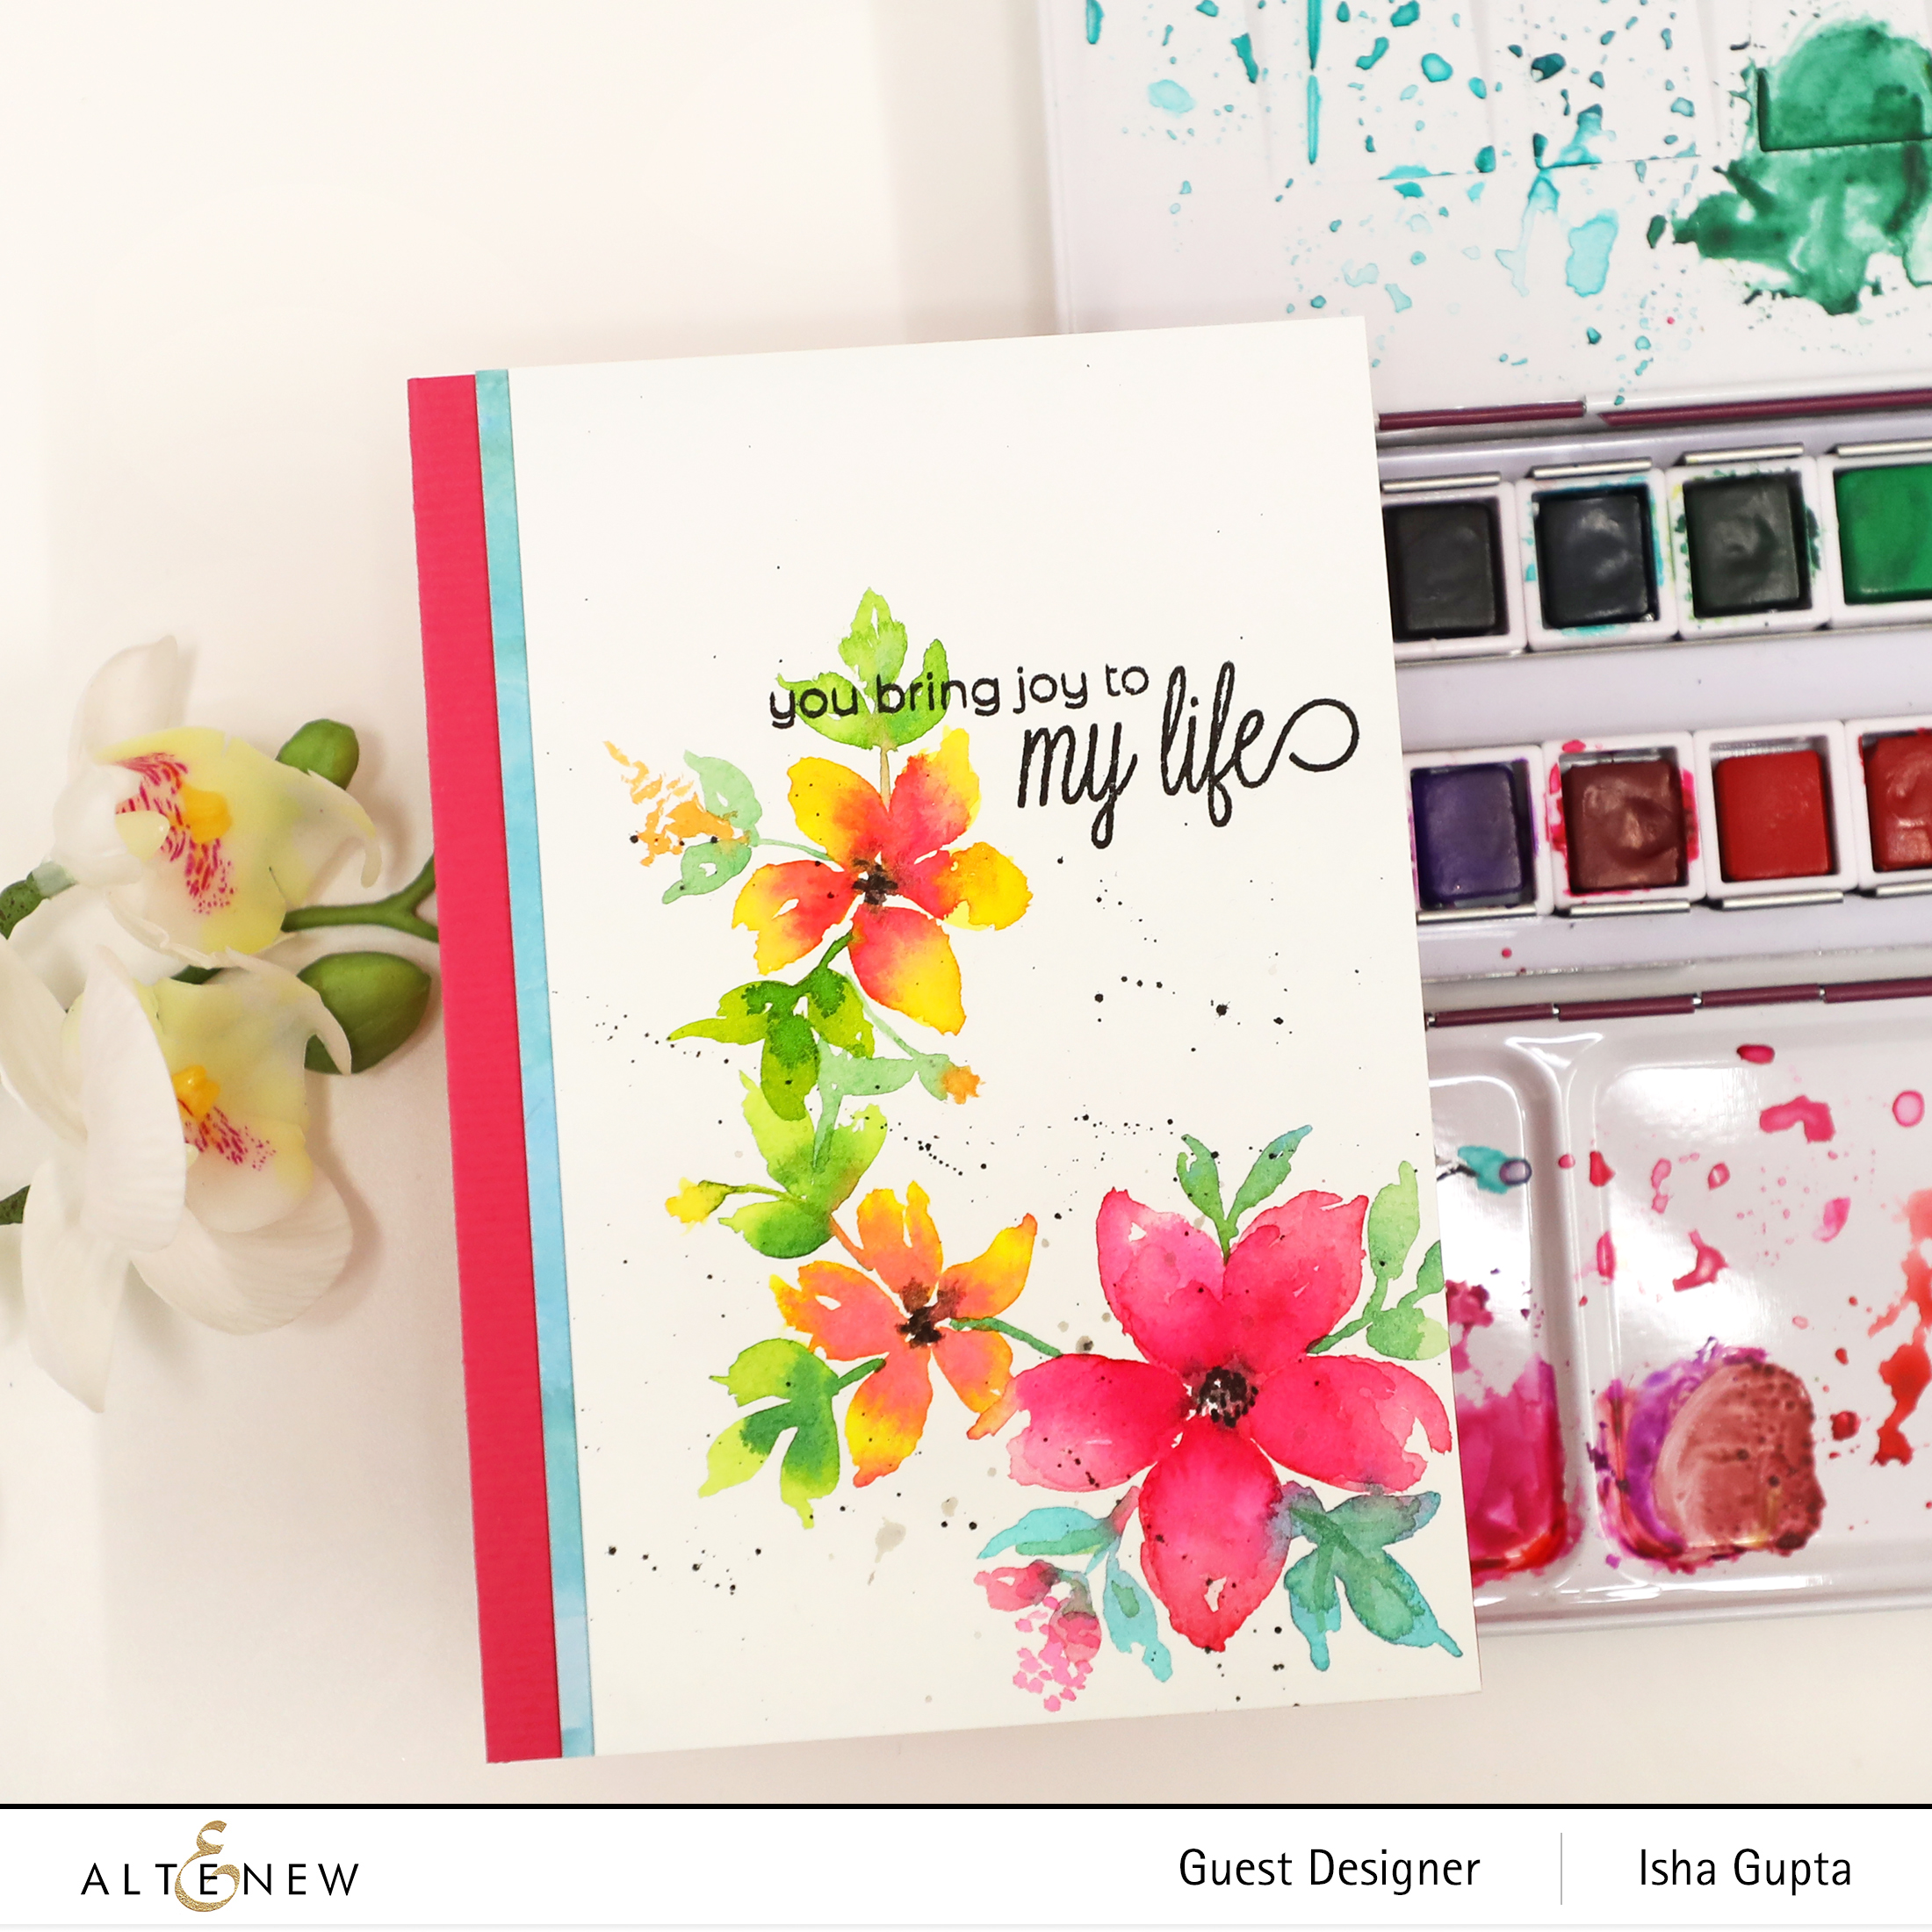
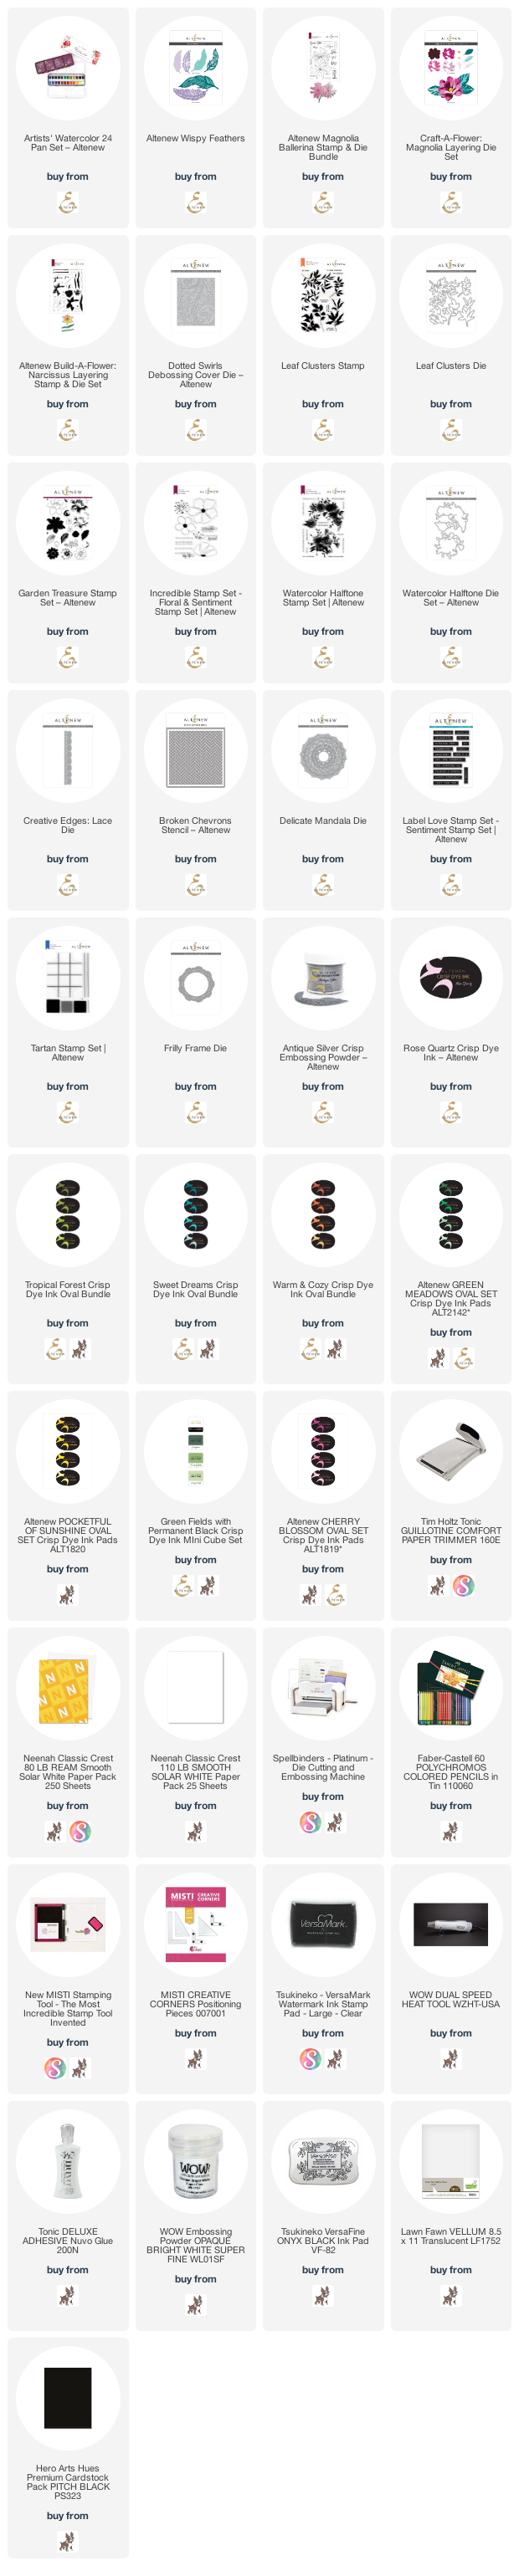
I've used Altenew Artists' watercolors 24 pan set for my projects and these are just so versatile and GORGEOUS.

For the first card I decided to use the pretty Whispy Feathers layered feathers dies along with the Artists watercolor, Tartan stamp, Label Love stamp and the Delicate Mandala die.


for this next card, I used the Magnolia Ballerina stamp and dies, I stamped the image onto watercolor paper using white embossing powder, added multiple colors from the Artists watercolor palette. Die-cut and adhere to a white cardbase.


card 3: I applied some distress oxide inks to the gelli plate, smoothen it using a brayer and took a print onto white cardstock. I then sponged Altenew crisp ink through the broken Cheverons Stencil. Deboss this panel using the Dotted Swirls Debossing cover die. Die-cut two pieces of the Lace die. Adhere to the panel. Die-cut all the elements of the Magnolia flower and leaves from watercolor paper. Add color using the Artists watercolor. Adhere to the card


I used the outline image of the Build-A-Flower Narcissus, stamped it with versamark ink and embossed using white embossing powder. Color using Artists watercolors. Stamp the leaf cluster using any light ink, color over it using the artists watercolor, die-cut and create the floral cluster.


for the next card, I was trying out the watercolors and simply painted some freehand florals and leaves onto Arches cold press watercolor paper. I used the sentiment from the Incredible stamp set.
Once the image was dry, I flicked some black splatters and stamped the sentiment. 


Since, I enjoyed the freehand watercoloring process, I made the next card a bit easier. I stamped the Watercolor Halftone floral cluster onto arches cold press watercolor paper panel using Altenew Rose
Quartz ink. Now I had a shape ready for me to play with the watercolors. I used the watercolors to color the image.
I stamped and embossed the sentiment from the Incredible stamp set using silver embossing powder.


For the last card, I went with no-line coloring technique. I love this technique in all the coloring mediums. First I created a background watercolor wash in muted colors. I then stamped the florals from the Garden Treasure stamp set and the leaves from the Leaf Clusters stamp set using Antique Linen distress ink onto Fabriano Artistico hot press watercolor paper.
I find this ink to be perfect for my kind of coloring. I colored in all the images and die-cut them. Once everything was ready, I simply created the cluster and adhered them to the mat layer.


Giveaway Prizes
$300 in total prizes! To celebrate this special blog hop, Altenew is giving away a $50 gift certificate to 2 lucky winners and a $25 gift certificate to 8 winners! Please leave a comment on the Altenew Card Blog and/or each designer’s blog post on the blog hop list below by 08/05/2022 for a chance to win. Altenew will draw 10 random winners from the comments left on each stop of this blog hop and announce the winners on the Altenew Winners Page on 08/09/2022.

The next stop on the hop is Tenia Nelson's blog