Showing posts with label Giveaway. Show all posts

Friday, June 14, 2019

Studio Katia 3rd Birthday Blog Hop and a GIVEAWAY!

Hello and welcome to Studio Katia 3rd Anniversary Blog Hop! We are celebrating with a Blog Hop and a New Release. This Release includes 5 new Clear Stamp Sets and 1 set of Coordinating Dies, 1 new Stand Alone Creative Die, 2 new Stencils and lots of new Embellishments!


You should have arrived from Svitlana Shayevich's blog and Emily Leiphart is your next stop. If you get lost you can find the full hop list below or visit Studio Katia Blog!

Today, I created this fun shaker card using the Shaker Balloon Die, It's Your Birthday stamp and Party Balloons Stencil. I also used the Speckled Sprinkles for the shaker.

I started by creating the background using the stencil, I masked them individually to create a multicolor balloons. It's so much fun and easy. I then stamped the confetti using Delicata Gold ink. I die-cut the balloon on the stenciled layer and adhere vellum behind it. I then adhered the die-cut balloon to the white cardbase. put some speckles and adhere the stenciled layer. I apply scor-tape around the balloon die-cut so that the shaker material doesn't spread everywhere.


Stamp and emboss the sentiment using white embossing powder. to finish adhere the bow. I colored the bow using the same Delicata gold ink we used for stamping.


BLOG HOP GIVEAWAY

To celebrate Studio Katia is giving away TWO $50 CAD Gift Certificates every day of the Blog Hop! Winners will be chosen randomly from comments left on Studio Katia Blog.

To enter:

- Leave a comment on Studio Katia blog post

- Follow Studio Katia on Instagram

- Like Studio Katia on Facebook

- Subscribe to Studio Katia YouTube Channel

All comments must be left by Saturday, June 22nd, 2019 21:59 PM EST. All winners will be announced on Sunday, June 23rd, 2019 on the Studio Katia Blog.


There is more....YAY!!! For this Blog Hop Katia kindly offered a $25 Gift Certificate to Studio Katia Store to give away for my followers. To win, follow me on Instagram and leave a comment on my today's post there. I will pick the winner on Instagram on the 22nd. June.

Ready to get hopping? Here’s the complete Blog Hop List:

Studio Katia
Ellen Hutson
May Sukyong Park
Heather Telford
Laura Bassen
Dana Gong
Vicky Papaioannou
Amy Rysavy
Tracy Freeman
Jessica Frost Ballas
Amanda Bodine
Svitlana Shayevich
Isha Gupta
Emily Leiphrt
Ilda Dias
Laurie Case

Enjoy hopping and have a great day!

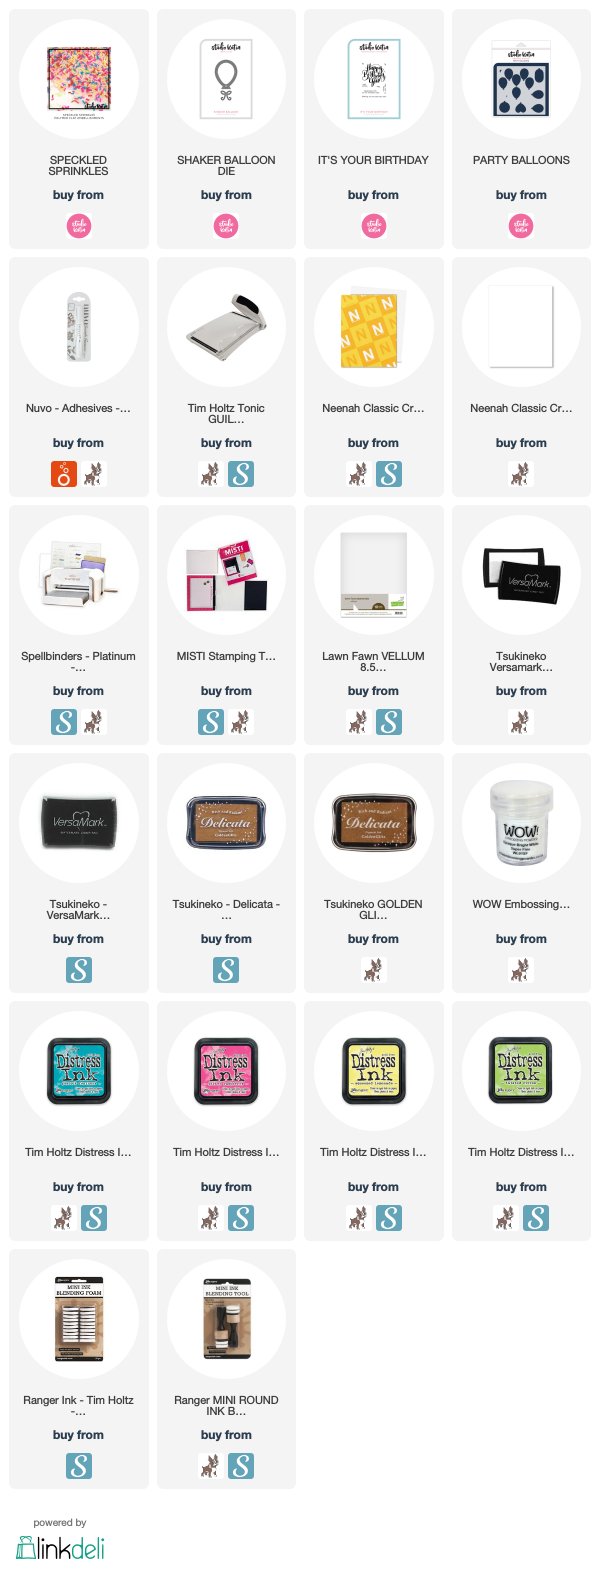
You can find links to the supplies I’ve used below; click on the picture or shop icon to get taken directly to the product. Where available I use compensated affiliate links which means if you make a purchase I receive a small commission at no extra cost to you. Thank you! I genuinely appreciate your support. 

Wednesday, June 12, 2019

Altenew {Video} June 2019 Stamp/Die/Stencil Release Blog Hop + Giveaway

Hello and welcome everyone! I am super delighted and honored to be a part of the June 2019 Stamp/Die/Stencil Release Blog Hop over at Altenew.

You are going to love the various products. Check out all the June Release products HERE
You should have come here from my talented friend Ilda Dias's blog if not start at the Altenew Blog so you won't miss anything!


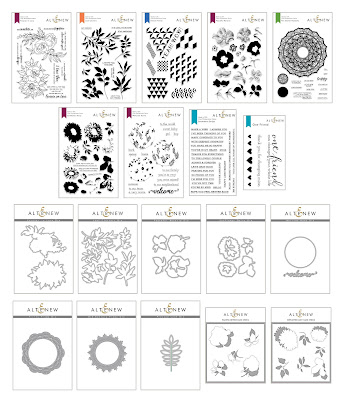
Here is the full release view, simply click on it to check on Altenew shop

https://shareasale.com/r.cfm?b=888816&u=1051809&m=66850&urllink=altenew%2Ecom%2Fproducts%2Fjune%2D2019%2Dfull%2Drelease%2Dbundle&afftrack=

Now this post is going to be a long one as I have 4 different projects for you along with a video tutorial on how to emboss using multi-color embossing powders and color using pigment powders, so grab your favorite drink, sit/ relax and enjoy :)

All the supplies I used are listed to the end of my post. 

For this card, I used the Pen Sketch Mandala stamp, Super Script stamp and die, Rose Gold, Platinum and Copper Embossing powders.  


Watch the video for the details. You can watch on YouTube HERE.


For the next card I used the Peaceful Reverie stamp and dies, Leaf Clusters stamp and dies along with the Frilly Frame Die from the new release.


I started by sponging some pink and orange inks to a piece of white cardstock and then stamp the 2nd. layer of the flower using versamark ink. Emboss using WOW! Opaque White embossing powder. I then stamp the flower center using StazOn black ink. Die-cut the flowers. I stamped the leaves using Sweet Leaf and Evergreen inks, die-cut them. I then stamped some more leaves for the must have Leaf Clusters stamp and die-cut them. I added some shading using Faber Castell Polychromos pencil colors.


Add some color to the background. Adhere the frame and build the floral cluster. To finish, I added some iridescent gems by Studio Katia.

For my 2nd. card, I did some tone on tone stamping, stamping the image using multiple ink colors and made a focal image. I used the Leaf Clusters stamp and dies, Sunflower Daisy Stamp, Frilly Frame die and A Walk in the Woods stamp.


I started by stamping the woodgrain stamp onto black cardbase using versamark ink for a tone on tone effect (You can see the texture in the close-up). I then die-cut the frilly die and applied some Wink of Stella clear sparkle pen to it. For the next step having a stamp position tool helps, I used the Misti. I stamp one of the leaf cluster using Aqualicious, Parrot, Maple Yellow, Orange Cream and Coral Bliss inks. Now stamp the image using versamark and emboss using clear embossing powder. Die-cut the leaf.


Assemble everything together.

My 3rd. card is a tall mixed media card. I used lots of stamp, dies, stencils for all the texture and depth. I used Sunflower Daisy Stamp and die, Leaf Clusters Stamp and Die, A Walk in the Wood Stamp, Broken Chevrons and Sketched Lines Stencils. I also used Pink Pearl, Coral Berry, Sweet Leaf, Evening Gray, Parrot and Moss inks, Altenew Embossing paste.


To start, I added a color wash using Squeezed Lemonade and Abandoned Coral distress inks. I then stamped the woodgrain to parts of the panel. I then sponged some ink through the chevron stencil in a few places. Finally, I applied embossing paste through the sketched lines stencil.
Stamp the 4th layer of the sunflower to the background. On another piece of white cardstock, stamp the images. I embossed the last layer of the layering stamps using Rose Gold embossing powder.


Die-cut the images and adhere to the mat layer. Emboss the edges of the layer and adhere it to the cardbase.

Prizes:

To celebrate this release, Altenew is giving away a $50 gift certificate to 6 lucky winners! Please leave a comment on the Altenew Card Blog and/or Altenew Scrapbook Blog by 6/18/2019 for a chance to win.

Altenew will also draw a winner to receive a $20 gift certificate from the comments left on each designer’s blog on the blog hop list below. All winners will be announced on the Altenew blogs on 6/22/2019.
Don't forget to comment on all the blogs in the hop for extra chance to win. Next stop on the hop is wonderful  Lydia Evans.

Here is the complete list of participants:
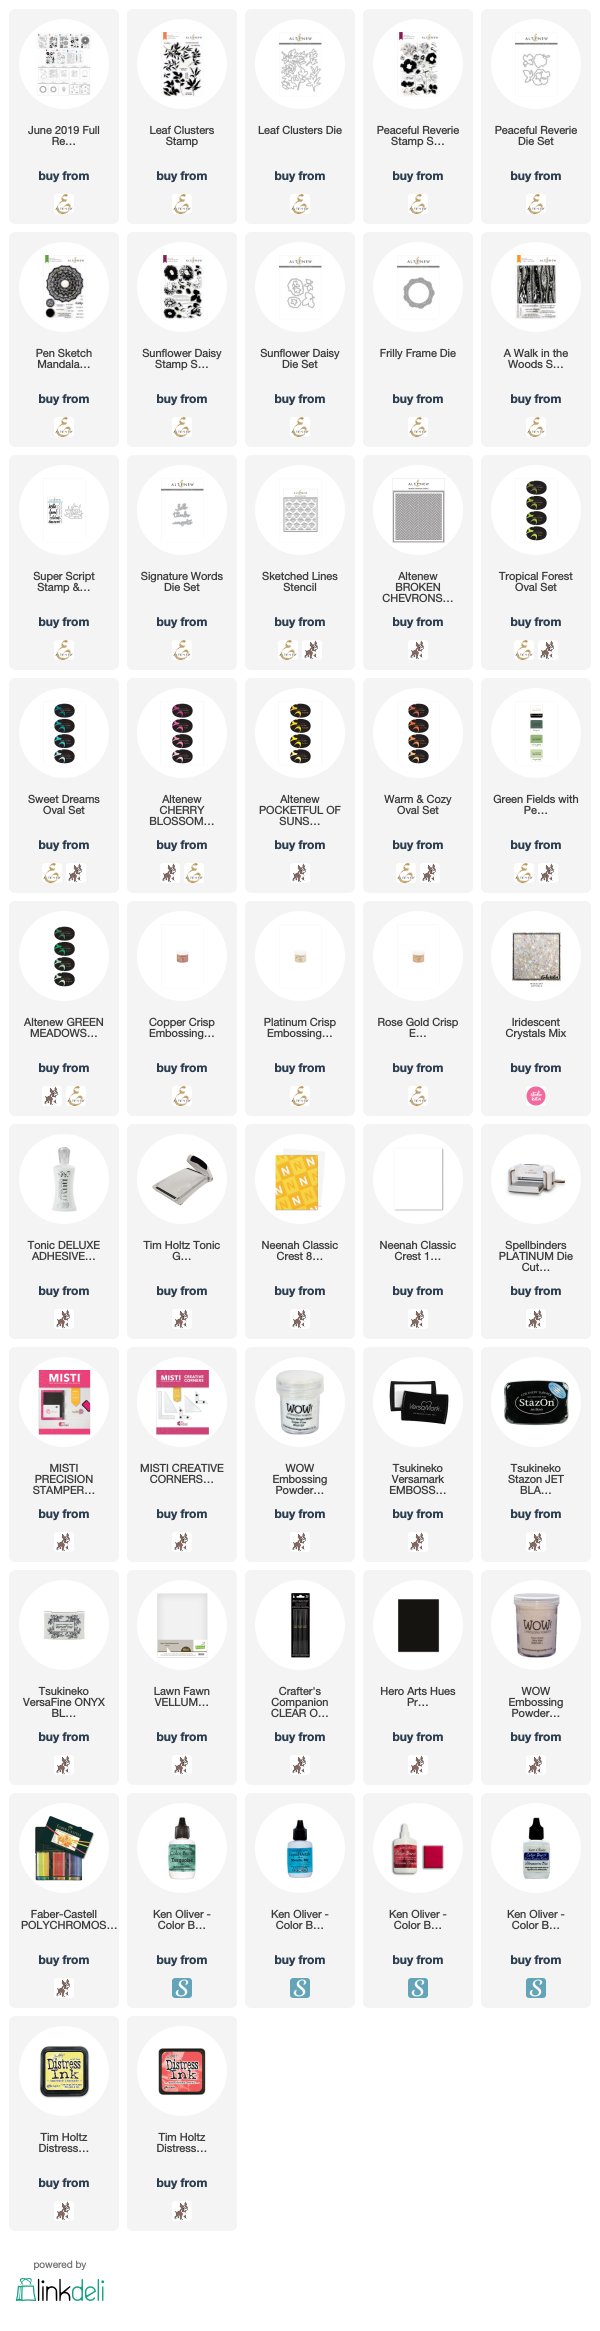
SUPPLIES
You can find links to the supplies I’ve used below; click on the picture or shop icon to get taken directly to the product. Where available I use compensated affiliate links which means if you make a purchase I receive a small commission at no extra cost to you. Thank you! I genuinely appreciate your support.
I have used Cosmo Cricket powders which are not available easily, so I have added the alternative Ken Oliver color burst powders in the list below.

Friday, May 31, 2019

Altenew: Hello

Hello Everyone! Today's post is part of an Altenew Hop on Instagram, so please check on there for the details and tons of prizes there.

Here is the card I created. I used a mix of new and old products. I used the Ombre Stripes stencil, Ombre Alpha and Ruffled Flowers stamp along with Ruffled Flowers die.


Don't forget to comment on the Instagram post! Have a nice day!

Tuesday, May 21, 2019

Altenew May 2019 Stencil Release Blog Hop + Giveaway

Hello and welcome everyone! I am super delighted and honored to be a part of the May 2019 Stencil Release Blog Hop over at Altenew.

You are going to love the various stencils with variety of styles. Check out all the May Stencil Release products HERE

You should have come here from the talented Lilith Eeckels blog if not start at the Altenew Blog so you won't miss anything!


Here is the full release view, simply click on it to check on Altenew shop.


Let's start the fun! I have 3 cards for you today!

For my first card I used the Illusion Spiral Stencil along with the Frosted Garden Stamp, Frosted Garden die and Signature Word Die. I sponged the panel using distress oxide inks and then embossed it using the stencil. I then sponged same ink colors through the stencil. Remove the stencil and flick some white paint mix. Stamp the image using versamark ink and emboss using WOW! Clear sparkle powder, die-cut using the coordinating dies. Die-cut the word thanks and emboss it using the WOW! Black magic embossing powder. It's such a pretty effect.


assemble everything together. Here is a close-up to see the sparkle and embossing effect using the stencil.


For my next card, I used the Deco Wonder Stencil and Mega Love Die. I simply sponged the panel using various distress inks. Apply Nuvo glimmer paste towards the top of the panel. Let this panel dry. I then die-cut the word "love". Make sure to keep all the negative pieces too. I stacked the word LOVE using 3 layers of die-cuts. Adhere the mat layer to the cardbase. Adhere the word to this layer, it fits like a puzzle. Adhere the negative pieces to the panel.


Here is a close-up to see all the subtle sparkle and the inlaid word :) Looks beautiful in real life.


For my last card I used the Floral Garden stencil and the Scripts Word Die along with the Dotted Swirls Debossing plate. I sponged the florals using pink and yellow ink. Now the special part of this stencil is that turn it 180° and then sponge the leaves. I then used copic markers and FaberCastell Polychromos to add some dimension to the panel. I then used the dotted swirl plate and debossed the panel. This gives a subtle texture to it. Die cut the word "HUGS" using white and black cardstock. Color using Copic markers to get the ombré effect. Apply shimmer pen to it and layer it with black die-cut slightly offset to get a shadow effect.


Here is a close-up to see all the texture.


Prizes:

To celebrate this release, Altenew is giving away a $30 gift certificate to 6 lucky winners! Please leave a comment on the Altenew Card Blog and/or Altenew Scrapbook Blog by 5/28/2019 for a chance to win.
Altenew will also draw a winner to receive a $15 gift certificate from the comments left on each designer’s blog on the blog hop list below. All winners will be announced on the Altenew Card Blog on 5/31/2019.

Your next stop on the hop is Kelly Janes
 Here is the full hop list if you missed a stop :)

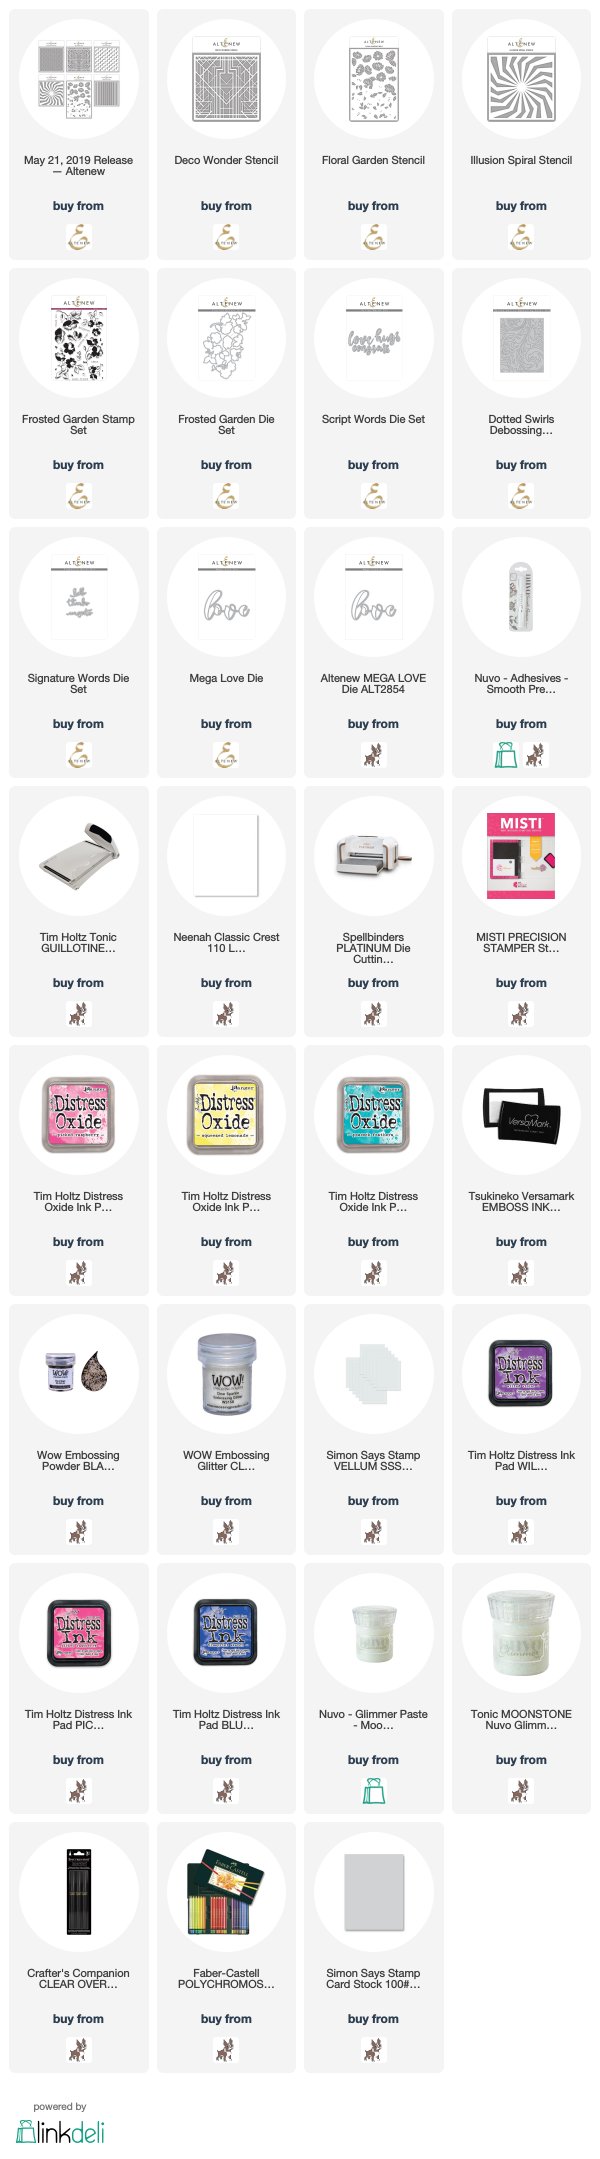
You can find links to the supplies I’ve used below; click on the picture or shop icon to get taken directly to the product. Where available I use compensated affiliate links which means if you make a purchase I receive a small commission at no extra cost to you. Thank you! 

Monday, February 11, 2019

Heffy Doodle Release 6 Blog Hop

Hello and welcome! I am so excited to celebrate our Heffy Doodle Release 6 blog hop. You are going to love this release as it has lots of awesome stamps, dies and stencils! 

You should've come here from the very talented Jessica's blog.  
It was so difficult to stop creating using the new products, I will be sharing a few of them in coming days. For today, I have a card and a couple of tags for you.

 For my card, I used the Big Bug Hugs clear stamp along with the Big Bug Hugs Dies, Grassy Lass Border, Imperial Stitched Rectangle and Swirly Cloud dies!


I started by creating the background wash using distress inks. I then stamped the images and colored them using Derwent inktense pencils. 


Now I fussy cut the images. 


I then die-cut the clouds and the grassy border. Sponged some distress inks to the grass and stamped the sentiment onto it. Finally assembled everything together.

The Tag Along dies along with the word dies made creating these Tags so easy and FUN!!!

For the first tag, I used the Tag Along dies, My Hero Word Dies, Bots of Love dies and Bots of Love Stamp.


I simply die-cut the base and the frame of the tag. Adhered a piece of acetate behind the frame. I then sponged some distress inks to the back piece and adhered the confetti stars.I then stamped the Robo image, colored it and die-cut it. I adhered it to the tag base. 


I then die-cut the word "My Hero", sponged some distress inks to it to create ombre effect and adhered it to the tag frame piece.

For the next tag, I simply added the word "FRIEND" to the frame and stamped the sentiment from the Whatcha Saying Now Stamp set.

 
It's a hop and there is a prize...YAY!!!!
A random winner will be selected for a £50 gift certificate to the Heffy Doodle store. To be eligible, leave comments across the entire blog hop by 11:59 PM EST on February 18th 2019. Winners will be announced on the Heffy Doodle Blog on 20th February 2019.

That's not all. there is a Promo going on - spend £30 to get Rescue Dogs stamps, spend £45 to get stamps and dies. 

Hope you enjoyed some awesome inspiration by the team! Thank you for stopping by. Have a wonderful crafty day!