Showing posts with label Betterpress Letterpress. Show all posts

Friday, August 8, 2025

Spellbinders: Handmade Winter Cards Using July Clubs

Hello crafty friends!! Today I’m sharing four cheerful winter card ideas that are easy to recreate using Spellbinders July Club Kits. 
Each card features die cuts, ink blending, and clean sentiments that make them perfect for seasonal greetings. Let’s look at how to make them!

Card 1 – Gingerbread Winter Hugs  using July BPOM and CLD club kits


How to Make It:

Die-cut the gingerbread shape.
Ink blend using Peony dye ink to create soft shading.
Use small dies to add details 
Emboss a piece of white cardstock using the Betterpress plate to create a textured background.
Assemble: Cut triangle shapes from the embossed panel. Adhere the embossed panels to your card base. Add the gingerbread man on foam tape.
Attach the sentiment strip across the bottom.
Tip: Ink blending around the edges adds dimension without needing extra layers.

Card 2 – Cozy Mitten Hugs using Large Die of the Month and GOM


How to Make It:
Die-cut the mitten pieces.
Lightly ink blend the mittens and cuffs for shading.
Create the background by foiling the glimmer plate using Speckled Prism Foil 
Blend soft pink ink over the background to highlight the pattern.
Adhere the background panel to the card base. Die-cut a circle and adhere the embossed panel from the betterpress plate. Add the mittens with foam tape.
Finish with your sentiment strip.

Tip: Use metallic foil to make the snowflakes stand out.

 Card 3 – Snowman Let It Snow using Glimmer of the Month


How to Make It:
Die-cut the snowman pieces and assemble them.
Create the background using a snowflake glimmer plate using silver Foil. Here I used the reverse foiling technique here. 
Lightly blend blue inks over the snowflakes to add color.
Attach the background panel to your card base.
Mount the snowman on a small circle die-cut from vellum.
Add your sentiment strip underneath.
Tip: Ink blending over foil creates a unique iridescent effect.

Card 4 - Penguin Season’s Greetings Card using Die of the Month

This card is sure to bring a smile with its cute penguin mug and festive colors. It’s perfect for sending warm wishes all winter long.


Die-cut the penguin mug parts from black, white, and orange cardstock. I also used glitter CS.
Assemble the penguin by gluing the pieces together. Add the scarf and tiny heart.
Die-cut candy canes and whipped cream and attach them to the top of the mug.
Emboss a white panel with a subtle pattern to create background texture.
Mask and lightly blend aqua ink in the center of the panel to create a soft diamond of color.
Layer everything on a red card base.
Glue the embossed panel.
Adhere the penguin with foam tape for dimension.
Add the sentiment at the bottom.

Tip
Try switching the scarf color to match your favorite holiday palette!

These cards show that you can combine basic die cuts, ink blending, and clean sentiments to create winter cards with lots of personality. No complicated techniques—just simple steps and a bit of color.

Which one is your favorite? Let me know, and happy crafting!
Thursday, March 27, 2025

Spellbinders - BPOM Club Kit

 Hello everyone! Today, I am sharing a card using the "Betterpress of the Month " from the March 2025 Club Kits of the month from Spellbinders.

I really love the design of this press plate, so I decided to to the letterpress effect on cotton cardstock. Blended a few inks over it. I paired the sentiment from the Glimmer Club of March 2025 and some other products from the older releases, the flowers are from the Layered Anemone Etched Dies by Lisa Horton. Leaves are from the Be Bold Blooms. I used the Matt Gold foil for the sentiment.
 
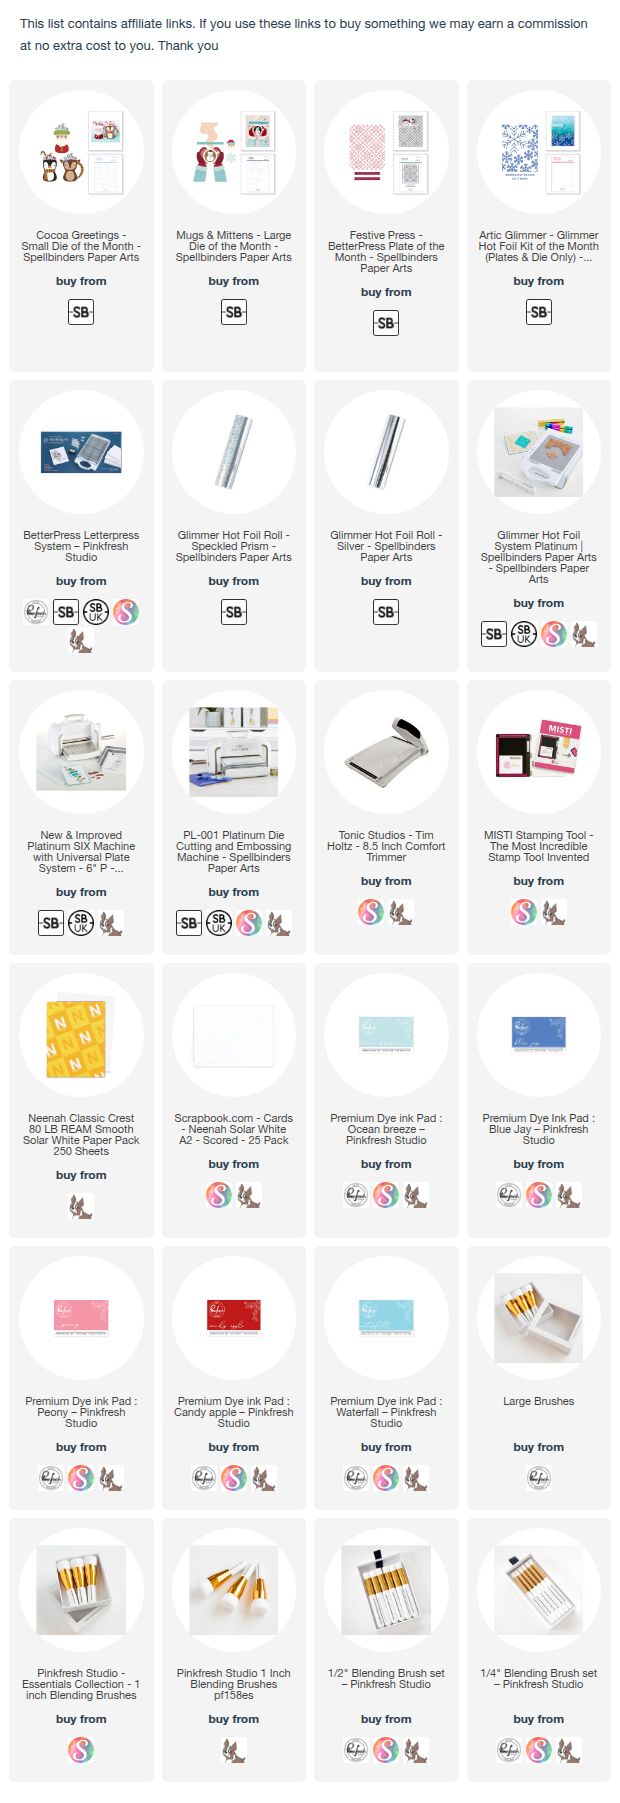
All the supplies are linked below.
 
 
I added some details to the flower center using the white gel pen.


Tuesday, March 11, 2025

Pinkfresh Studio “Joyful Blooms” Release Blog Hop

Hello everyone! I'm so excited to join Pinkfresh Studio "Joyful Blooms" blog hop. As always this release is fully packed with beautiful products including fun Washi Tapes, Essential die etc, which are very versatile for a variety of styles. 
 

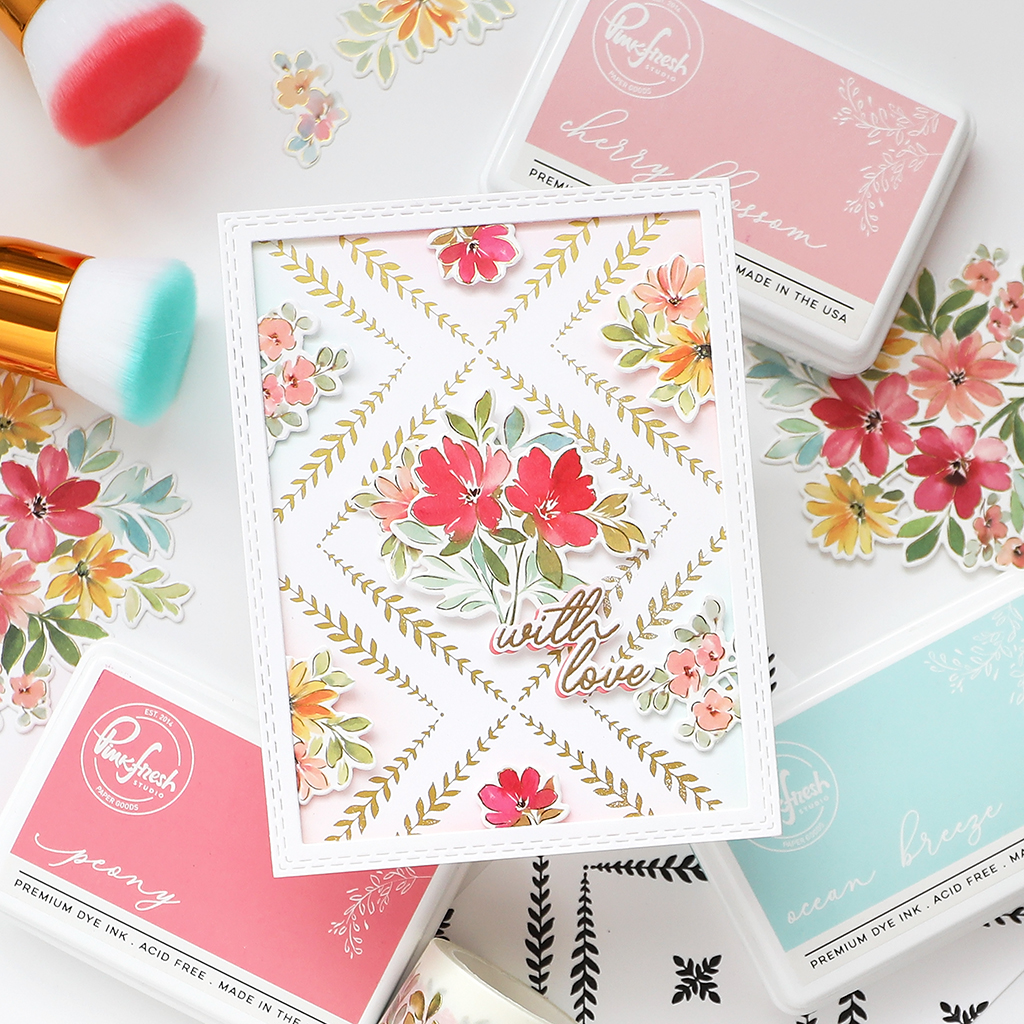
 I have two cards for you today, featuring the Flowers for the Soul Washi Tape (designed by Dawn from WPlus 9), Double Stitched Rectangle Essential dies, Leafy Lattice Press plate.
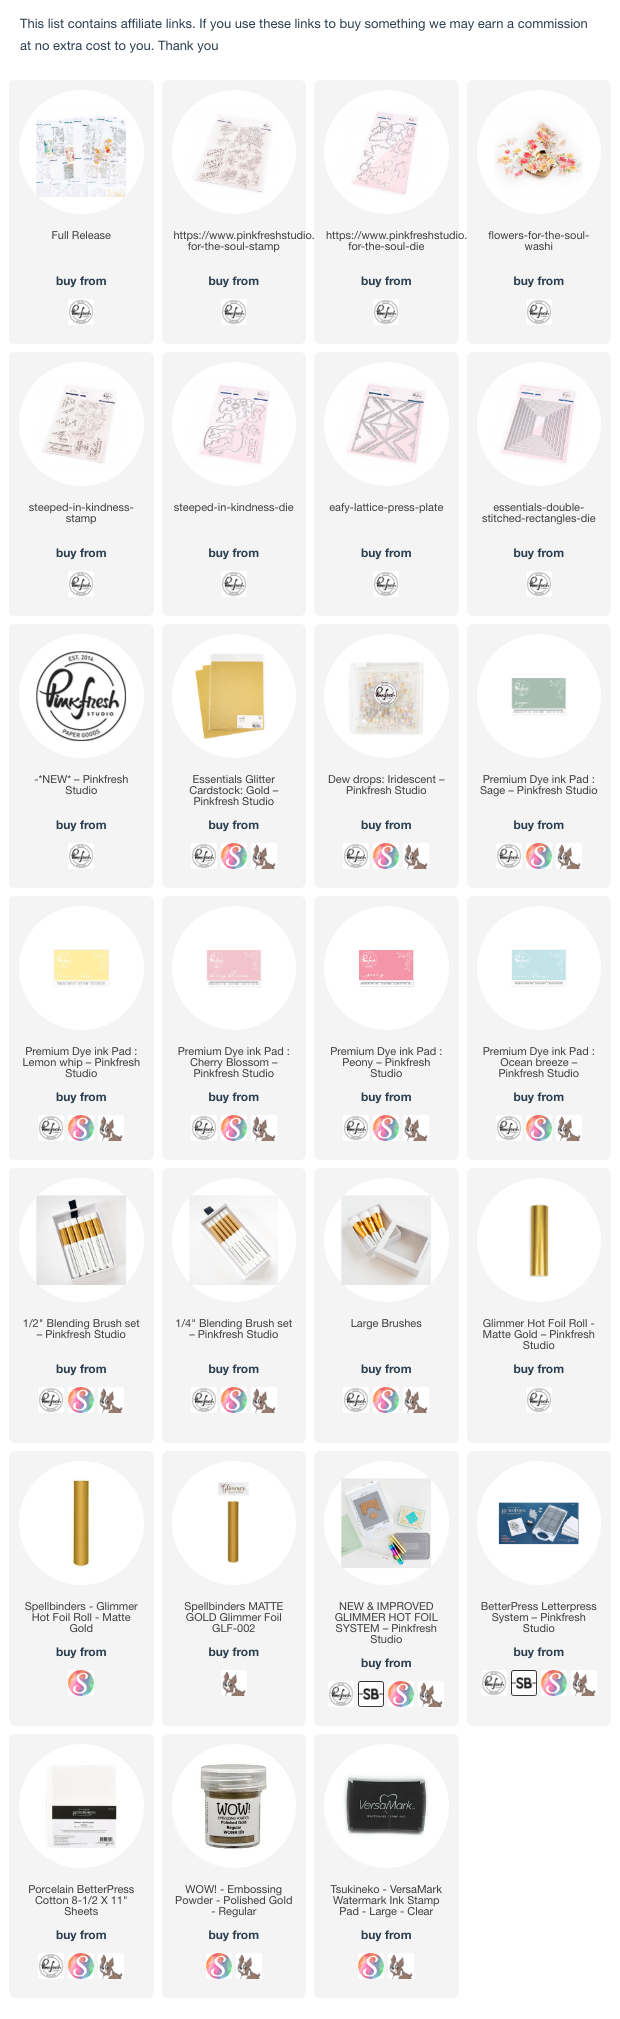
I have listed all the supplies at the end of the blogpost.
 

 For the first card
 
 
I used Sage ink and took the impression for the background using the Press Plate. Next, I die-cut the frames using two of the Double Stitched Rectangle dies, once using white card and then with the Gold Glitter cardstock.
 
 
Sponge the white frame using Sage ink. Adhere the gold glitter frame behind the colored frame slightly off-set. 
Sponge a panel using Lemon Whip and Cherry Blossom in, add vellum over it.

 
Adhere the Washi florals. Stamp and emboss the sentiment using gold embossing powder. To finish, add some Iridescent Dew Drops.
 
For the 2nd card, I decided to use gold Matte Foil with the press plate. I foiled the background using the Glimmer Hot Foil System.
 
 
Adhere the washi to a white card, die-cut. Sponge Peony, Cherry Blossom and Ocean Breeze inks behind the clusters. 

 
I stamped and embossed the sentiment using gold ink. Sentiment is from the Steeped in Kindness stamp set from the new release.
 
 
GIVEAWAYS:
Pinkfresh Studio will be giving away the full release on the Pinkfresh blog & YouTube channel.

As well as a total of TEN $50 gift cards along the hop. As usual with blog hops - the winners will be picked from the comments.
Pinkfresh Studio will pull the winners & post them on March 19, 2025 on their GIVEAWAY PAGE.
Don't forget to check that page & claim your prize within 2 weeks.


Here is the link to complete HOP list
CLICK TO ENTER HERE

Friday, January 12, 2024

Pinkfresh Studio - Press Plates Three Ways

 Hello crafty friends. I am so honored and excited to be joining the Pinkfresh Studio team. I am sure by now you have the GORGEOUS press plates from the December release on your crafty desk.

I decided to share three ways to use them and for someone who doesn't own a Betterpress Letterpress system yet, don't shy away from getting your hands on the press plates as you can use them with your manual die-cutting machine too.


I started by creating the background wash using the Pinkfresh watercolor paper and inks (these will be available soon), let it dry. Now use the Ornate Trellis press plate as you would while embossing with a die. Run it through the die-cutting machine and we have a beautiful embossed background.

Next, I used the Floral Octagon Frame plate, inked with Pinkfresh detail black ink and took the impression onto the watercolor paper. Die-cut this using the coordinating cuts. I then, cut this into four pieces and adhered to the corners of the panel using 3d foam. 

The 3rd. way to use the press plate is with the hot foil machine. So for the sentiment, I used the Favorite Things sentiment, foiled and die-cut using the coordinating cuts.

Die-cut the leaf cluster from vellum and the Glacier Glitter cardstock using the Curvy Leaves dies. Assemble everything together. To finish I added Enchanted Forest Ombré Glitter Drops. 


Thank you for stopping by and I hope this card gave you ideas on using the press plates even if you don't have the system yet.