Showing posts with label Studio Katia. Show all posts

Sunday, August 14, 2022

Studio Katia - Foiled Hi Card

Hello everyone! Today I am on Studio Katia blog sharing a mixed media card using the new "HI" hot foil plate along with some of the previous released products.


I started by adding some inks to the gelli plate and took the print onto white card stock. Stamp the fressia using pink ink onto this piece. Next add embossing paste through the Autumn Leaves stencil. Let this piece dry.


Stamp the butterflies onto vellum, die-cut using the coordinating dies. I then used the "HI" hotplate and foiled using aura foil by spellbinders. Die-cut this using the HI word die. Die-cut the hi using pink and teal cardstock. Adhere the pink onto the teal word and then add the foiled hi on the top, keeping the layers slight offset for a shadow effect.

 
Add some splatters using black and gold watercolor. Adhere the word and the butterflies. To finish, I added some sequins from the Summer Fusion collection. The supplies are all listed below. Thanks for dropping by! 
 

Thursday, July 28, 2022

Studio Katia - New Release Card

Hello everyone! There is a new release over at Studio Katia. I am so excited to share a card I made using the Botanical Hi Stamp set. I went with a soft watercolor effect for the image and then colored in the HI in bold to keep it the focal point.
 
 
I started by heat embossing the image onto watercolor paper using WOW! Gold Pearl Embossing powder. I then added color using watercolors.
Stamp the sentiment and adhere to the card. 

 
To finish, I added some Summer Fusion sequins.Check out the new release and all the projects over on Studio Katia blog. Thanks for dropping by. Have a nice day!
 

Tuesday, October 13, 2020

Studio Katia - Glitter Birthday Card

Hello everyone!  Today I am on Studio Katia blog with a fun, sparkly birthday card using stencil. I chose some autumn colors to make it perfect for this season :)


I started by creating the background panel. I sponged distress oxide inks in wilted violet, abandoned coral, worn lipstick and scattered straw to a white layer. I then put the Confetti stencil and sponged the same colors using the blender brushes.

Now, I mixed some Sparkle glitter to translucent embossing paste and applied through the stencil. Remove the stencil and wash immediately. Let this piece dry.

I die-cut three tags using the Slider Tag die. One white, one vellum and the third using a yellow cardstock. Adhere the vellum onto the white and then adhere this to the yellow, slightly offset from the bottom part.

Stamp the cake image using the Mini Birthday Cake stamp, color using copic markers and die-cut. Apply some spectrum noir clear sparkle pen to the icing.


Adhere the tag to the mat layer. Adhere the mat layer to the card and then using a 3D foam adhere the cake image.Tie an cream and gold twine and the word enjoy.

Thank you for dropping by! Have a nice day and stay safe!

Wednesday, September 23, 2020

Studio Katia - Wishing You Card

Hello everyone! I am on Studio Katia blog today with a CAS card using stencil. 

 
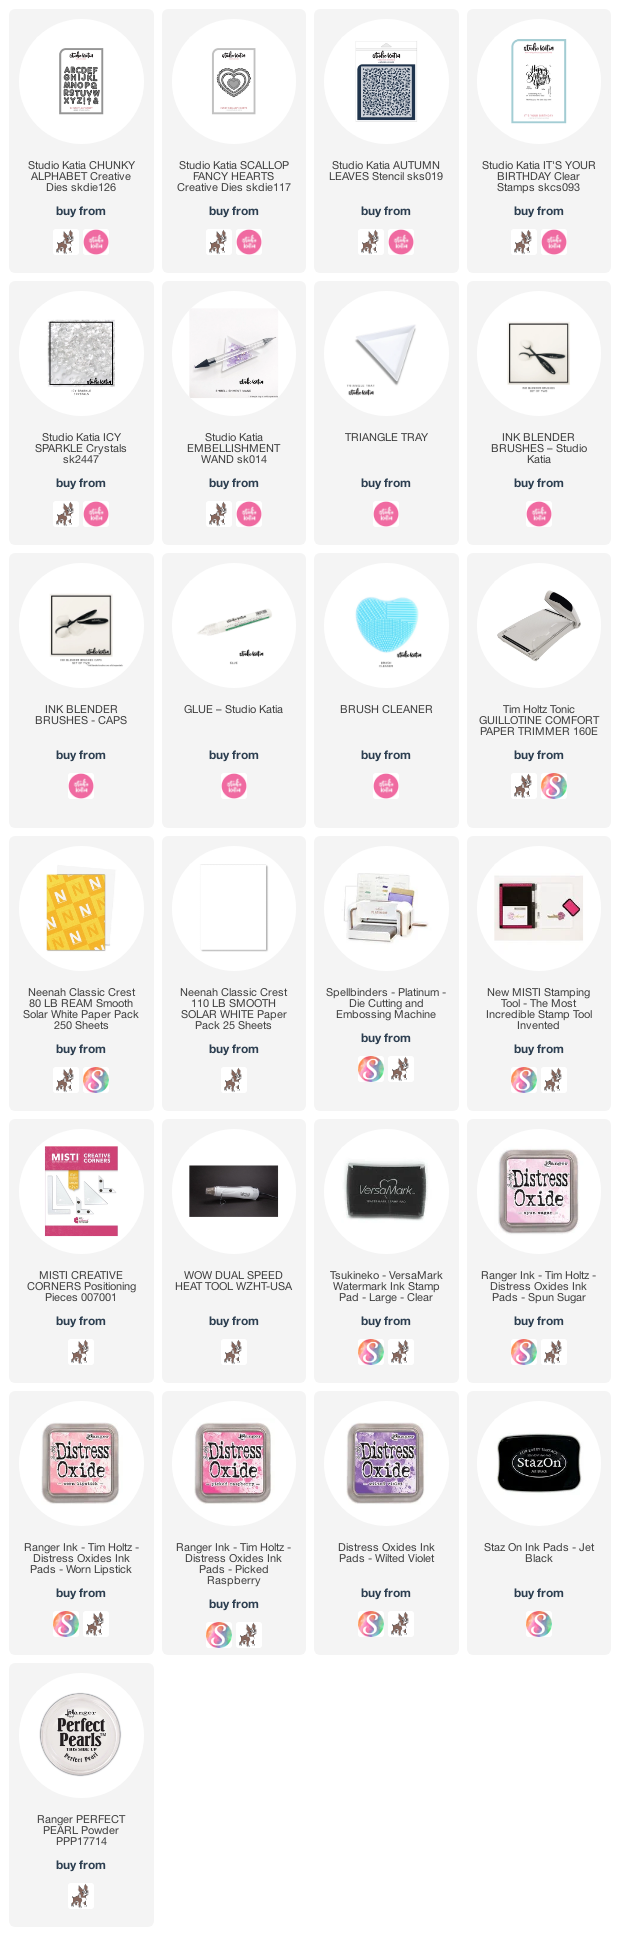
I started by creating the background. I sponged some spun sugar, worn lipstick, picked raspberry and wilted violet distress oxide inks to the white cardstock using the blender brushes. I then took the Autumn Leaves stencil and put it on the inked piece. I then applied versamark ink through the stencil. Remove the stencil and dab some perfect pearls to the piece. Die-cut the heart, adhere the positive to the white cardbase, adhere vellum on top. Now adhere the negative part of the layer to the cardbase. Stamp sentiment from the It's your Birthday stamp set onto vellum using StazOn black ink. Die-cut the word YOU from the Chunky Alphabet die four times from white cardstock. Stack them, apply some clear sparkle on it and add glossy accent. Let dry. 
 
 
Adhere the word to the heart center. To finish, add some Icy Sparkle Crystals. Thank you for dropping by! Have a nice day and stay safe!
 

Tuesday, September 8, 2020

Studio Katia - Happy Thoughts Mixed Media Card

 Hello everyone, I am on Studio Katia blog today with this mixed media card.

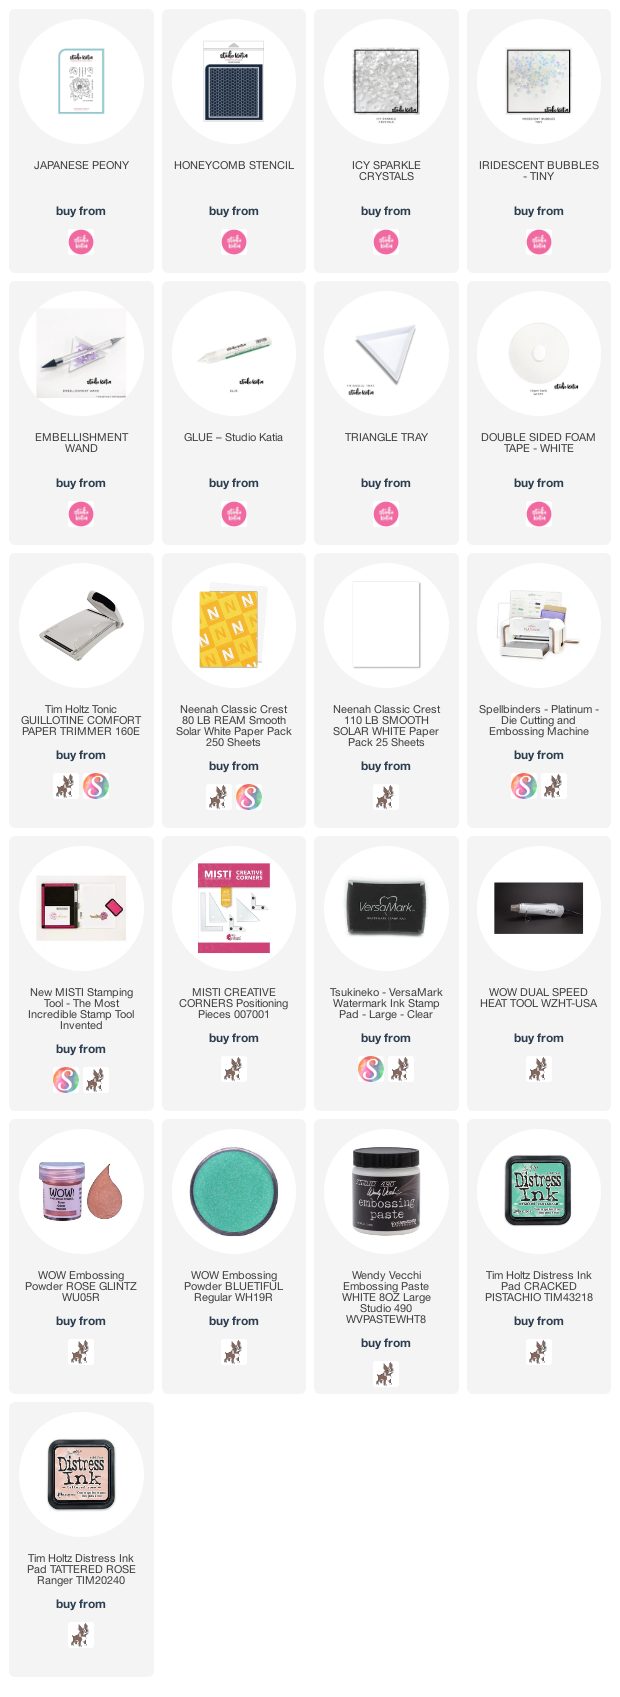
I started by applying some distress inks to the mat layer, let it dry. I then applied embossing paste through the Honey Comb stencil. Sprinkle WOW! Rose Glintz and Bleutiful embossing powder while the paste is still wet. Heat emboss. Apply some white acrylic paint to parts of the background.


Stamp and emboss the beautiful floral and a few extra leaves. Adhere to the card.

Stamp the sentiment onto a watercolor paper stripe and add a touch of cracked pistachio distress ink.
Adhere to the card using 3d foam.

To finish, add some Icy Sparkle Crystals and Iridescent bubbles tiny.

Thank you for dropping by! Have a nice day and stay safe!
 

Friday, August 21, 2020

Studio Katia: Hello Bridge Card

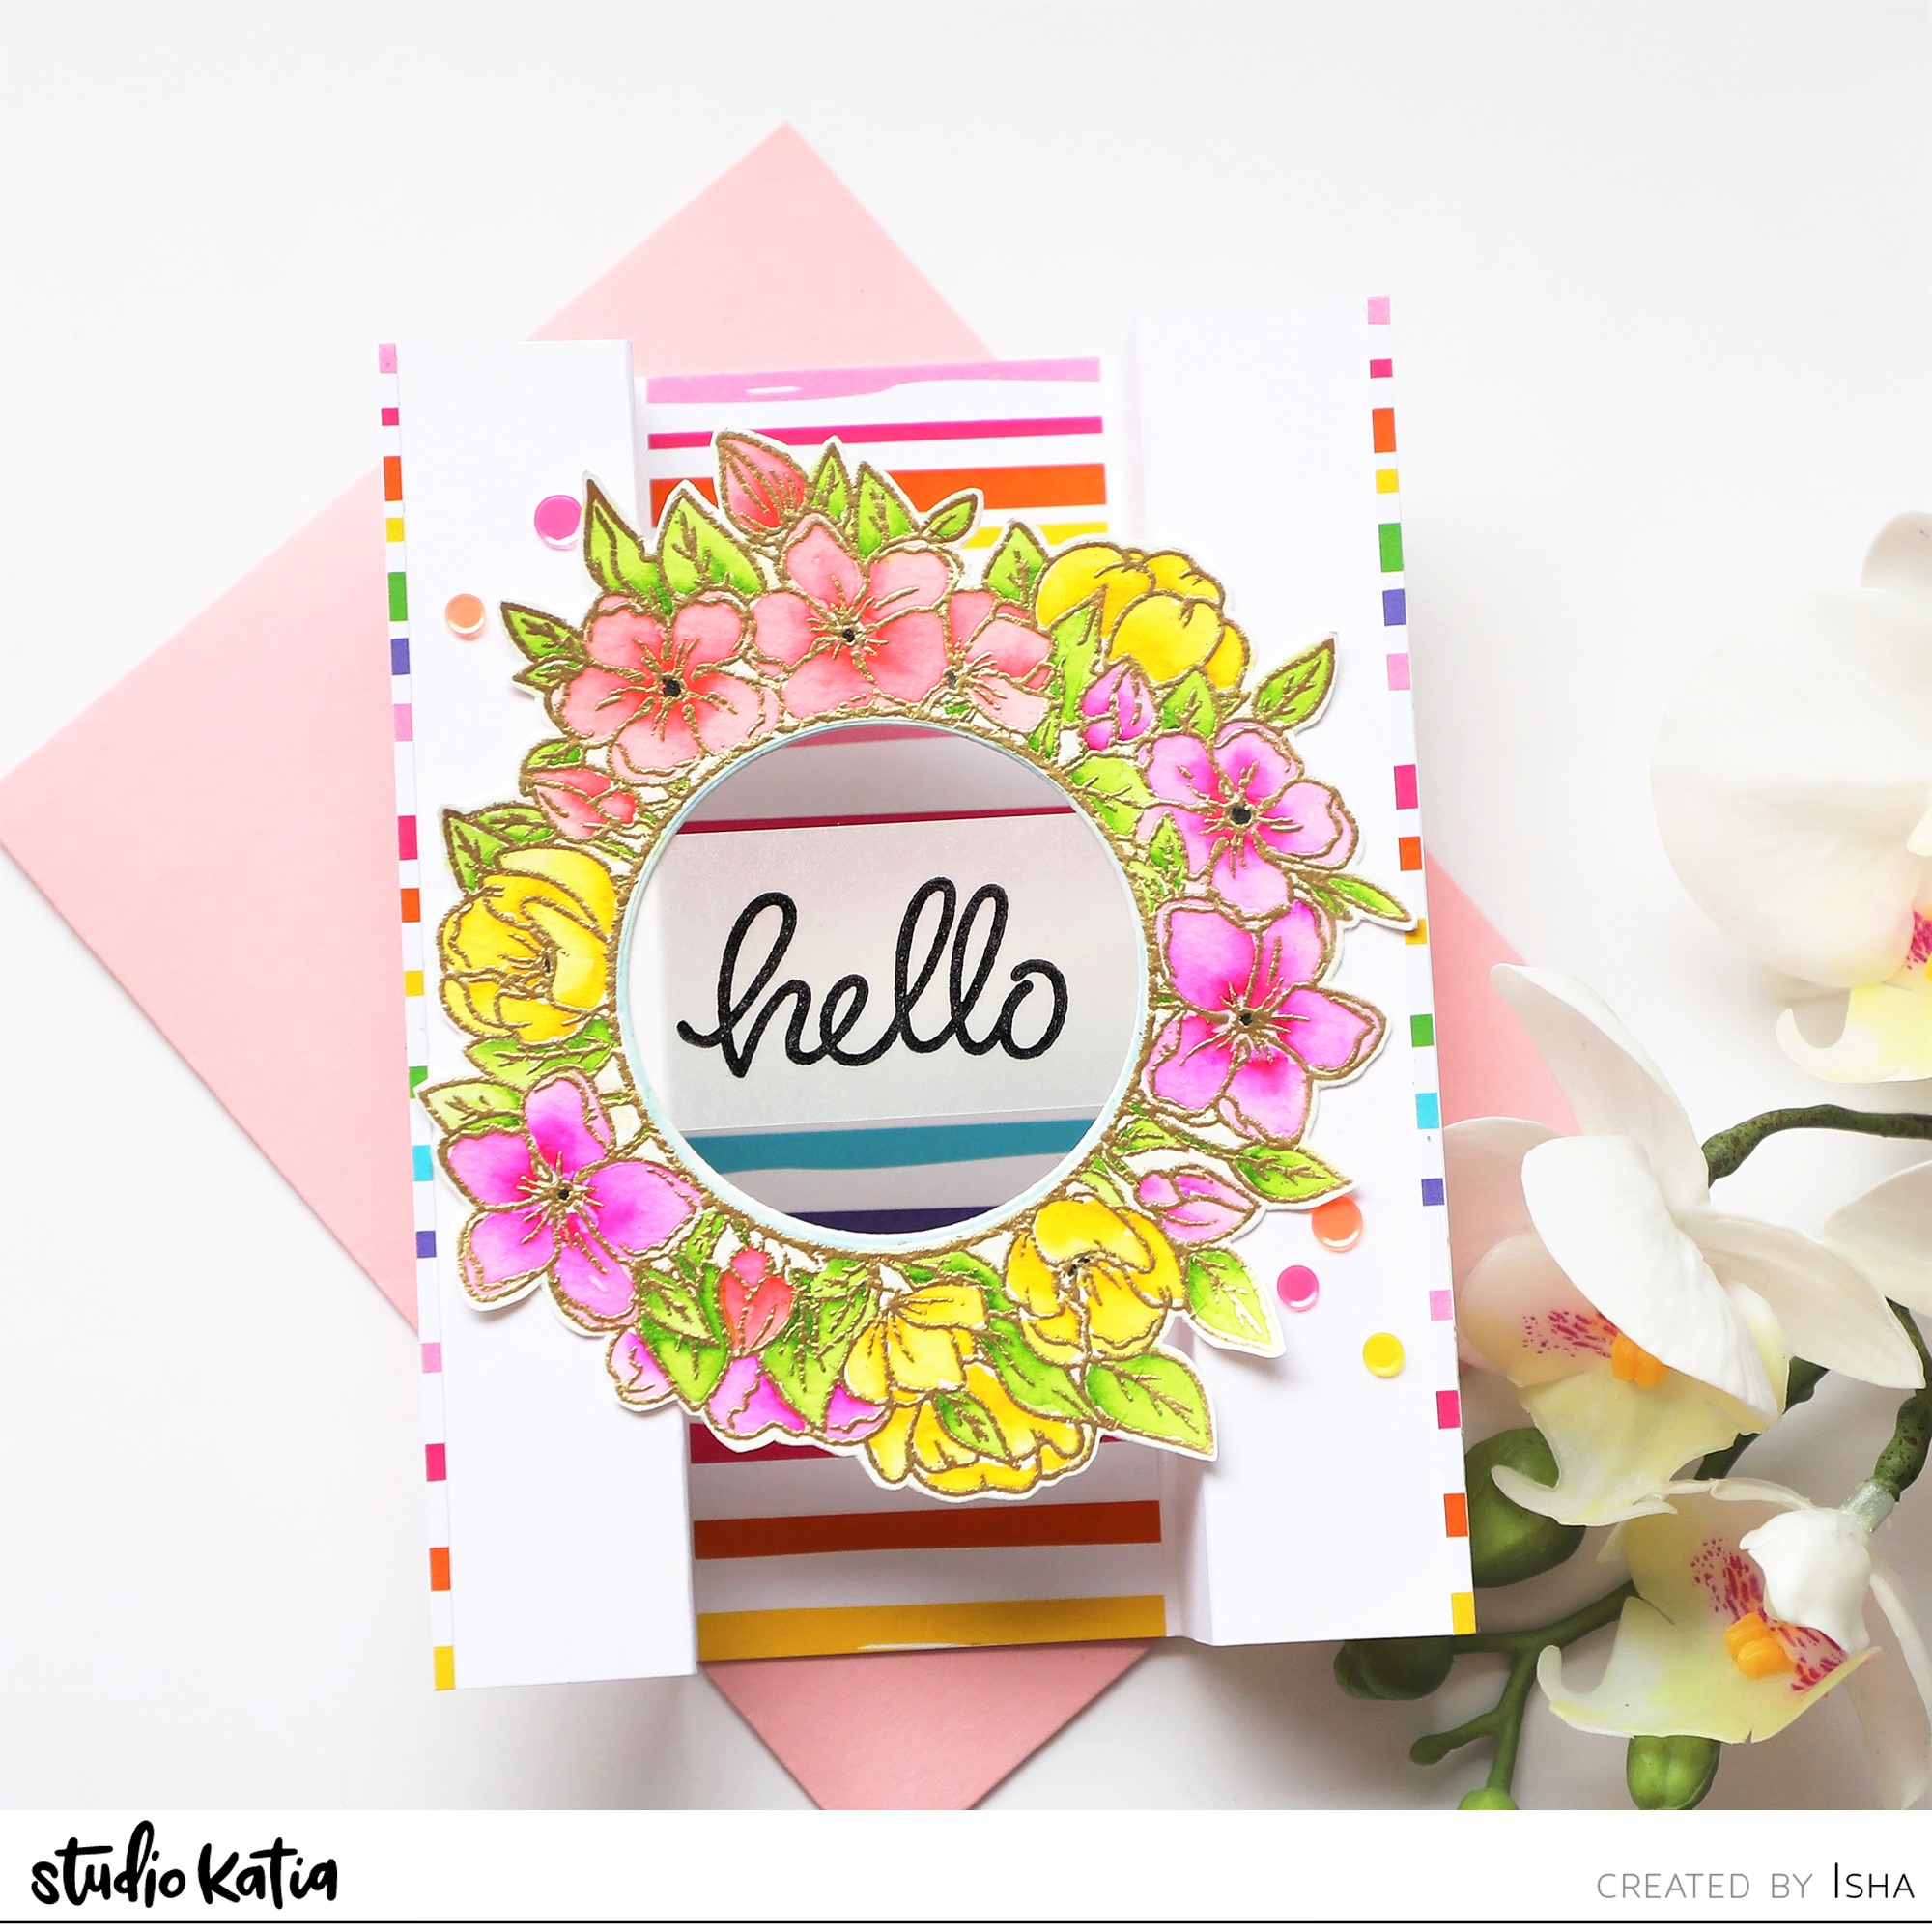
Hello everyone! I am on Studio Katia blog today with a Hello bridge card. This is a fun and different shaped card.
 
 
Here you can see the card in action :)


To start, I took a 51/2 wide by 51/4 high white cardstock. Score at 1 and 13/4 th inch, turn the cardstock and score again. Cut a piece of pattern paper and adhere to the inside panel. Cut 2 more thin stripes and adhere to the edge of the card.

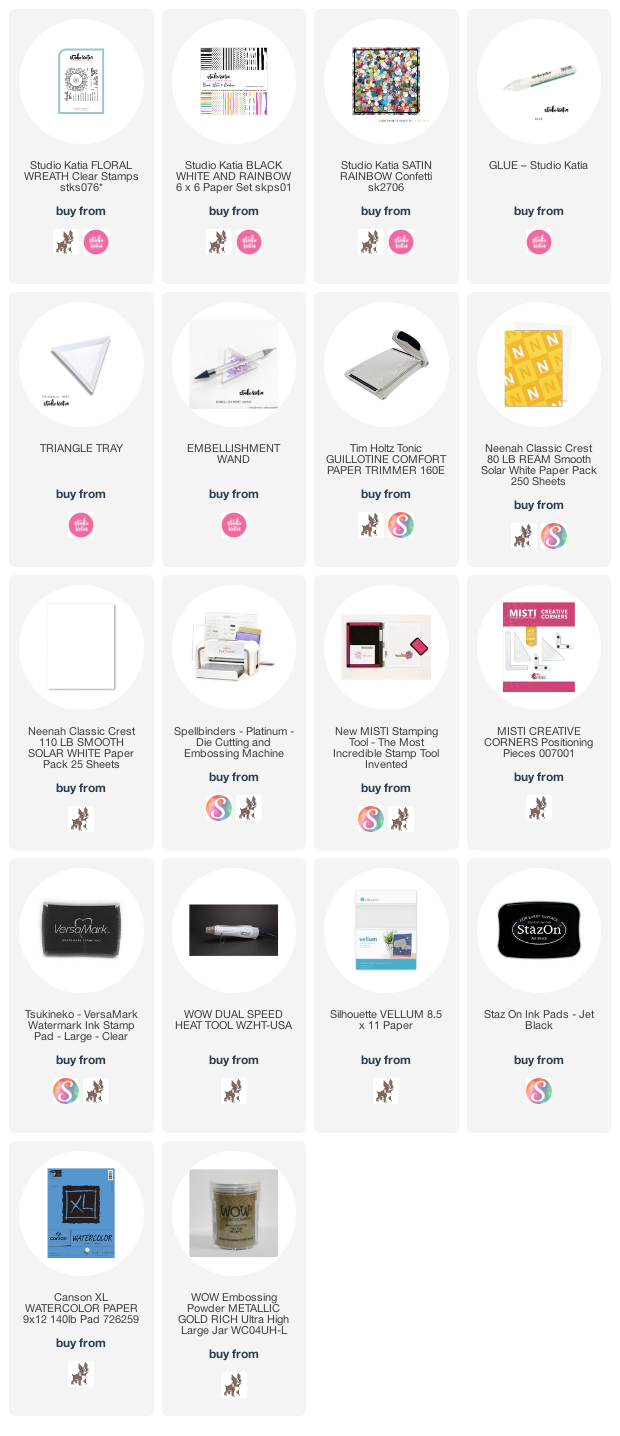
Stamp the image using versamark ink and emboss using WOW! Gold rich embossing powder onto watercolor paper. Color using zig clean color real brush markers.

 
Cut the outside of the image using scissors. Die-cut the inside using circle die. Stamp the sentiment onto vellum using StazOn black ink. Adhere this stripe behind the floral image.

Close the left scored flap, adhere the wreath only to the edge of the image. Adhere the right edge of the image to the right panel. Here is how the card looks.

 
To finish, add some Satin Rainbow Confetti.

Thank you for dropping by! Have a nice day and stay safe!
 

Tuesday, August 18, 2020

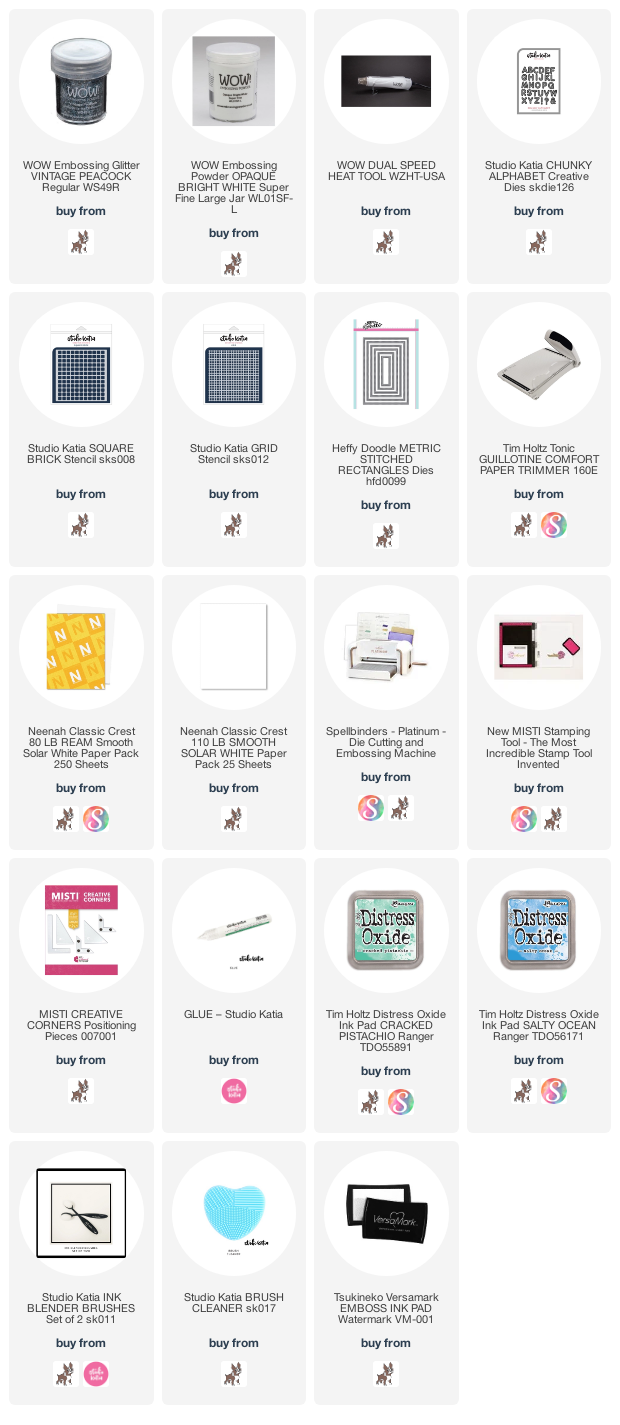
WOW! Embossing Powder: Masculine Best Day Ever Card

Hello everyone. Hope you are enjoying our August challenge over on facebook and the theme is "Masculine".

The DTs have been challenged to use Blue/Green and Teal hues. WOW! has plenty to choose from so for my card I picked one of my favourite Vintage Peacock by Marion.


I started by die-cutting the mat layer using Heffy Doodle Metric Stitched Rectangle die. I then took Square Brick and Grid stencil by Studio Katia. Layer them and adhere some washi tape. Brush cracked pistachio and salty ocean distress oxide inks through the stencil.
Die-cut the letters "YOU" five times, stack them except one layer. Apply clear slow dry ink and sprinkle the Vintage Peacock embossing powder to it. Emboss using dual heat tool. Repeat the process and adhere this to the stack of letters. This gives such a wonderful 3D chipboard effect.


Stamp and emboss the rest of the sentiment using white embossing powder onto black card. Adhere to the card and assemble everything together.


Hope you got inspired and don't forget to add your creations to our facebook group, we would love to see your creations :)

Thank you for dropping by! Have a nice day!

Friday, August 14, 2020

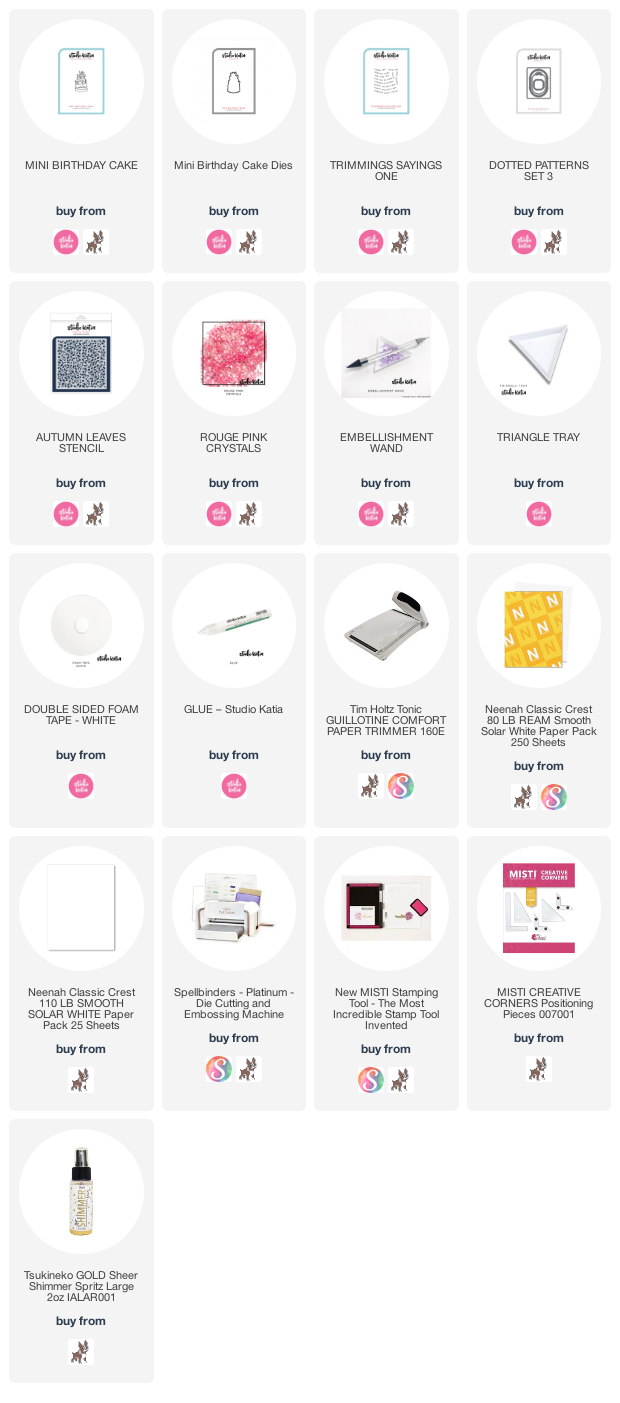
Studio Katia: Birthday Card

Hello everyone! I am on Studio Katia blog today with a birthday card. I decided to create the background using stamping by stencil technique and for the main focal image, I colored it using copic markers.


First I stamped the image from Mini Birthday Cake onto alcohol friendly paper and colored it using copic markers. For today's image, I played with deep colors to give more dimension using dark shadows. Die-cut the image. Now to create the background, I used the Autumn Leaves stencil, spritz it with Imagine Sheer Spritz Gold and a little water. Put the stencil upside down onto the cardstock, let it stay there for a couple of minutes and remove. Let dry. Die-cut the tag from the Dotted Patterns Set 3 using vellum. Stamp the sentiment and emboss using WOW! Chocolate Caramel Pearl embossing powder.

 
Adhere the mat layer to pink card. Adhere the cake image using 3d foam tape to the vellum tag. Adhere the tag to the card. Now add glossy accents to the candles, nuvo aqua shimmer to the frosting. To finish, add some Rouge Pink Crystals. 
Thank you for dropping by! Have a nice day and stay safe!
 

Friday, July 24, 2020

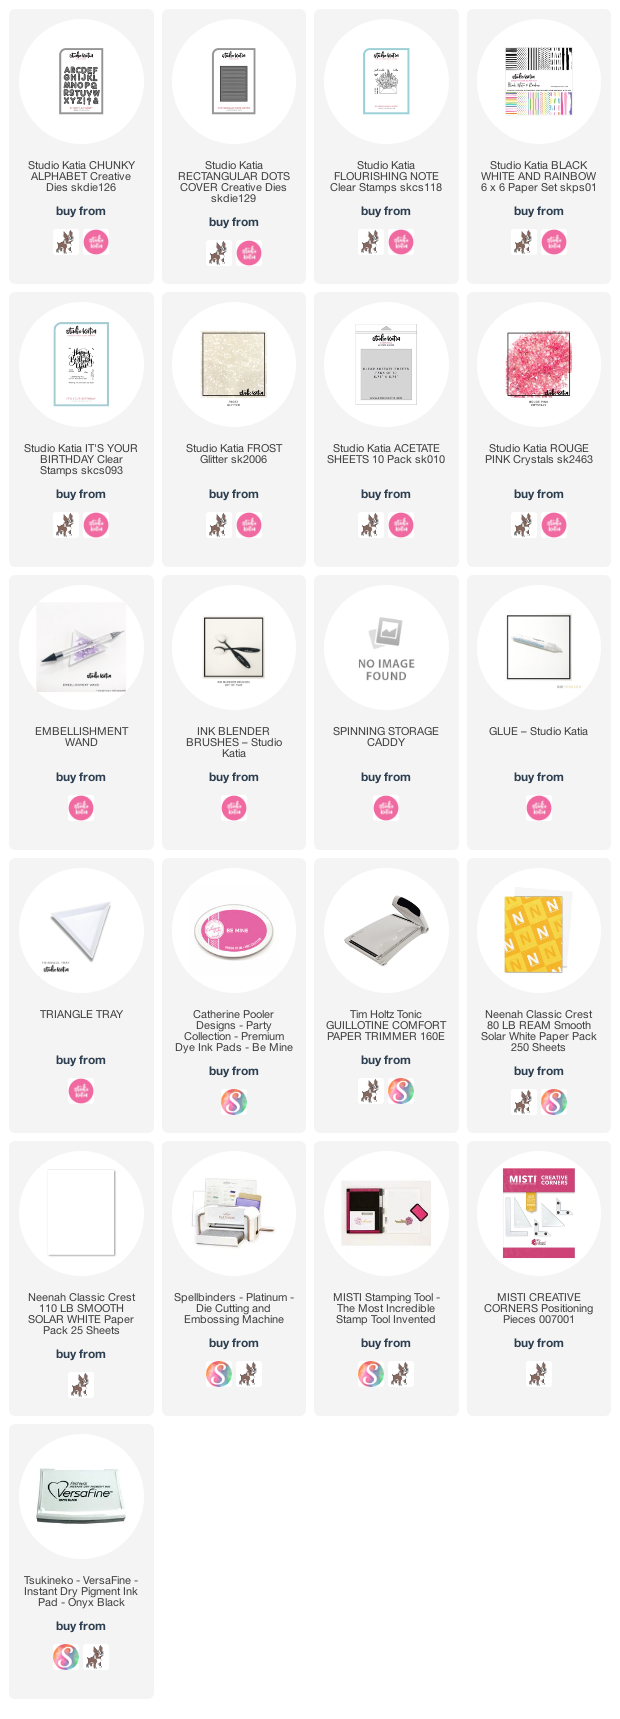
Studio Katia: Wishing You Shaker Card

Hello everyone! I am sharing a fun shaker card along with how to add impression to the stamped image for extra dimension on Studio Katia blog.
 
 First I stamped the image to the corners, onto my white panel using Flourishing Note stamp set. I just used the floral part of it. I then used the Rectangular Dots Cover Plate and ran it through the die-cutting machine. The dots give pretty effect to the stamped panel.


I love flat shaker card so for the shaker panel, I die-cut the letters YOU using  the new Chunky Alphabet Dies. Cut the negative piece in a stripe. I then brushed a bit of pink ink to the letters for an ombrè effect.
Adhere the main panel to a black card. Adhere the letters "YOU". Stamp sentiment from It's Your Birthday stamp set to the  stripe. Adhere a thin  stripe of b/w stripes from the Black, White & Rainbow pattern paper pad. Adhere a piece of acetate to the back of this stripe panel. Put some Frost Glitter to the YOU word and adhere the stripe panel onto it.


To finish, add some Rouge Pink Crystals.
Thank you for dropping by! Have a nice day and stay safe!

Tuesday, July 21, 2020

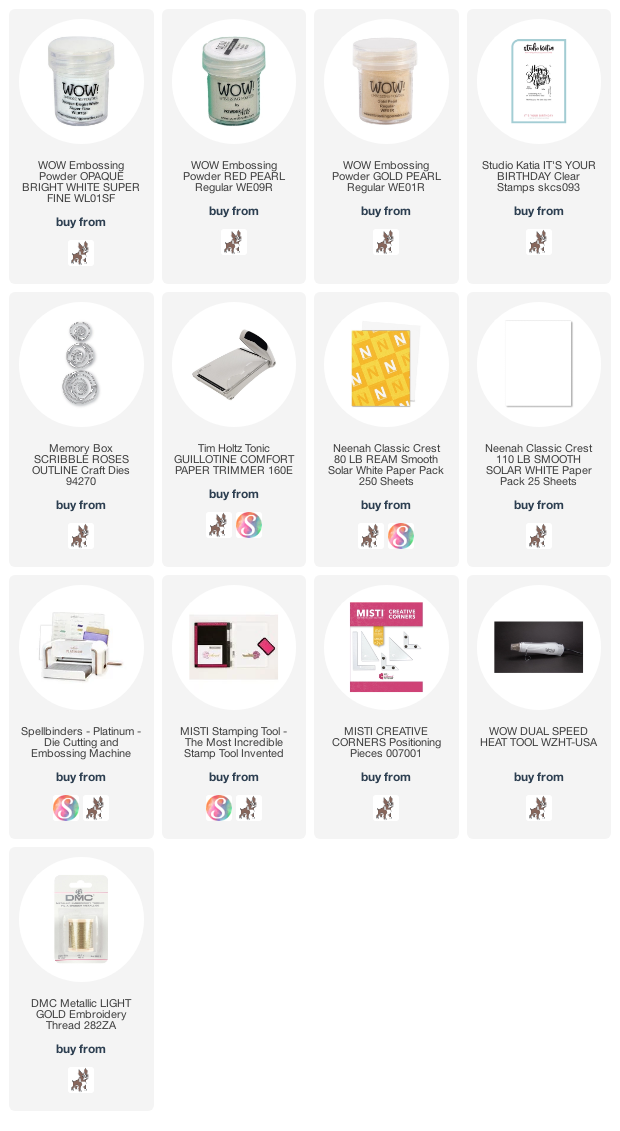
WOW! Embossing Powder: Wonderful Day Card

Hello Everyone! I am on WOW! Embossing Powder blog today using our July challenge theme over on facebook. I am having fun playing and experimenting with the pearl embossing powders :)
For today, I used the Red pearl and Gold Pearl embossing powders with die-cuts.


I started by die-cutting few flowers using white and also coral cardstock. I used the Scribble Posies Outline dies by Memory Box.
I then applied WOW! Slow Drying ink to a few of white and coral flowers. Applied Red Pearl embossing powder. Heat set them using WOW! Dual Heat Tool. In the similar way I embossed a couple of white flowers using Gold Pearl embossing powder.

So the red pearl turned into this beautiful shade of dark coral on coral cardstock and a pearly sheen with red tint on white paper (Just like a pearl). I also like the gold for it's soft and satin look.


I then stamped the sentiment from Studio Katia using the slow drying ink, emboss it using Opaque Bright White embossing powder.
Flick some black ink splatters and adhere the florals to the white cardbase.
Adhere some gold floss to the card and then the sentiment stripe using 3d foam.


To finish, I added some sequins from the Summer Fusion by Studio Katia.

Hope to see your creations on our facebook group :) Thank you for dropping by! Stay Safe.

Wednesday, July 1, 2020

Studio Katia - Hugs Shaker Card

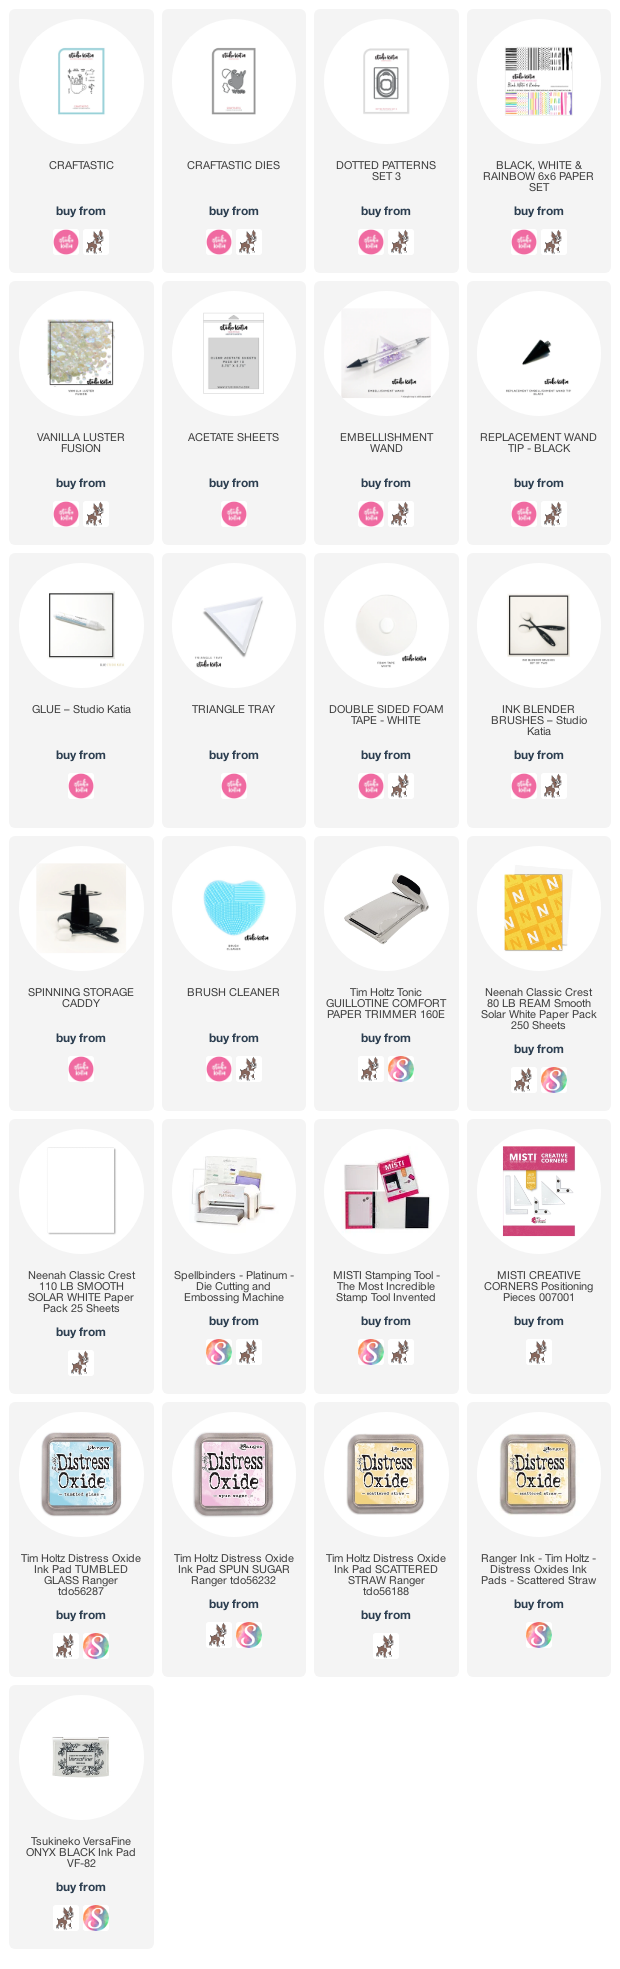
Hello everyone! Today I am up on Studio Katia blog with a fun shaker card with no-line water color technique. I used all the products from our newest release, if you haven't checked them yet, please do. You are going to love it :) For today's card I used Black, White &Rainbow paper, Craftastic stamp and dies, Dotted Patterns set 3 dies along with Vanilla Luster fusion sequins. 

I started by creating a white card panel. I then adhered a stripe of rainbow pattern paper to the left side. I then die-cut the oval, sponged scattered straw, spun sugar and tumbled glass distress oxide to it. Adhere it to the card. I also adhered the delicate frame around the oval piece. Stamp the image onto watercolor cardstock using antique linen distress ink. I then colored the image using faber castell watercolor markers and daniel smith watercolors. Let it dry and die-cut it. Die-cut the center to create the shaker. Place the image where it will come on the card and adhere the center die-cut negative piece. Adhere a piece of acetate behind the image. Now add 3D foam all around the opening on the back side. add some sequins and adhere to the cardbase.  


Stamp the sentiment and adhere to the card. To finish, add some sequins. Thank you for dropping by!

Have a nice crafty day!


Thursday, June 25, 2020

Studio Katia June 2020 Release Blog Hop

Hello everyone and welcome to our June 2020 Blog Hop. I am so excited to share the GORGEOUS products Katia has come up with at Studio Katia .


This release includes 6 New Clear Stamp Sets and 4 Sets of Coordinating Dies, 6 New Stand Alone Creative Dies, 15 New Embellishments and a Studio Katia FIRST 6X6 Paper Set!
You should have arrived here from Tracey McNeely's blog. If not start at Studio Katia Blog.

 I have two cards for you today. So without taking much time, let's start.
Card 1
For my first card, I used the Slimline Set 2 dies along with the Mini Birthday Cake stamp and die, Vanilla Luster Fusion sequins. I also used the It's Your Birthday stamp and the Scattered Hearts stencils from the older release.

I started by applying spun sugar, picked raspberry, scattered straw and wild honey distress oxide inks to a panel of white cardstock using Studio Katia blender brushes. I then put the stencil on top and applied the darker shades of the inks lightly through the stencil.
Flick some perfect pearls mixed with water and let dry. Die-cut the panel using the dies. Stamp and emboss the panel. Adhere the center cut panel to the cardbase. Adhere the frame piece to the cardbase using 3D foam.


Stamp the cake image using alcohol friendly ink and color using copic markers. Apply spectrum noir clear sparkle pen to the candles and the icing. Apply glossy accents onto the candles. Let dry.
Adhere everything to the card and apply some sequins.
Card 2
For my 2nd. card I used the GORGEOUS new pattern paper but added a twist. I also used the Flourishing Note stamp and die.

  
I love the pattern a lot but didn't want a bold black print behind the soft image. So, I applied some WOW! Embossing powder rose gold foil to it and ran it through the laminator. Love the result and it's perfect for the background I wanted. I then applied a bit of picked raspberry and squeezed lemonade distress ink to the foiled paper. Die-cut this piece using the Dotted Pattern Set 3
I took a pink cardbase and applied thin gesso to the edges. I then die-cut the Fancy Circle and applied gesso to the frame die.


Stamp and emboss the Flourishing Note stamp twice using WOW! Embossing Powder Copper ep, onto watercolor paper and color using zig clean color markers. On the 2nd image I colored only the flowers and adhere them onto the first image using 3D foam.
Adhere this to the panel and adhere the panel to the cardbase.
To finish, I added some Pink Carnation Crystals and Moss Green Pearls.

Blog Hop Giveaway...YAY!!!Studio Katia is giving away a $50 Gift Certificate on their Blog.
All comments must be left by Friday, July 3rd, 2020, 23:59 PM EST.
All winners will be announced on Sunday, July 5th, 2020 on Studio Katia Blog.

I also have a Personal Blog Giveaway for my followers.
You can win one Gift Certificate of $25 CAD. All you have to do is comment here on my blog. If you like my work, I would love if you visit me on instagram (ishagupta_ig), where I share many more creations.
The winner will be picked and we will post all the winners on
Studio Katia Blog.
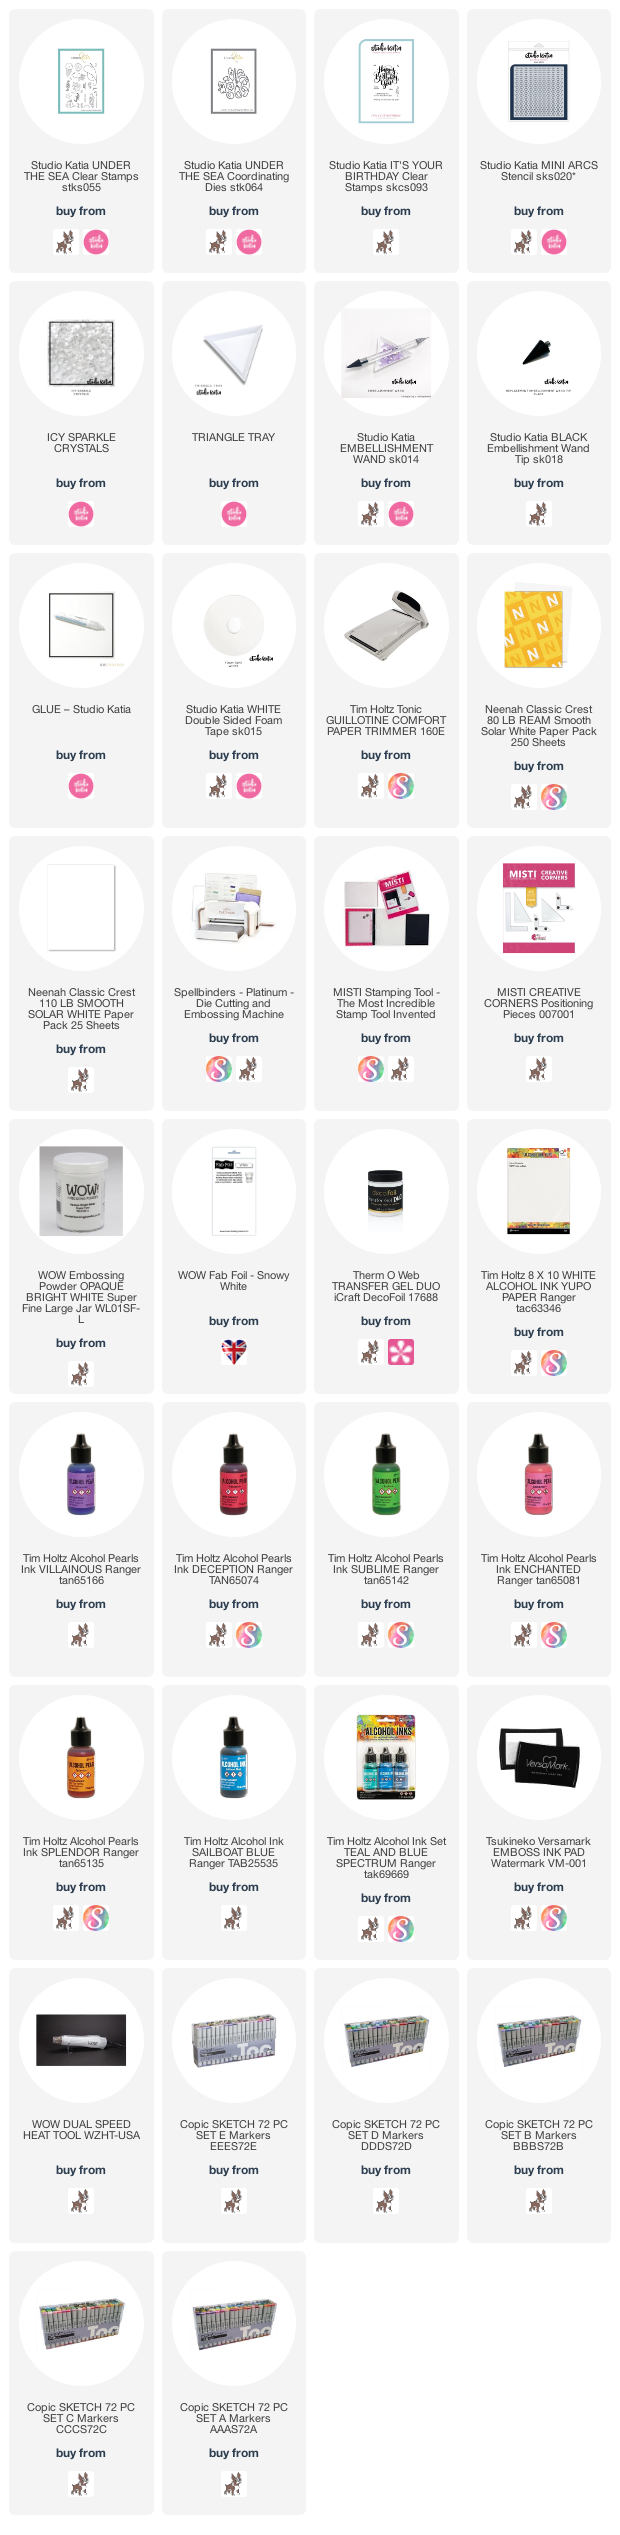
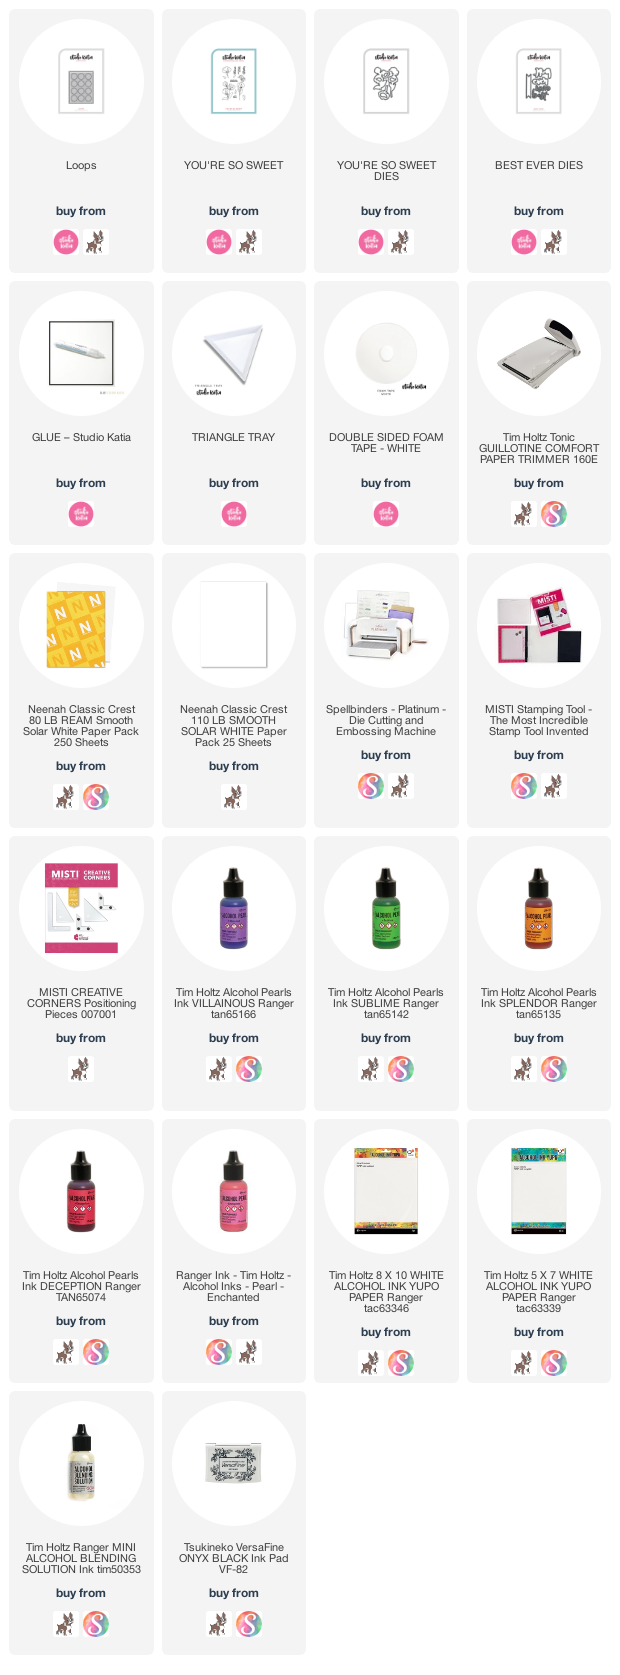
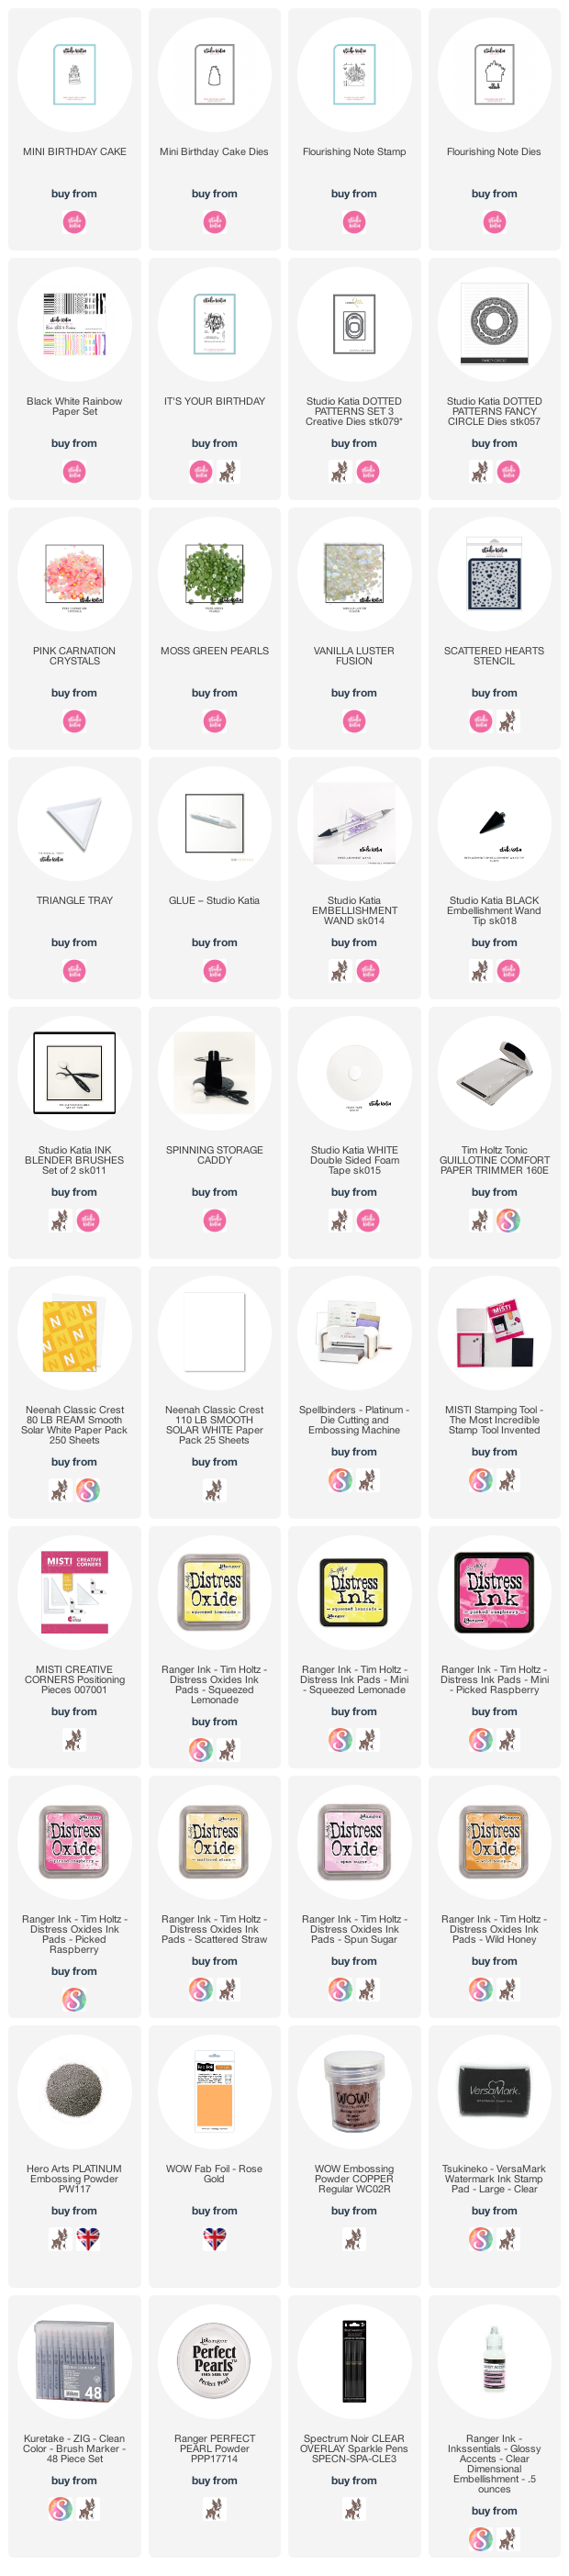
Here is the full supply list for you :)

Thursday, June 18, 2020

Studio Katia: Wonderful Day Card

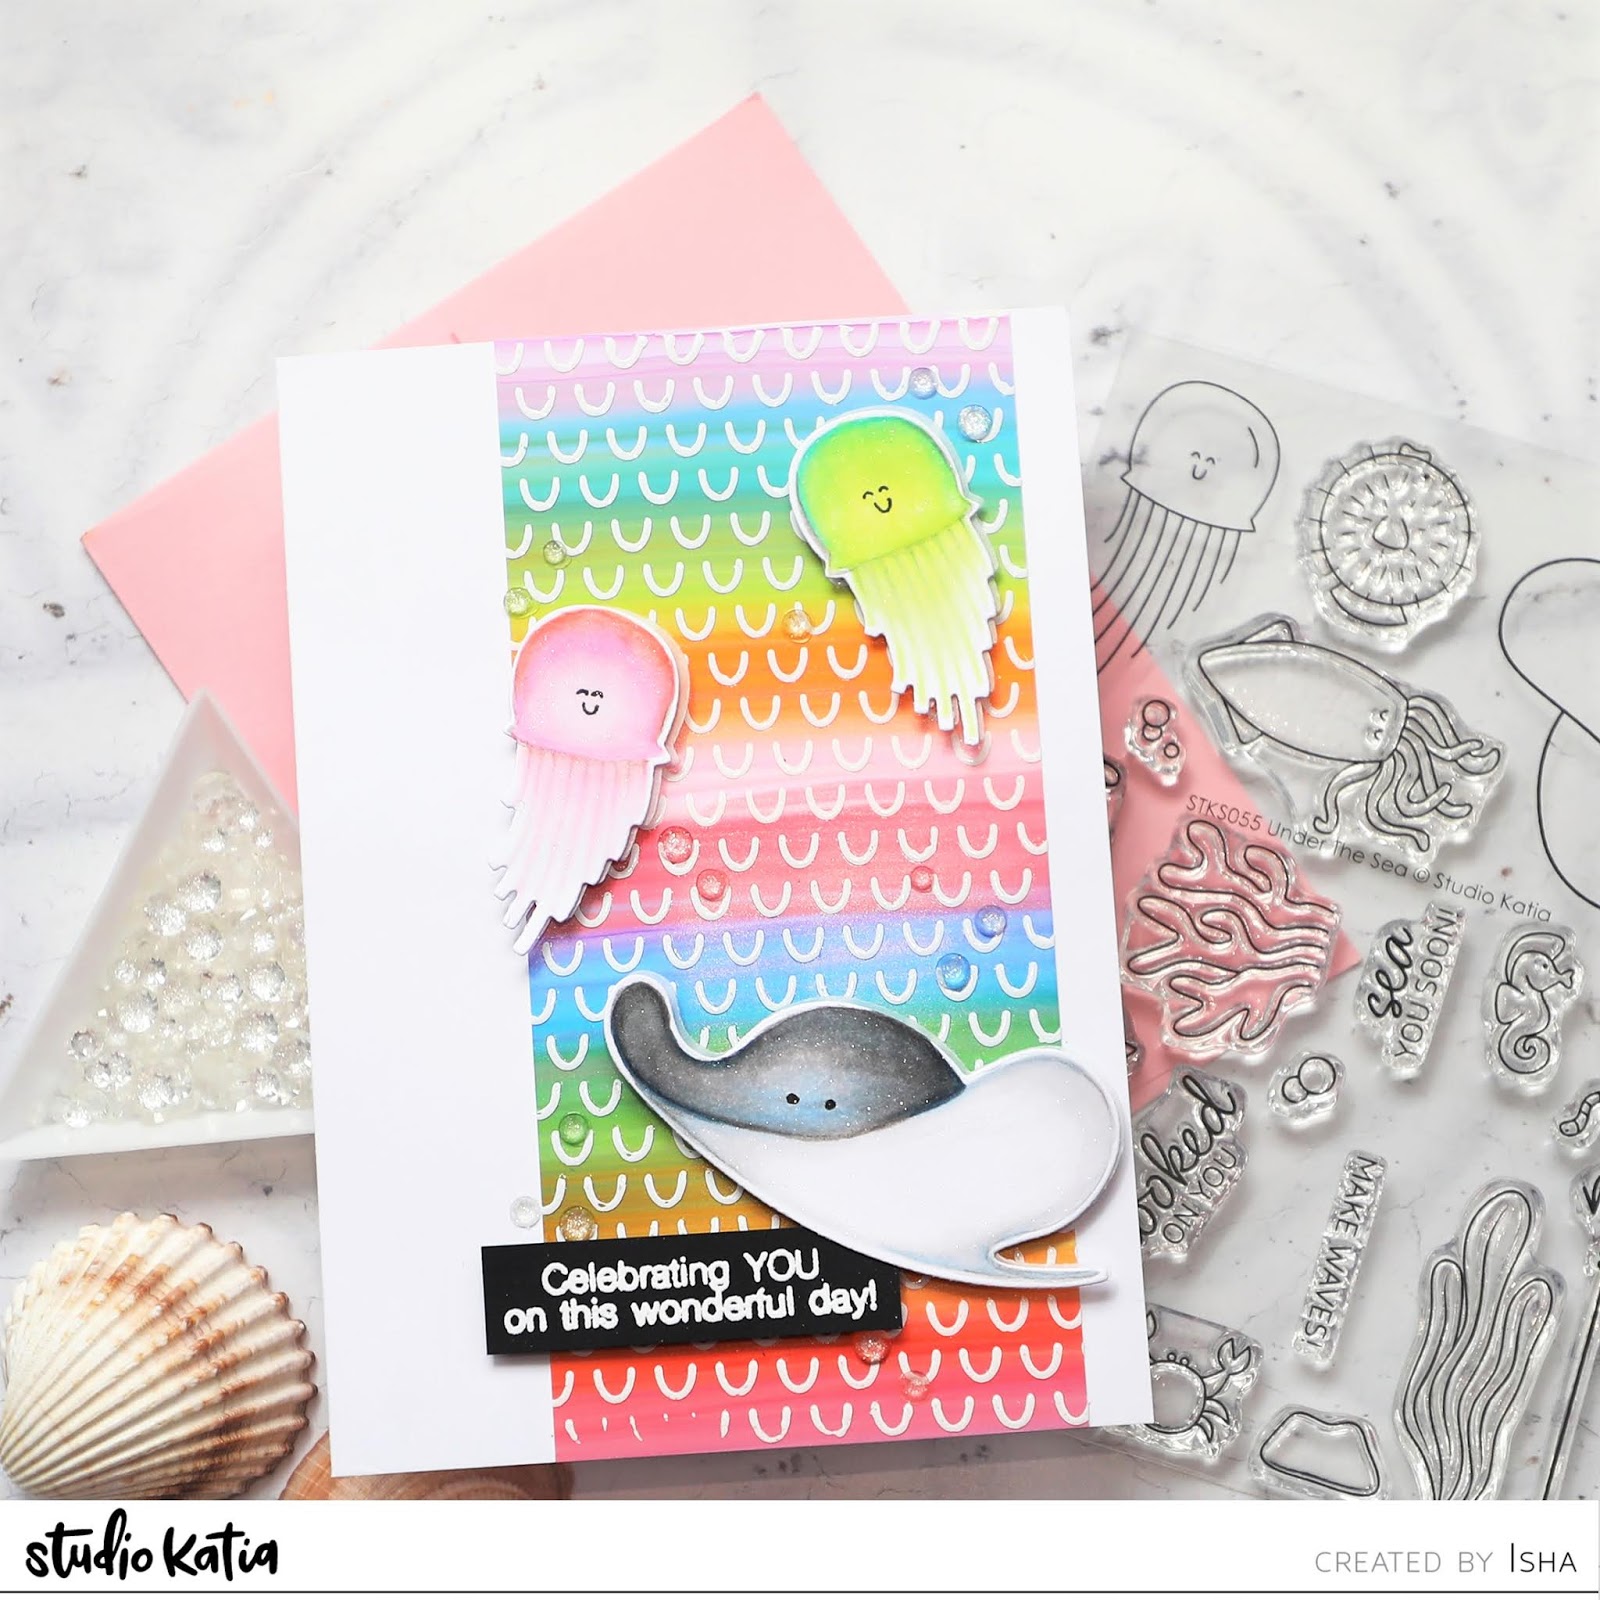
Hello everyone! I am on Studio Katia blog today with a summer theme card. I have created an alcohol pearl ink background and then added some foiling accent using one of the stencils. I am waiting for summer to come hence I used the sweet images from "Under the Sea" stamp set, which I colored in using the no-line copic coloring technique. 


I started by creating my technique layer, for which I added alcohol pearl inks to yupo paper. I actually swiped the colors across the paper and let it dry. The colors I used are (Villainous, Deception, Sublime, Enchanted, Splendor, Sail Boat Blue). Now, I added some of the Deco transfer gel through the Mini Arcs stencil and let it dry for a few hours or until the gel turns transparent and tacky. I then used Snowy White Fab foil by WOW! Embossing Powder, put on top of the stenciled area (mat side down) and ran it through my laminator. Remove the foil and we get this beautiful 3dimensional texture with the subtle pearl effect from the alcohol pearl layer. 

Stamp the images using a very light grey ink onto a copic friendly paper. Draw the eyes using copic multi-liner pen. Color in the images and die-cut them using the coordinating dies. Adhere to the layer using 3D foam tape and apply clear shimmer pen from Nuvo.

Stamp and emboss the sentiment. Adhere the panel to a white cardbase. Adhere the sentiment stripe. To finish, add some Icy Sparkle Crystals (one of my favourites). Thank you for dropping by! Have a nice crafty day!

Sunday, June 7, 2020

Studio Katia - You're So Sweet Card

Hello everyone! Sharing a floral card on Studio Katia blog. I enhanced the soft image with a rainbow alcohol pearl background. 


I started by creating a panel using Tim Holtz alcohol pearl inks. I simply took the colors (Villainous, Deception, Sublime, Enchanted, Splendor, Sail Boat Blue) in rainbow order and applied the ink to a yupo paper in swiping motion and then dabbing movement. Once I was happy with the result, I let this dry. Make a salmon pink cardbase. Die-cut a white cardstock layer using the Loops cover die. Adhere the alcohol pearl panel behind it. Stamp the sweet pea from the You’re So Sweet stamp, add a touch of color using zig clean color marker and die-cut it. 


Die-cut the banner using the die from Best Ever die-set. I cut it once in white and once in the cardbase color. Stamp sentiment. Adhere the pink layer to the white by slightly offsetting it. Adhere the images and the banner. To finish, I applied a bit of spectrum noir clear sparkle pen to the florals. Thank you for dropping by! Have a nice crafty day!