Wednesday, February 26, 2020

Lawn Fawn: Magic Iris Interactive Birthday Card

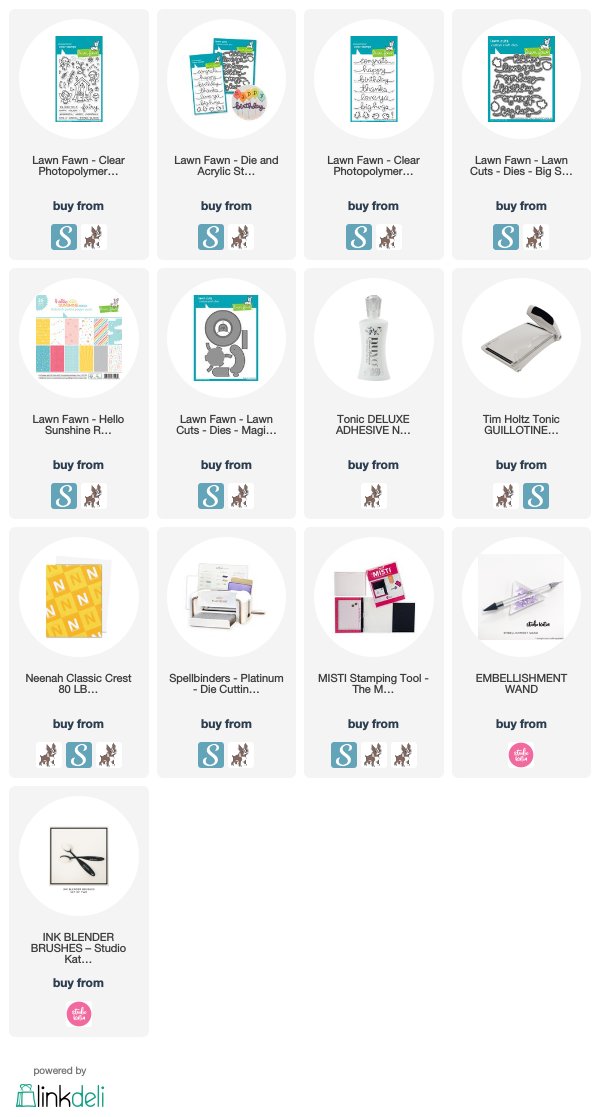
Hello everyone! Today, I have a fun interactive card for you using the new Lawn Fawn Magic Iris die. I love love this die and the SCRAPHOUSE shop in Switzerland has lots of new release products by Lawn Fawn and many more.

This is really a fun and easy card to make. Here is a small video on how it works.


FUN!!!! right?
Here are some photos of the card:


Tuesday, February 25, 2020

Studio Katia: Adore You Card

Hello everyone!I am sharing a CAS card on Studio Katia blog today. I am getting into spring mood even though we didn't have snow this year...lol. So I used some pastel shades for my card.


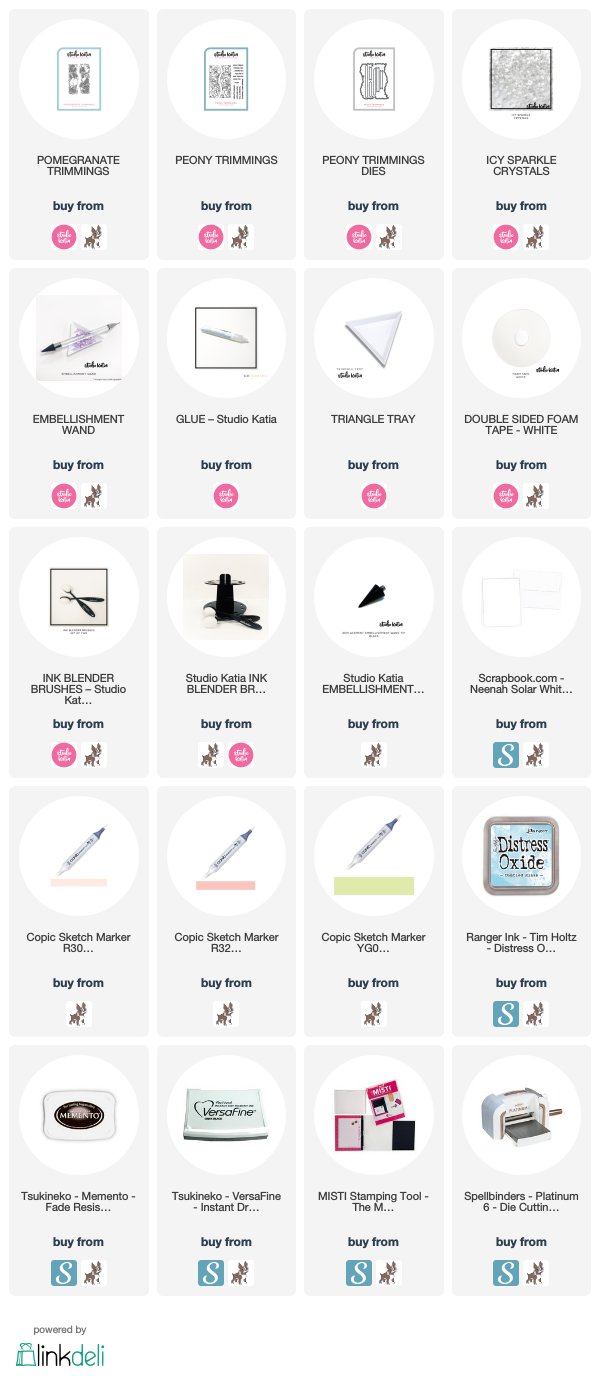
I started by making a white top fold cardbase. I cut a mat layer and stamped the images from the Pomegranates Trimmings stamp set using a copic friendly ink. To keep everything simple, I went with flat coloring and just three colors of copic markers. I really love the end result. I used YG03, R30 and R32 markers and colored the image.

I then applied Tumbled Glass distress ink to the top and bottom edges of this panel using the SK Blender Brush.

I wanted to mat this layer before adhering it to the cardbase, so I took a white cardstock and colored the edges using R32 copic marker so it matches the color of the image.

I used the sentiment and banner die from the new Peony Trimmings stamp and dies set. I die-cut an extra banner out of white cardstock and colored it using R32 copic marker once again. I adhered it to the sentiment banner but offsetting it a bit.

I adhered the banner using Studio Katia 3D foam. To finish, I added a few Icy Sparkle Crystals.

Thank you for dropping by! Have a nice crafty day!

Tuesday, February 18, 2020

WOW! Embossing Powder: Thanks Card

Hello everyone! For my card today, I have used the new WOW! Trio Dockside by Jo Firth-Young. I love the gorgeous mix of various embossing powders, glitter.


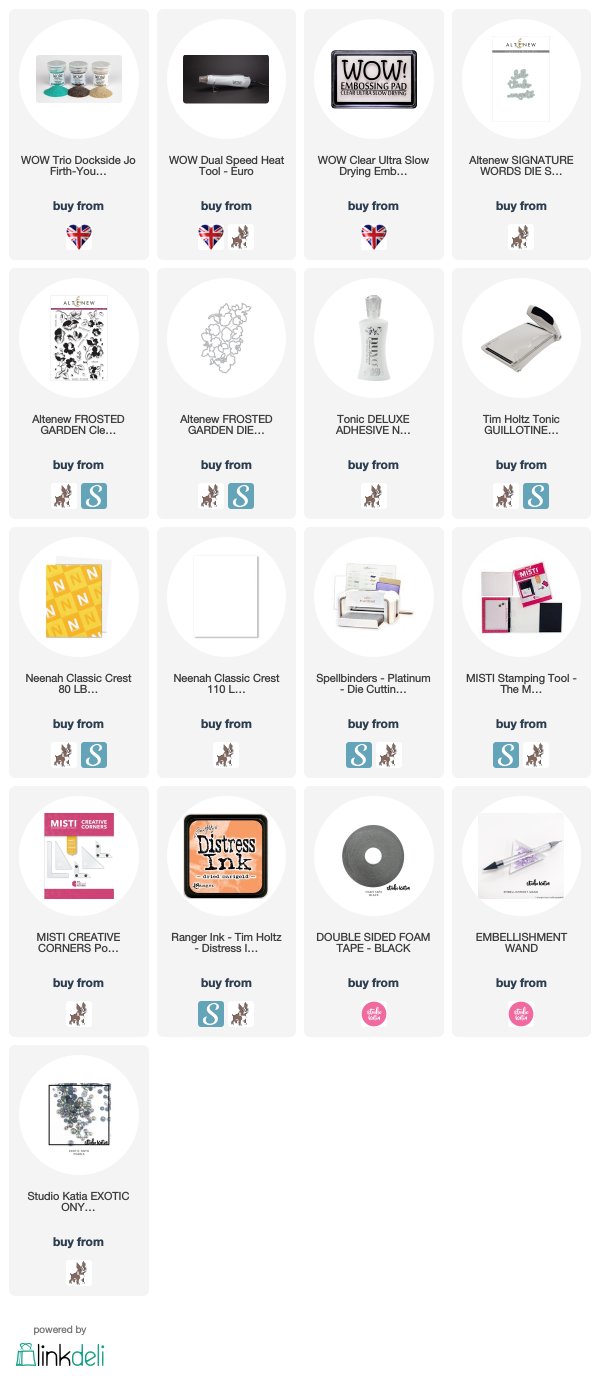
I started by creating a background by sponging some dried marigold distress ink to the center of my card. I then stamped various images from Altenew Frosted Garden stamp using WOW! Clear Embossing ink onto a white cardstock. I sprinkled Glassy Ocean and Sparkling Sand embossing powders and heat embossed using the Dual heat tool.

Whenever I am using embossing powders with glitters in it, I always heat set a bit from underneath and then heat set from the top. This helps the embossing glitter to stick to the cardstock better. Stamp the floral center using Altenew (Autumn Blaze) ink. Die-cut the images.


I then applied the embossing ink to a piece of cardstock, sprinkled oiled Slate embossing powder and heat set it. I will be using this to cut stripes to add to both the sides of my sentiment stripe.

Now die-cut the word "thanks" from white cardstock using Altenew Signature Word Die.

Apply embossing ink, sprinkle Oiled Slate ep and heat set it. I repeat the process one more time for some extra dimension.


Assemble everything together. To finish add some Onyx pearls by Studio Katia.

I hope you like the use of Embossing Glitter and play with us for the monthly challenge. Looking forward to see your creations.

Happy crafting and a nice day!

There are some awesome new release at WOW! Embossing Powder and I have a 10% discount code for you too :) Simply enter wowdtig at the checkout.

Thursday, February 13, 2020

Altenew February 2020 Stamp/Die/Stencil/Watercolors Release Blog Hop + Giveaway

Hello and welcome everyone! I am super delighted and honored to be a part of the February 2020 Stamp/Die/Stencil/Watercolors Release Blog Hop over at Altenew. You are going to love these Artists Watercolor 24 pan set as it has a wide range of fun colors. You can check all the new release products HERE.


You should have come here from the lovely Nathalie DeSousa's blog :)

I have four cards for you using various techniques to show how versatile these colors are.
Card 1
I created this fun look using watercolor to stamp the pretty leaf from the Retro Plantines stamp set. 
I applied some watercolors onto my craft mat, spritz little water. I now used this as my ink pad and stamped the images to a panel of Fabriano Artistico hot press paper. Flick some black watercolor to it. This technique gives a lovely soft effect.

 I then stamped the sentiment onto a blue cardstock and die-cut in a circle. To give more focus on the sentiment, I simply die-cut the smallest of the Nesting Labels die using white cardstock and vellum. I adhered the vellum onto the white die-cut for a softer effect. Adhere the sentiment onto it using 3D foam.

Adhere the panel to a blue cardbase.
Card 2
For my 2nd. card, I was trying out the watercolors and simply painted some freehand florals and leaves onto Arches cold press watercolor paper.  The sentiment I used is from the Incredible stamp set from the January release.


Once the image was dry, I flicked some black splatters and stamped the sentiment. 


Love how this card turned out :)

Card 3
Since, I enjoyed the freehand watercoloring process, I made the next card a bit easier. I stamped the Watercolor Halftone floral cluster onto arches cold press watercolor paper panel using Altenew Rose
Quartz ink. Now I had a shape ready for me to play with the watercolors. I used the watercolors to color the image.

I stamped and embossed the sentiment from the Incredible stamp set using silver embossing powder.


Card 4
For this card, I went with no-line coloring technique. I love this technique in all the coloring mediums. First I created a background watercolor wash in muted colors. I then stamped the florals from the Garden Treasure stamp set and the leaves from the Leaf Clusters stamp set using Antique Linen distress ink onto Fabriano Artistico hot press watercolor paper. 

I find this ink to be perfect for my kind of coloring. I colored in all the images and die-cut them. Once everything was ready, I simply created the cluster and adhered them to the mat layer.
 
Finally, I adhered the panel to a mint cardbase.

Prizes:

To celebrate this release,
Altenew is giving away a $50 gift certificate to 6 lucky winners! Please leave a comment on the Altenew Card Blog and/or Altenew Scrapbook Blog by 2/18/2020 for a chance to win.

There will also be a winner from each blog to receive a $20 gift certificate from the comments left on each designer’s blog on the blog hop list below. All winners will be announced on the
Altenew blogs on 2/21/2020. 
The next stop on the hop is wonderful
Jenny Colacicco

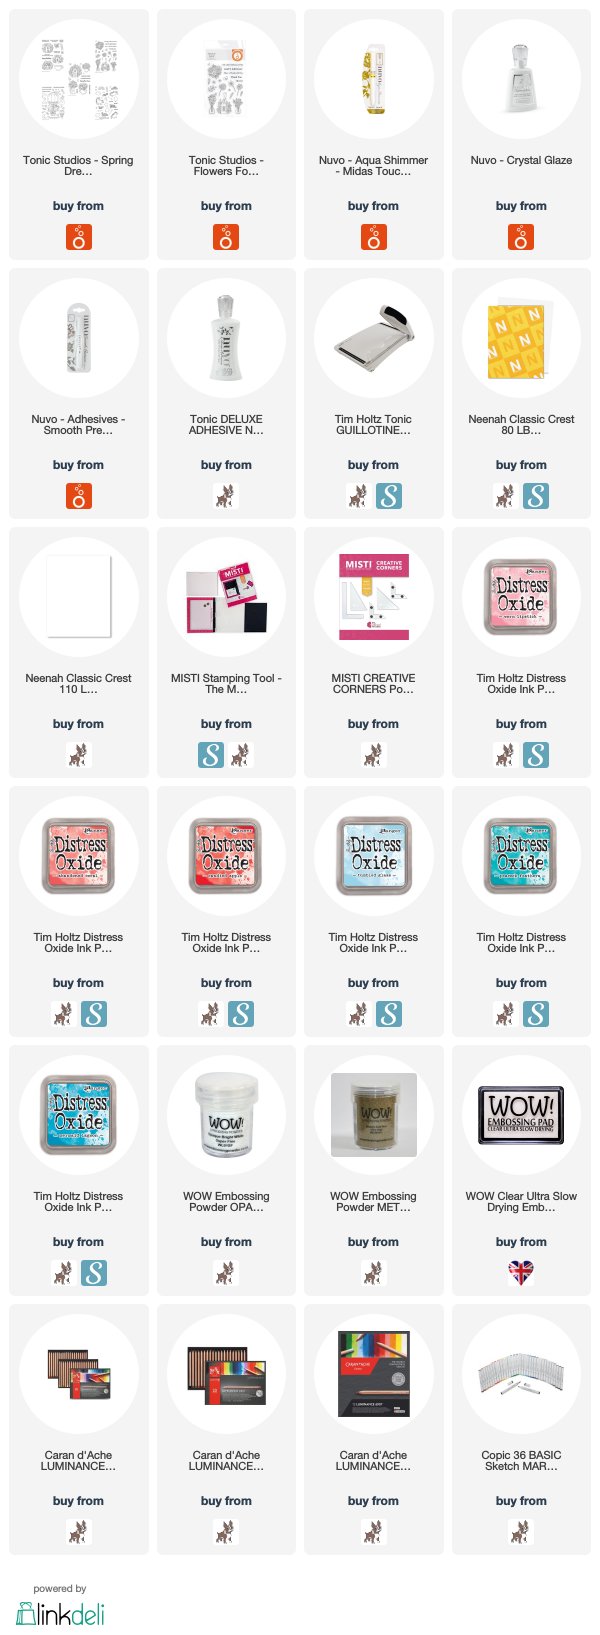
You can find links to the supplies I’ve used below; click on the picture or shop icon to get taken directly to the product. Where available I use compensated affiliate links which means if you make a purchase I receive a small commission at no extra cost to you. Thank you!  

Tonic Studios Spring Dreams Stamp Collection Online Party

Hello Everyone! I am so excited to be part of today’s Spring Dreams Stamp Collection Online Party, hosted by Tonic Studios to help celebrate their newest release!
This is a small release of 5 stamp sets fully illustrated by Tonia Tkach

https://shareasale.com/r.cfm?b=1218484&u=1051809&m=81375&urllink=www%2Etonic%2Dstudios%2Eco%2Euk%2Fcollections%2Fspring%2Ddreams%2Dstamp%2Dcollection&afftrack=

I have two cards for you using the adorable Flowers For You stamp set.
Card 1: I started by stamping the background using WOW! clear sticky ink and embossed the images using  Metallic Gold Rich embossing powder. I then sponged distress inks to the panel. Flick some water and let it dry.

Now, I used my Caran D'Ache pencil colors to add a bit color to some of the images. I then applied Nuvo aqua shimmer pen in Midas Touch to the images. Stamp and emboss the sentiment. 


Adhere to the panel using 3D foam tape. 

Card 2: I started by sponging some distress oxide inks to the panel to create an ombrè look. I then flicked some white and gold pain to the edges. I then stamped the image to Neenah solar white cardstock, colored them using copic markers and fussy cut the image. 


I then, applied some Nuvo aqua shimmer pen in Midas Touch to the hearts and applied Nuvo Crystal Glaze to them. Let it dry. Adhere to the mat layer. 


I then stamped the sentiment in black and sponged some ink to the edges of the stripe. Adhere to the card.

Spring Dreams UK

Spring Dreams USA

There is a 15 % off Discount code on the stamps for our party guests


Click on the shop for the CODE FOR THE USA SHOP
and the CODE FOR THE UK SHOP

Studio Katia - Hello Shaker Card

Hello everyone! Today I am sharing an adorable shaker card using the new release products by Studio Katia on their blog. If you know me then you already know how much I love making flat shaker cards as they are so easy to mail :)

I started by taking a white panel. I die-cut this panel using the Scallop Honeycomb Cover die. I colored one of the hexagons using yellow copic marker. Stamp the word "HI"
 

I adhered the acetate sheet behind this panel using a liner tape. The new SK acetate sheeets in the shop are amazing and crystal clear. I then put Chunky Sparkle glitter to a white cardbase and adhered the die-cut panel to the card using Studia Katia glue.I adhered the yellow hexagon to the card using the new double sided foam tape.

Stamp the bees from the Honey Bees stamp set onto a copic friendly cardstock. Color and die-cut them using the coordinating dies.
 

To finish, apply a little bit of glue to the bee wings and sprinkle some chunky glitter to it. Thank you for dropping by! Have a nice crafty day!

Supplies

Honey Bees Stamp

Honey Bees Die

Scallop Honeycomb Cover Die

Double Sided Foam Tape

Acetate Sheets

Chunky Sparkle Glitter

Studio Katia Glue