Friday, September 27, 2024

Pinkfresh Studio - Creative Stencilling

 Hello and Happy Friday everyone! Isha back on the Pinkfresh Studio blog sharing on creative way to stretch your stencils. I really like to stretch my supplies and Pinkfresh products are really versatile to just help me do that.

For my first card, I used the stencils from the Art Deco Floral Arch Suite but instead of using them to add color to the images, I created the fun background by using only two of the stencils.


I paired this background with the floral from the Garden Party Die, Nested Elongated Ovals die, sentiments from the Here For You stamps and the coordinating dies.

Sponge inks (Lemon Whip, Marigold, Coral Reef) to a white card panel, sponge the same inks through the stencil in an ombré. I used the 1 inch and 1/2 inch blending brushes. Die-cut the center using the Nested Elongated Ovals die. Adhere the oval to a yellow card and the negative outer frame using 3d foam.


Die-cut the flowers and leaves from the Garden Party Die. Sponge inks (Marigold, Coral Reef, Passion Fruit, Mint, Emerald City) Adhere to the card. I die-cut some leaves from vellum and adhered them to add some layering. Flick gold paint to this card.


Stamp the sentiment from the Here For You stamps using Detail Black ink, die-cut using the coordinating dies. Die-cut one more sentiment using the Gold Glitter cardstock, adhere behind the stamped sentiment slightly offset. Adhere to the card using 3d foam. Adhere Sparkle and Shine glitter drops around the sentiment and to the flower center I used Clear Gems with gold dust.

For my second card, I used the leaves part of the Garden Party stencil and sponged inks (Sheer Freesia, Soft Lilac) through it.


Adhere this piece to a lilac cardbase. Next, I die-cut inverted scallop from the Stitched Scallop circle die from Glacier Glitter cardstock. Adhere to the card using 3d foam.


Ink (Raspberry Bliss, Hydrangea, Marigold, Mango Sorbet, Mint, Lush Forest) the flowers and leaves using the stencil. Die-cut using the coordinating die. I die-cut some leaves using white cardstock too.


Spray some sparkle frost spritz for subtle shimmer to all the die-cuts. Adhere to the card. Stamp the sentiment from the Here For You stamps using Detail Black ink, die-cut using the coordinating dies. Adhere to the card.

Hope you got some ideas to stretch the stencils.
Have a nice weekend. Thank you for dropping by!
 

Friday, September 13, 2024

Pinkfresh Studio - Shaped Cards and Fun with Vellum

Hello and Happy Friday everyone! I am on the Pinkfresh Studio blog and today I have two shaped cards with fun techniques using vellum. Did you know, it's so easy to foil using the press plates onto vellum? And that we can use Pinkfresh Studio inks to color onto vellum too. It doesn't take much time to dry but if you are in a hurry, simply heat set using the low heat setting.

I love using vellum on my cards and sponging ink to the edges gives beautiful glow to the cards.

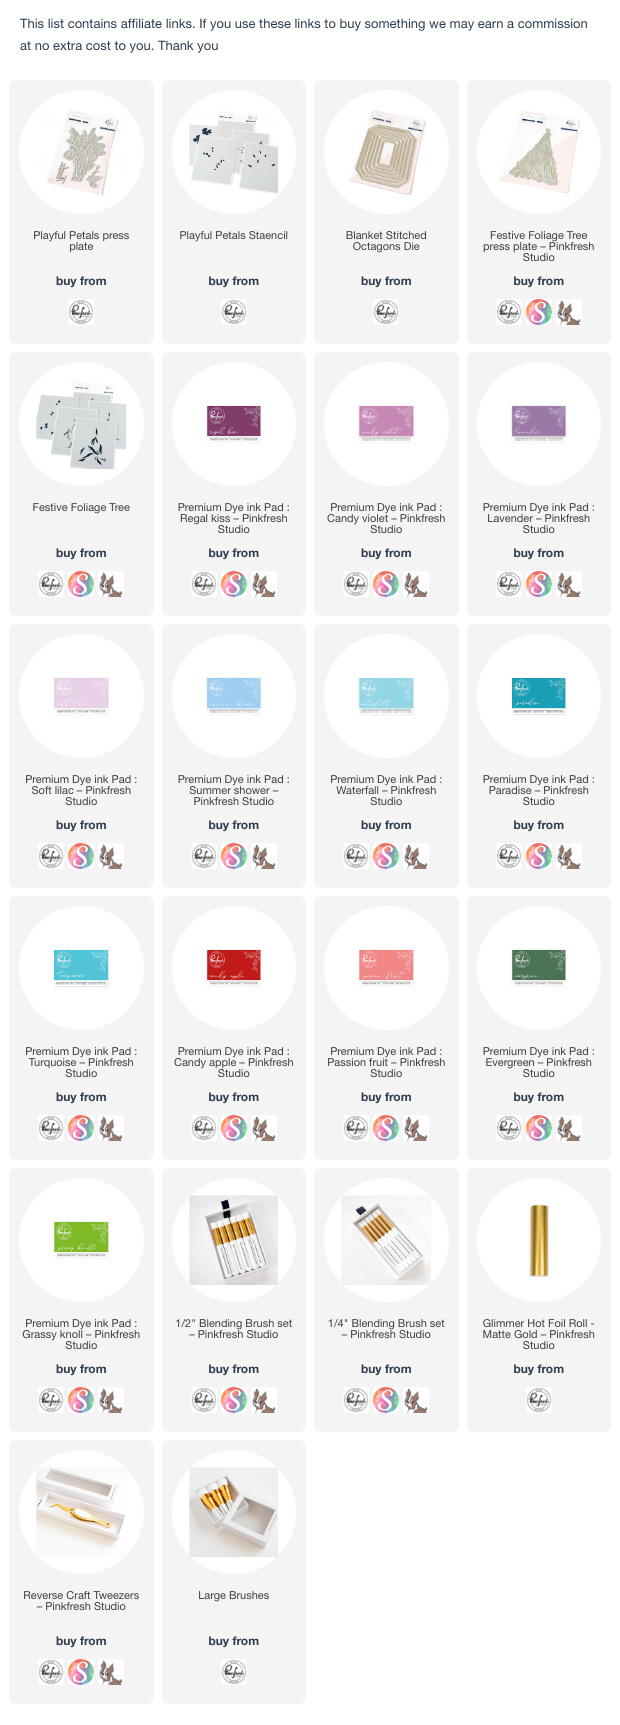
For my first card I used the Festive Foliage press plate to foil the image using Matte Gold foil. Using the coordinating stencils, I added inks ( Grassy Knoll, Evergreen, Passion Fruit, Candy Apple, Turquoise, Paradise) to the image with the 1/2 inch blender brushes.

Next I used the new bigger blender brush and applied Waterfall ink to the outer edges. Die-cut two pieces of white cardstock using the biggest die from the new Blanket Stitched Octagons dies. Score half inch from the top of one piece, add adhesive to the scored part and adhere to the back of the second piece to create a shaped base. Adhere the vellum layer to a white cardstock.

Die-cut a lilac frame using the Blanket Stitched Octagons dies. Adhere to the card using 3d foam.

Stamp the sentiment, sprinkle gold embossing powder and heat set. Adhere the sentiment to the card.

For my second card I used the new Playful Petals press plate to foil the image using Matte Gold foil. Using the coordinating stencils, I added inks ( Grassy Knoll,, Summer Shower, Soft Lilac, Lavender, Candy Violet and Regal Kiss) to the image with the 1/2 inch blender brushes.

Foil and die-cut the sentiment. Adhere to the card.

As for the above card, create the shaped card and assemble everything. Hope you enjoyed the playful vellum.

Thank you for dropping by!
Tuesday, September 10, 2024

Pinkfresh Studio “Here for You” Release Blog Hop

Hello everyone! I am so excited to join Pinkfresh Studio "Here for You" release bloghop. This release has a lot of products for a variety of styles. And we have the new broader blending brushes too, which will make ink blending like butter :)

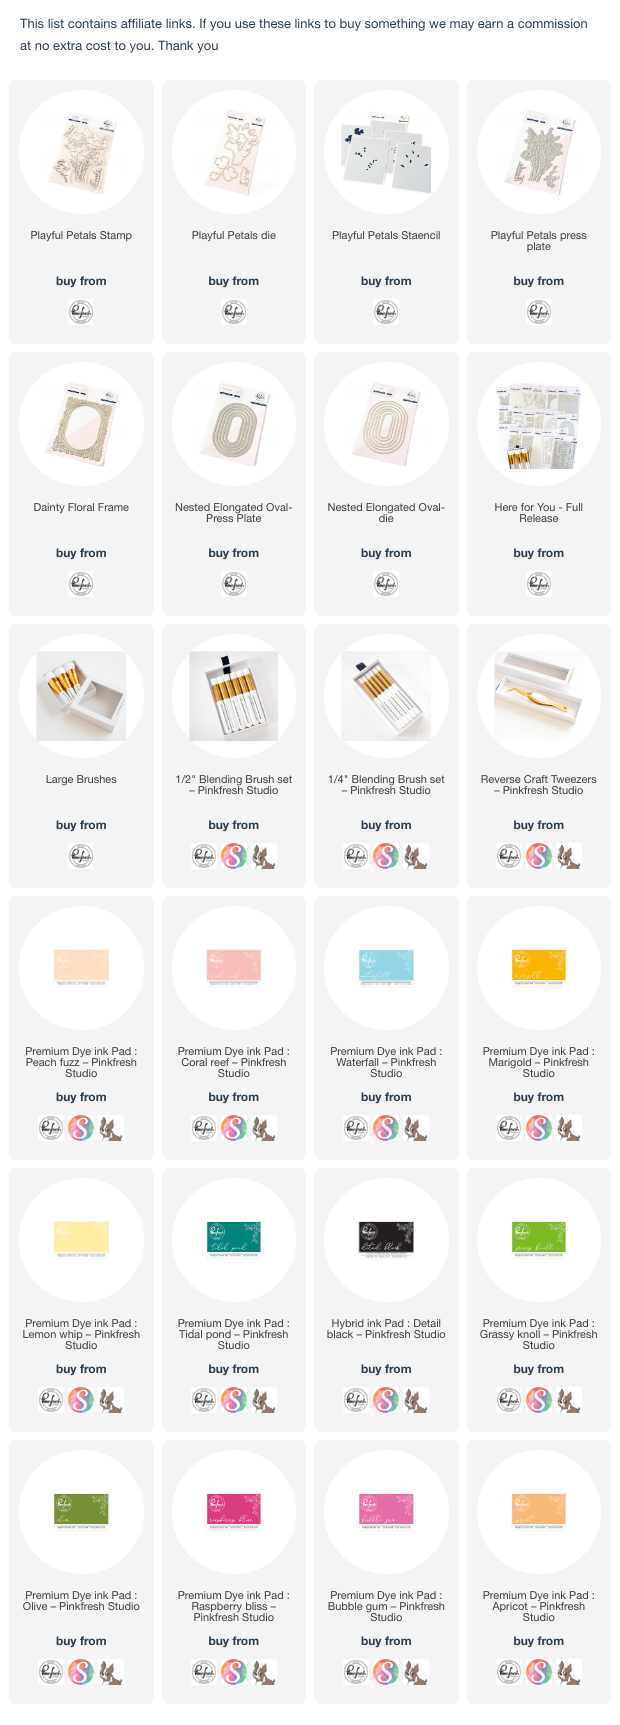
I have two cards for you today using the Playful Petals press plate, stamp, dies and coordinating stencils. This die is special as there is an extra die in it that cuts out just the larger flowers from the bouquet, which gives the option of popping them on the bouquet or use them as separate flowers. I have a card for you for tomorrows Instagram hop.


I started by sponging inks (Peach Fuzz, Coral Reef ) through the Overlapping Stencils, here I used only the stencil no.1 from the back side. Use press plate with the detail black ink for the beautiful effect. Create two panels, sponge inks. Out of the second panel, die-cut the three flowers only. 
 
 
Adhere the floral bouquet to the sponged layer. Adhere the 3 flowers using 3d foam. 
Stamp and white emboss the image onto vellum. Use part of the image behind the main image.

Adhere the panel to a peach cardbase. Add sentiment to finish the card.

For the second card I used the Dainty Floral Frame press plate onto white card to get the embossed look. 

Next, foil the image using the Playful Petals press plate with matte gold foil. Add color using the coordinating stencils. Die-cut using the Nested Elongated Ovals die. Use the Nested Elongated Ovals press plate to foil and die-cut using the dies to create the frame. 

Adhere the frame to the image using 3 d foam and adhere this to the card. Add the layer to a light peach cardstock.

Hope you enjoyed the cards. Don't forget to hop on the Instagram hop for a fun twist to this new feature of the die.

GIVEAWAYS:
Pinkfresh Studio will be giving away the full release on the Pinkfresh blog & YouTube channel.
As well as a total of TEN $25 gift cards along the hop. As per usual with blog hops - the winners will be picked from the comments.

 Pinkfresh Studio will pull the winners & post them on September 18, 2024 on their GIVEAWAY PAGE. Don't forget to check that page & claim your prize within 2 weeks.

Here is the link to complete HOP list
CLICK TO ENTER HERE