
Hello and Happy Friday everyone! I am on the Pinkfresh Studio blog and today I have two shaped cards with fun techniques using vellum. Did you know, it's so easy to foil using the press plates onto vellum? And that we can use Pinkfresh Studio inks to color onto vellum too. It doesn't take much time to dry but if you are in a hurry, simply heat set using the low heat setting.

I love using vellum on my cards and sponging ink to the edges gives beautiful glow to the cards.
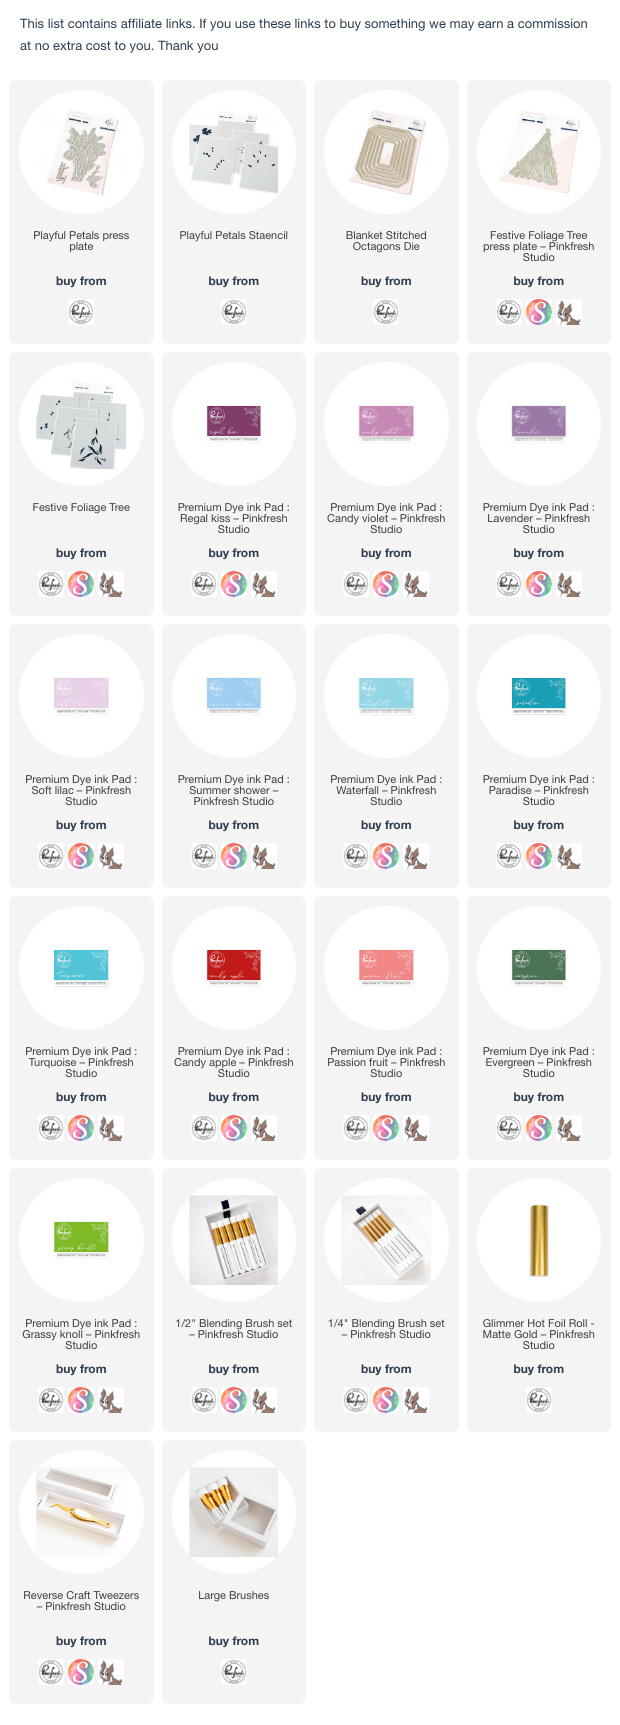
For my first card I used the Festive Foliage press plate to foil the image using Matte Gold foil. Using the coordinating stencils, I added inks ( Grassy Knoll, Evergreen, Passion Fruit, Candy Apple, Turquoise, Paradise) to the image with the 1/2 inch blender brushes.
Next I used the new bigger blender brush and applied Waterfall ink to the outer edges. Die-cut two pieces of white cardstock using the biggest die from the new Blanket Stitched Octagons dies. Score half inch from the top of one piece, add adhesive to the scored part and adhere to the back of the second piece to create a shaped base. Adhere the vellum layer to a white cardstock.
Die-cut a lilac frame using the Blanket Stitched Octagons dies. Adhere to the card using 3d foam.
Stamp the sentiment, sprinkle gold embossing powder and heat set. Adhere the sentiment to the card.
For my second card I used the new Playful Petals press plate to foil the image using Matte Gold foil. Using the coordinating stencils, I added inks ( Grassy Knoll,, Summer Shower, Soft Lilac, Lavender, Candy Violet and Regal Kiss) to the image with the 1/2 inch blender brushes.
Foil and die-cut the sentiment. Adhere to the card.
As for the above card, create the shaped card and assemble everything. Hope you enjoyed the playful vellum.
No comments:
Post a Comment