Wednesday, December 18, 2019

Altenew: A Year In Review Blog Hop + Giveaway

Hello and welcome to this special "A Year In Review Blog Hop" by Altenew. As the title already suggests, we're going to review the past year and showcase some of our favorite projects.


I absolutely love the products by
Altenew! They have a wide variety of products, which means something for everyone :)

This is going to be a long post so get a cup of steaming coffee/ Tea and enjoy!! You should have come here from the super talented Therese Calvird's Blog.

Here are my Top 4 projects from the last year and a few more. As you see, there is a wide range of AWESOME products to create a variety of styles.


For this card, I used lots of different products and went for my favourite mixed media kind of look :) I did some no-line watercoloring for this card. Love how it turned out.

I used Leaf Medallion Die to create a base for the floral cluster. I used Sketched Lines Stencil for the background. For the flowers, I used the Delicate Primrose stamp set with the Delicate Primrose die and the Engraved Flowers stamp set. For colouring I used the Daniel Smith watercolours.


Please click HERE for more details about this card.


For this next card I used the Floral Garden stencil and the Scripts Word Die along with the Dotted Swirls Debossing plate. I sponged the florals using pink and yellow ink. Now the special part of this stencil is that turn it 180° and then sponge the leaves. I then used copic markers and FaberCastell Polychromos to add some dimension to the panel. I then used the dotted swirl plate and debossed the panel. This gives a subtle texture to it. Die cut the word "HUGS" using white and black cardstock. Color using Copic markers to get the ombré effect. Apply shimmer pen to it and layer it with black die-cut slightly offset to get a shadow effect.


Here is a close-up to see all the texture. For more details on this card please click HERE.


For my next card, I simply wanted to highlight the Everlasting Happiness stamp. I stamped the image onto vellum and colored it using Faber Castell Polychromos and Caran D'Ache Luminance pencil colors. I stamped and embossed the sentiment using WOW! Gold embossing powd


To finish, I added some Confetti by Studio Katia. For the details about this card please click HERE


Moving onto the next card, I used the GORGEOUS new layering stamp Delicate Clusters and the Delicate Clusters die along with the pretty patterned paper from Celestial Paper Pack

I didn't use the stems from this Delicate Clusters florals, I simply used the floral heads, stamped them in rainbow colors using the Shades of Purple, Cherry Blossom, Sweet Dreams, Green Meadows, Pocketful Of Sunshine and Warm & Cozy Crisp inks. These inks are made perfectly for your layering requirements. No need to think and match the colors :)

Please click HERE for more details on this card.

 
The shaker element gives this card a special touch for sure :)


I went for a CAS style for my next card along with a shaker window for an added interest. I used the GORGEOUS Leaf Medallion Die as my focal image. I die-cut the inside part of this 2 part die and backed it with a lovely pattern using the paper from the New Day Card Kit. I then die-cut a window from the center and created a shaker window. I die-cut the word "HUGS" from the
Script Word Dies and adhered it to the card.


For details on this card please click HERE.


For my next card, I used the Deco Wonder Stencil and Mega Love Die. I simply sponged the panel using various distress inks. Apply Nuvo glimmer paste towards the top of the panel. Let this panel dry. I then die-cut the word "love". Make sure to keep all the negative pieces too. I stacked the word LOVE using 3 layers of die-cuts. Adhere the mat layer to the cardbase. Adhere the word to this layer, it fits like a puzzle. Adhere the negative pieces to the panel.


Here is a close-up to see all the subtle sparkle and the inlaid word :) Looks beautiful in real life. For more details please click HERE.


Below I used the new Delicate Mandala Die, Virginia Rose 3D Die along with the Signature Words Die. I started by die cutting the mandala using a thin cardstock and used it as a mask in the center of the panel. added some Salty Ocean distress ink using packaging technique. I then removed this mask, dried it and adhered to the corners of my panel. I die-cut the flowers and the leaves.


For more details on this card please click HERE.


For my card below, I used the new Layered Stars Die along with the Kind Confetti Stamp and the GORGEOUS patterned papers from the Celestial paper Pack. All the details are in the video for this card :)


Watch the video for the details. You can watch on YouTube HERE


Next card is a tall mixed media card. I used lots of stamp, dies, stencils for all the texture and depth. I used Sunflower Daisy Stamp and die, Leaf Clusters Stamp and Die, A Walk in the Wood Stamp, Broken Chevrons and Sketched Lines Stencils. I also used Pink Pearl, Coral Berry, Sweet Leaf, Evening Gray, Parrot and Moss inks, Altenew Embossing paste.


For more details on how to create this card please click HERE.


For this card, I used the Pen Sketch Mandala stamp, Super Script stamp and die, Rose Gold, Platinum and Copper Embossing powders.


Watch the video for the details. You can watch on YouTube HERE.


For my next card, I used the Doily Frame Stencil along with the Leaf Clusters stamp and dies and the Peaceful Reverie stamp and dies


For all the details on how to make this card please click HERE.


Thank you for ahnging in there with m,e till now. Sorry as this is a really long post :) The next blog on the hop is Anna Komenda.
How about some prizes....YAY!!!

Prizes:

Altenew is giving away a $30 gift certificate to 6 lucky winners! Please leave a comment on the Altenew Card Blog and/or Altenew Scrapbook Blog by 01/03/2020 for a chance to win. Random winners will also be chosen to win a $15 gift certificate from the comments left on each stop on the hop. All winners will be announced on the Altenew blogs on 01/06/2020.

If you like my creations, lets become friends on Instagram, where I share many more :)


Blog Hop Order:

Altenew Card Blog
Keeway Tsao
Laurie Willison
Michelle Murray
Kristina Pokazanieva
Norine Borys
Gayatri Murali
Jen Schow
Mindy Eggen
Vicky Papaioannou
Ashlea Cornell
Nenette S. Madero
Janette Kausen
Altenew Scrapbook Blog
Nathalie DeSousa
Terri Koszler
Seeka
Jaycee Gaspar
Teri Wilson
Amber Rain Davis
Therese Calvird
 
Have a great time. Merry Christmas and a Happy New Year!!! 

Studio Katia: Using Foil onto stencil

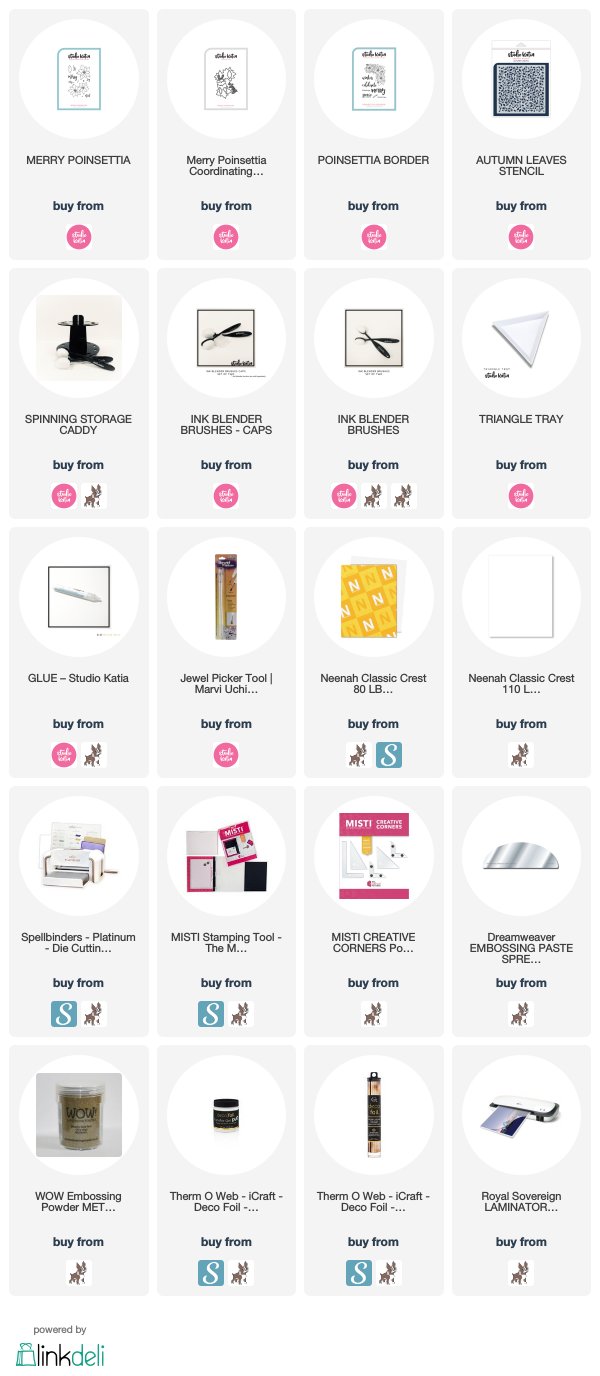
Hello everyone!Today I am sharing a card using foiling with stencil technique. I really am in love with the Autumn Leaves stencil by Studio Katia and find them to be so versatile.


I started by taking a red cardbase. I then created the mat layer for which, I simply applied Deco Foil transfer gel through the stencil. Let it dry for a couple of hours. Once dried, I ran it through the laminator using Amber Watercolor deco foil. I then stamped and embossed the images onto a piece of watercolor paper using Metallic Gold Rich Pale embossing powder by WOW!


I now colored them using the zig clean color real brush markers. For shimmer I used Daniel Smith Pearl Shimmer watercolor. Now die-cut them using the coordinating dies.

Stamp and emboss the sentiment onto vellum stripe. adhere to the mat layer. Assemble everything together. Thank you for dropping by! Have a nice crafty day!

Wednesday, December 4, 2019

Fun Stampers Journey: Stamp of the Month December

Hello everyone! It’s December and I'm so pleased to share Fun Stampers Journey's December Stamp Of The Month: Penguin Waddle

I’m pretty sure these adorable penguins will waddle straight into your heart. Although the set is “winter” themed, it’s not really meant to be a holiday set. It's designed for multiple occasions; that makes this stamp extremely versatile. Not only do you have Friendship sentiments going on, you also have birthday and love (perfect for Valentine’s Day).

For my first card I made a birthday theme shaker card.

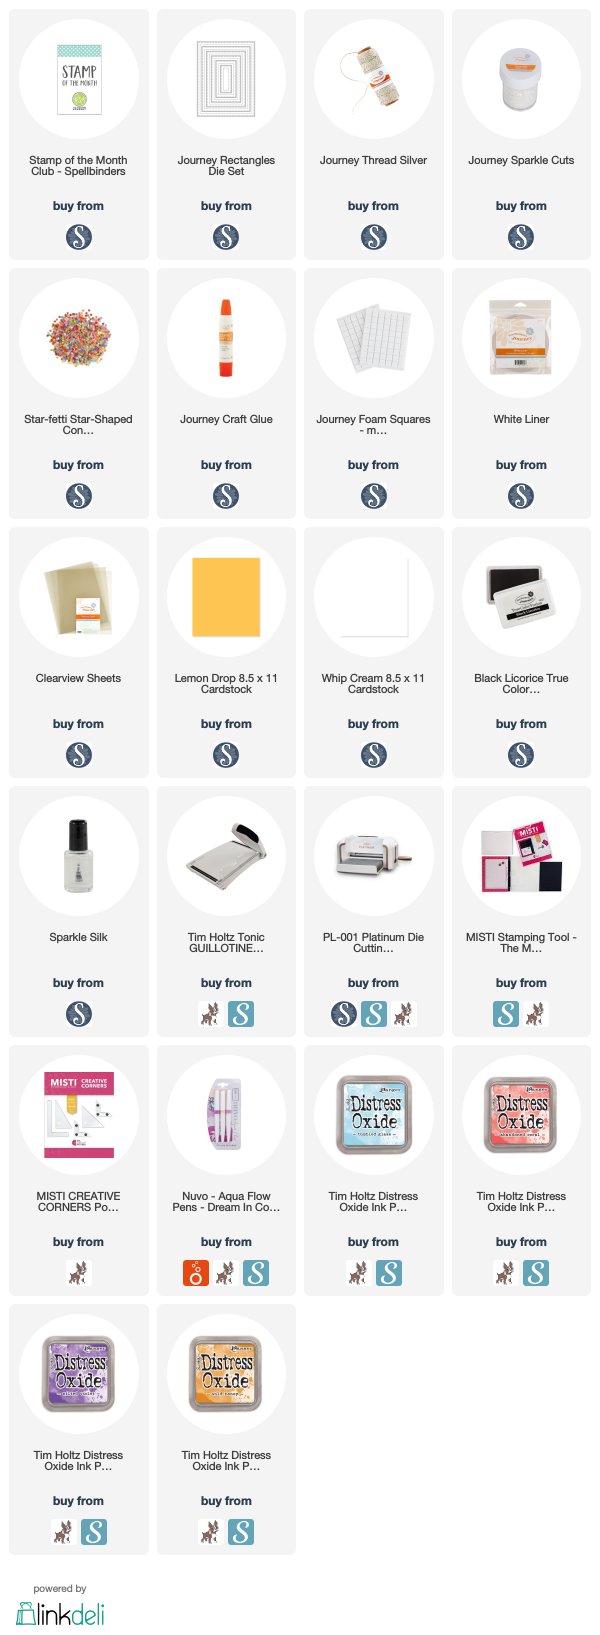
I did some no-line pencil coloring. I started by creating the mat layer. I masked the snow area and sponged blue distress oxide ink to create the sky. I then used the Bubble Bubble stencil and sponged some more ink for a subtle texture. 
I then stamped the images using a very light ink and colored them using polychromos pencil colors. I then die-cut a white frame using Journey rectangle dies.

I then adhered acetate behind the frame. I put some Star-fetti and Journey Sparkle Cuts to the colored panel and adhered the frame to it using the liner tape.
Adhere this shaker element to the white cardbase.

For my 2nd card I went for a fun and fresh look. 


I created the mat layer using various distress ink colors. I used the Bubble Bubble stencil and sponged some more ink through it. I then die-cut a white and a yellow tag using the Everyday Tags die set. 
I stamped the image to the white tag and colored a bit using copic markers.

Stamp the sentiment and adhere everything to the card.

You can find information on how to subscribe to the Fun Stampers Journey Stamp of the Month Club HERE.
Full list of supplies

Sunday, November 17, 2019

WOW! Embossing Powder & Gerda Steiner Designs Blog Hop

Hello Everyone and welcome to a very exciting, fun collaboration blog hop filled with cuteness, sparkle and shine.


You should have come here from Gerda Steiner Designs blog.

I have 2 cards for you today!
I used WOW! Embossing powders Opaque Bright White, Clear Gloss, White Puff Twinkle, Midas Touch for this card and Balancing Mouse Stamp set by Gerda Steiner

I started by sponging some distress inks to a white panel and then stamped the snowflake using the same inks for a subtle effect. I then flicked some white paint and let it dry. I then added Midas touch embossing powder towards the edges and heat set it. This is such a pretty powder and is one of my favourites.

I then stamped and colored the image. I added clear powder to the bauble and heat set it. I repeated the embossing 3 times to give it a more 3d effect. I then applied embossing ink using the embossing pen to the hat fur and embossed using White Puff Twinkle ep.


Love the fun dimension and texture of the fur!


For my 2nd card, I used Opaque Bright White, Metallic Gold Rich Super Fine, Sugared Almond, Taffeta Pink, Aventurine, Red Glitz Embossing Glitter by WOW! and Balancing Mouse Stamp set by Gerda Steiner

For this card, I stamped and embossed some snowflakes using white ep. I then sponged some inks in an ombre and stamped a few snowflakes. I stamped and embossed the bauble and sponged some blue inks. To make the colorful lights, I used embossing pen to the bulbs and embossed using various colored embossing powders. Love the effect in real.


It wouldn't be a hop without PRIZES, right?
Both WOW! Embossing Powder and Gerda Steiner Designs will each be giving away a $25 Gift card each to our stores.
So there will be TWO winners!
This hop will run for a week only and the winners will be announced on each of Monday, November 25th. So, be sure to check back on our blog then.

To be entered to win a prize all you need to do is leave a comment here and each of the designer's blog posts.
Your next stop is Jeannie Lieu's blog :)

Here is the full line up list below.

Gerda Steiner Designs
Isha Gupta <<You're Here>>
Jeannie Lieu
Raluca Vezeteu
Noga Shefer
Karen Reategui
Cathy Chapdelaine
Gemma Campbell
Jenny Colacicco
Ashlee McGregor
Tina Smith
WOW! Embossing Powder Blog

Thanks for dropping by and have fun hopping!

Thursday, November 14, 2019

Studio Katia and 25 Days of Christmas Tags 2019

Hello Everyone! Today I am really excited to be joining Tracey McNeely's 25 Days of Christmas Tags! If you are new to this fun event you can check out all the details here.


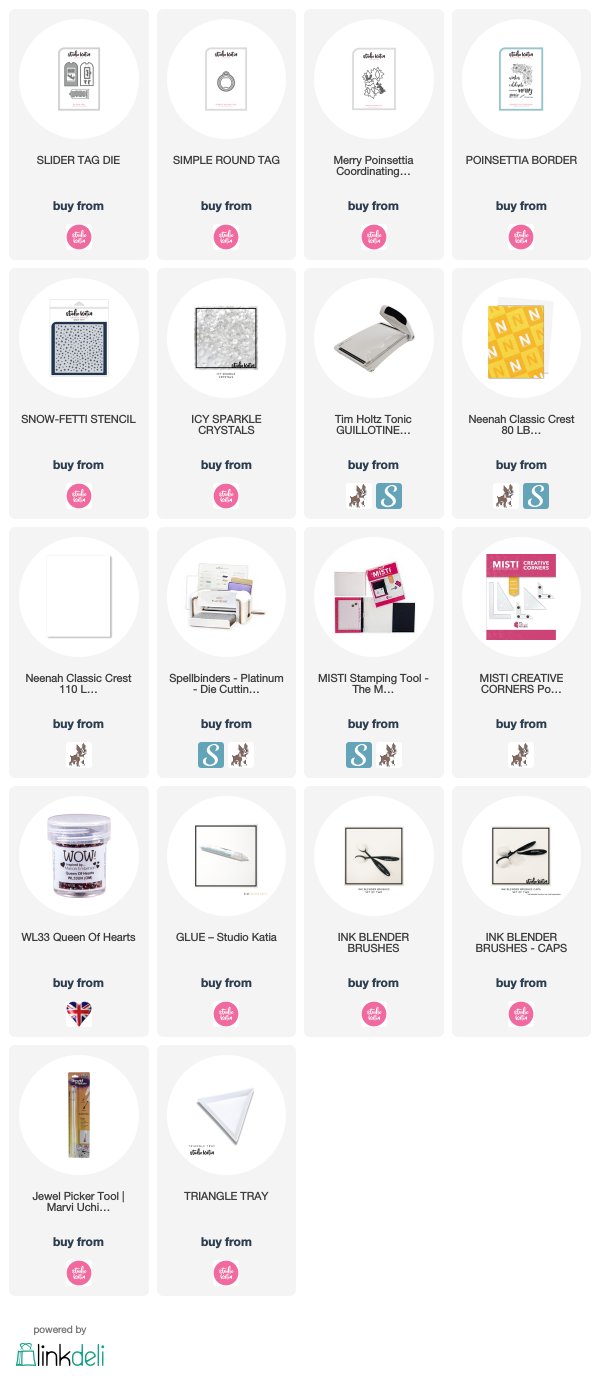
I created the tag using the products by Studio Katia.


Don't forget to check out Tracey's blog for more details on the 25 Days of Christmas Tags event - it's super fun and there are prizes up for grabs!

Thank you all for stopping by and have a great day!

Wednesday, November 13, 2019

Studio Katia: Paws for Kindness Blog Hop

Hello and welcome to Studio Katia Paws for Kindness special blog hop.

This is an exclusive stamp set and coordinating die bundle featuring specifically designed to celebrate the World Kindness Day.

You should have arrived from Dana Gong's blog and your next stop is Erum Tasneem's blog!


Studio Katia will donate $10 from every sale of this special stamp bundle to Pets in the Classroom, because we truly believe that all children should have the opportunity to learn about the responsibilities, respect for life and being kind to one another.


Sentiments and words included in this set:
- BEST, FRIENDS, KINDNESS, HUGS, XOXO, YOU
- sending, your way, with
- is in our hearts
- light up the world
- be silly be yourself be kind
- will always be remembered
- are like stars, you don't always see them, but you know they're there

Here is my card for you :)


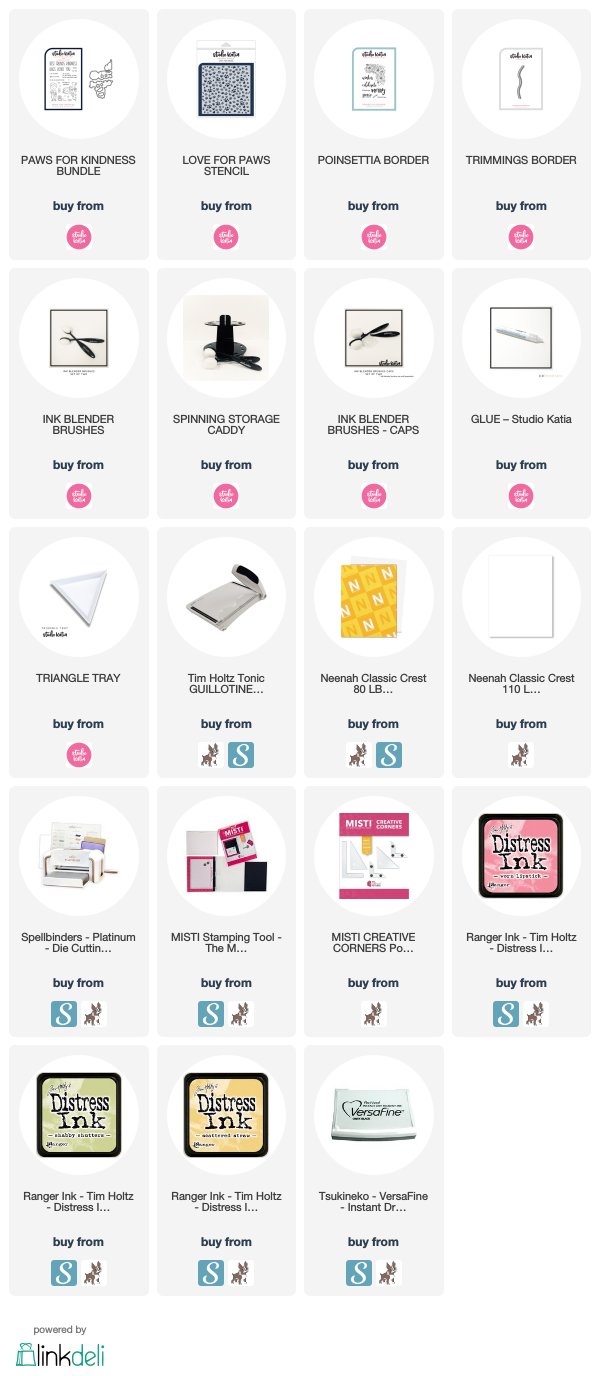
I started by masking a stripe onto my cardbase and sponged some inks. I then put the stencil over it and sponged some more ink. Remove the mask paper. Now, I stamped and colored the image using copic markers. I then die-cut it using the dies and adhered this to the card. Finally, I stamped the sentiment.
Easy and one layer so perfect for mailing too :)


Blog Hop Giveaway:

Studio Katia is giving away TWO $25 CAD gift certificates on their Blog. Winners will be chosen randomly from comments left under all the Blogs.
All comments must be left by Friday, November 22nd, 2019, 23:59 PM EST.
Winners will be announced on Sunday, November 24th, 2019 on SK Blog.

There's MORE: Katia kindly offered $15 Gift Certificate to one of my followers on my blog.All you have to do is follow my blog and leave a comment. I would appreciate if you follow me on Instagram too.


Sunday, November 10, 2019

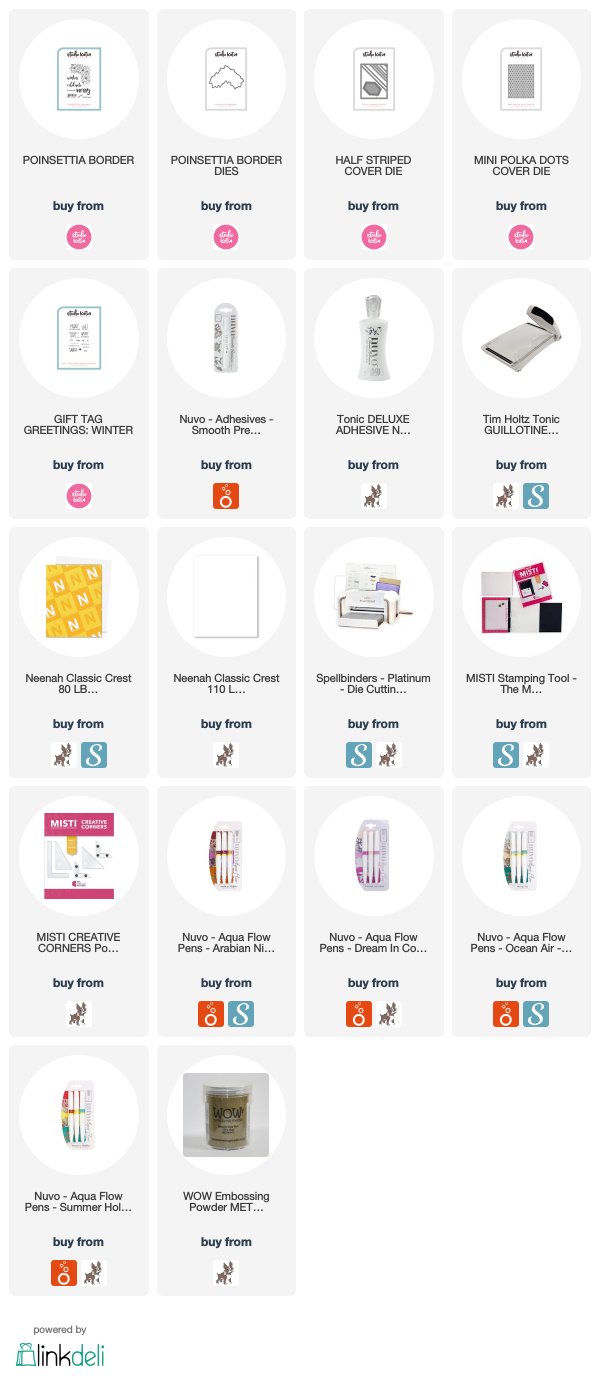
Studio Katia: Watercolor Poinsettia Card

Hello everyone!Today I am sharing a card on Studio Katia Blog using watercolor markers and lots of new release products. Here is my card with lots of layers still it's quite flat and perfect for mailing.


I started by creating a teal cardbase. I then die-cut a white layer using the Mini Polka Dot cover die. Trim it so its 4 by 5.25 inch. I then smooched some inks onto it to add more interest to the background.
Now, I stamped and embossed the poinsettia border using WOW! gold embossing powder. I colored them using Tonic aqua flow pens. Let it dry and then die-cut it.


Adhere the mat layer to the cardbase. Adhere the floral border. Die-cut a piece of vellum using the hexagon from Half Striped cover die. Stamp and emboss the sentiment using gold embossing powder. Adhere to the card center.
Thank you for dropping by! Have a nice crafty day!