Friday, September 24, 2021

MFT 2021 Card Design Superstar - Coloring Virtuoso

Hello friends! Hope everyone is doing fine. There is a lot going on in life at the moment and I really really needed a distraction, I find crafting helps a bit, especially challenges. Normally, I don't play along challenges anymore due to time constraints but this one is close to my heart. I decided to create a card for the 2021 Card Design Superstar Contest hosted by My Favorite Things for the Coloring Virtuoso category.
 
I love playing with colors to forget everything, sounds strange. Try this, it's a great therapy. Anyhoo, I played with some watercolors and dabbled in no-line watercolor technique. It did take some time as I find for me it's easier to color florals  than critters :)
 
I used one of the cutest Stacey Yacula stamp "You Make Me Smile". Stamped the image using antique linen distress ink and colored using various watercolors.


 Hope you enjoyed this and try coloring, it's a great therapy :) Thank you for dropping by!

MFT 2021 Card Design Superstar - Clean and Simple Genius

Hello friends! Hope everyone is doing fine. There is a lot going on in life at the moment and I really really needed a distraction, I find crafting helps a bit, especially challenges. Normally, I don't play along challenges anymore due to time constraints but this one is close to my heart.  I decided to create a card for the 2021 Card Design Superstar Contest hosted by My Favorite Things.

I made a Clean and Simple card for the Clean & Simple Genius category. I love CAS cards as we can tell a whole story within the limited space :) Still keeping the eyes onto the strong focal point with plenty of white space. To give more interest, there is coloring and dimension.
 
I love gnomes, fairies, enchanted forest with cute critters, mushrooms and here I have it all....lol. I used the Hanging with My Gnomies stamp and dies. Stamped the images, colored using Copic markers, sponged some ink to create grass and sky Aaaand done.

 
I love this image and it was fun coloring it.

 
Thank you for dropping by and have a nice day!


Wednesday, September 22, 2021

Sunny Studio - New Year Cards

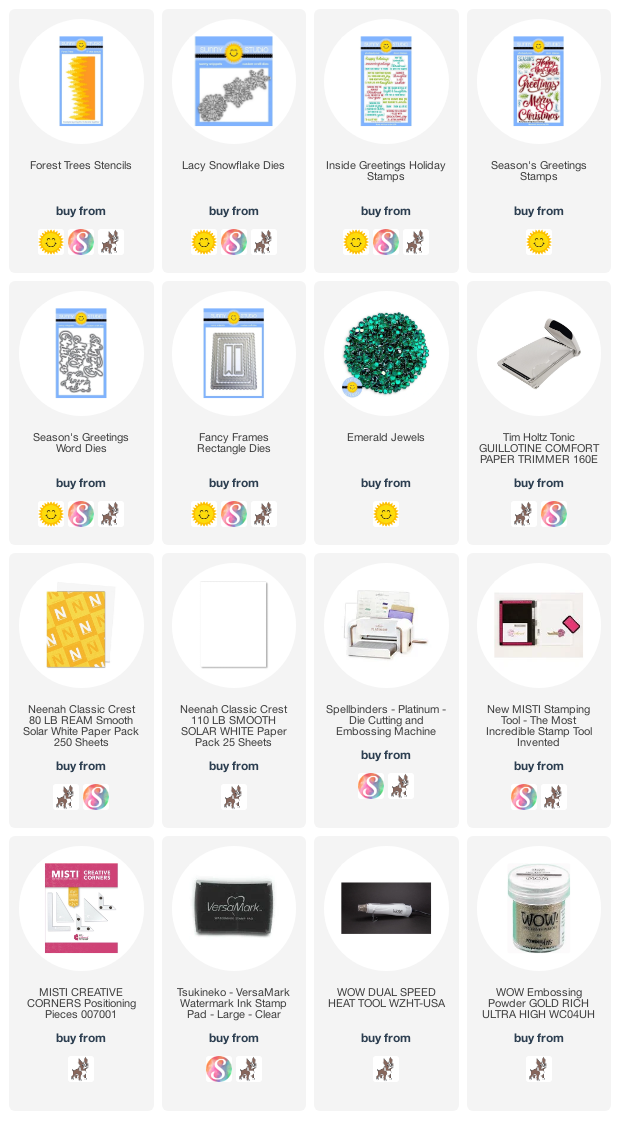
Hello everyone! Isha with you, sharing some fun and bright New Year cards. Today the focus is on the GORGEOUS Forest Trees stencils. This is a set of three stencils, which makes it easy to create beautiful backgrounds.

Card 1: I started by sponging distress inks in cracked pistachio, peacock feathers, lucky clover, pine needles onto a white cardstock using the Forest trees stencils. I used all the three layers and repeated the process to fill the whole background. 

I then flicked some pine needle, gold and white inks. Frame this piece using the Fancy Frames Rectangle.

Stamp the sentiment from the Seasons Greetings stamp set using versamark ink and emboss using WOW! metallic gold rich embossing powder. Die-cut using the coordinating dies. Die-cut one more piece using red cardstock and adhere this slightly offset behind the sentiment. Adhere this panel to a red cardbase. Add gold floss behind the sentiment and finish by using some Emerald Jewels.

Card 2: I sponged the background using distress inks in tattered rose, candied apple, abandoned coral, fired brick and aged mahogany as the above piece. The only difference is that I flipped the stencils to create the next layers. This gives a beautiful angled forest look. Flick, gold and white paint.Adhere this piece to the inner frame of the Fancy Frames die. Adhere this to a white cardbase. 

 
Die-cut the snowflakes using the Lacy Snowflakes die. Add some gold paint. Adhere to the card. Stamp the sentiment from the Inside Greetings - Holidays stamp set.
 

These cards were quick to make and are perfect for mailing. Thanks for dropping by!
 

Heffy Doodle - Autumn theme Cards

 Hello everyone! I hope you all have the new release goodies from Heffy Doodle in your craft room by now. If not, here are some cards to inspire you :)

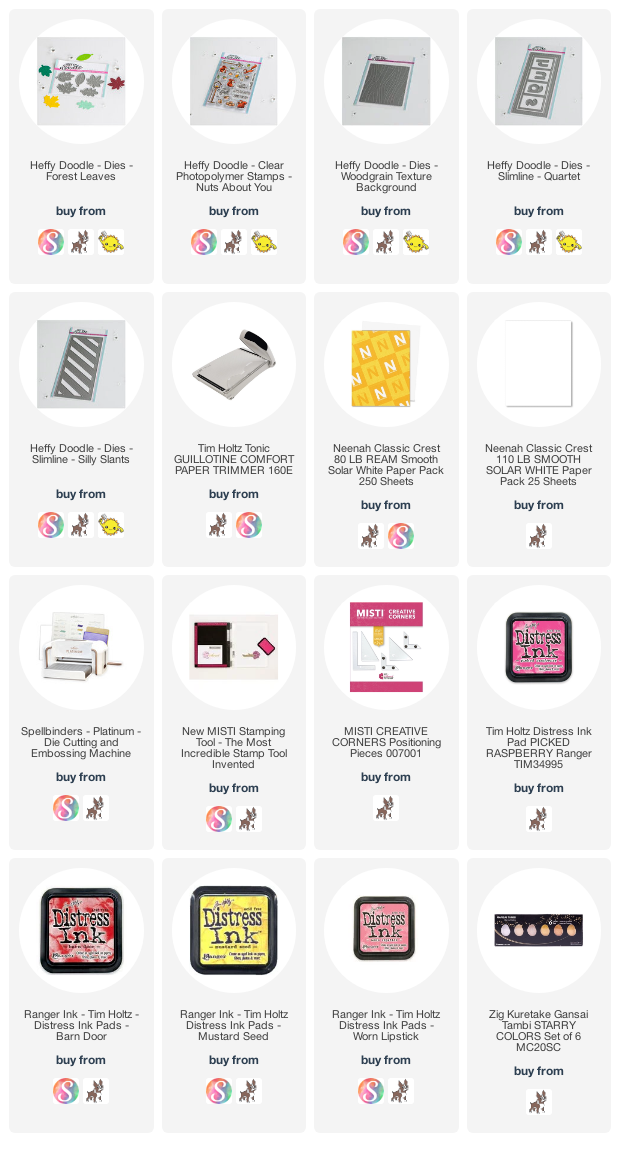
For the first card, I used the beautiful Forest Leaves dies. I really like the size and the center stitched vein of these dies. I created the background using the Woodgrain Texture background die for the wreath and the sentiment is from the Nuts About You stamps.

To start, I added distress inks in picked raspberry, barn door, mustard seed, worn lipstick to a watercolor paper using water and paintbrush. I then flicked some gold watercolor to it and let this piece dry.

 
Add texture to a white card by using the woodgrain background plate, add a ring for the wreath base using burlap. Die-cut the leaves from the water-colored panel and assemble the wreath as per you liking. Stamp the sentiment from the Nuts About You stamp set. 
 

Fot the next card I used the same leafy dies to create an accent for the card. I made a slimline card using the new Slimline Quartet Dies, Silly Slimline Slants dies.
I sponged the panel using picked raspberry distress ink, flick some gold watercolor. Once dry, I die-cut it using the silly slimline slants die. Put the positive piece onto a white cardbase and adhere the slanted stripes to the cardbase. Adhere the rest of the frame using 3d foam.

Die-cut the word HUGS 3 times using white cardstock and once with gold foil. Stack them together to create a chipboard kind of look. Adhere to the card. Add three leaves and tie them using a gold floss.

Have a wonderful day! Thanks for dropping by :)

Monday, September 6, 2021

Pinkfresh Studio Holiday Stamp, Die, Stencil, and Hot Foil Release

Hello and welcome everyone! I am super excited to join Pinkfresh Studio for their Holiday Stamp, Stencil, Die, and Hot Foil Release. You can check out the new release HERE!

My post today is part of a blog hop with giveaway - stay tuned for the details at the end of this post.


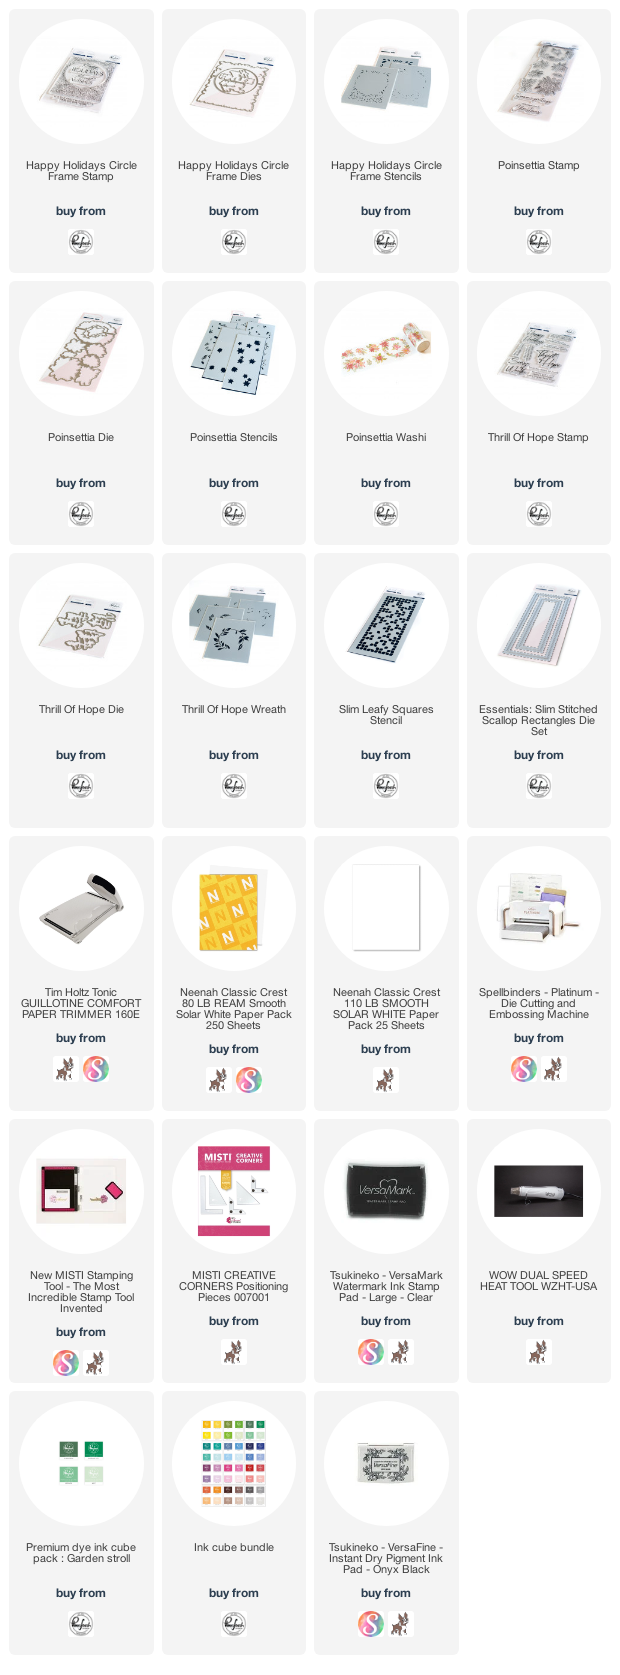
For the full supply list, scroll down to the thumbnails at the end of this post.

I have four cards to share with you. My first card is a shaker card featuring Happy Holidays Circle Frame stamp, dies and stencils. I really love the layering stencil as it makes it so easy to color in the images.


I started by taking a mint cardstock mat layer. I sponged the inks from Garden Stroll ink pads to create an ombre layer. Stamp the image using black ink. Add white ink through the stencil 1. add the Evergreen ink using the stencil 3. I then added white pigment ink, let it dry and add Candy Apple ink through the stencil 2. Die-cut the image. Adhere the negative part of the circle  and the edges to a white cardbase. 
Now die-cut white cardstock three times using the same die.
Adhere acetate behind the die-cut circle opening. Now adhere all the 3 white layers. This creates a well to add glitter and then close the well using another piece of acetate.
    Adhere this to the card. 
I then stamped the image once more, add color using stencil. Fussy cut top two twigs and adhere to the shaker on top right for added interest.


My second card features the Poinsettia stamp, dies. Sentiments from Thrill of Hope and  Happy Holidays Circle Frame stamp and Leafy Squares stencil. I went for a no-line coloring for this card so I stamped the image in Ballet Slipper ink. I colored it using daniel smith watercolors and die-cut using coordinating dies

I then took a deep red cardstock, stamped the Happy Holidays from Thrill of Hope stamp using black ink. Cut a mat layer, sponge red and pink inks lightly. Add texture paste through the leafy squares stencil. Adhere the image ,flick gold paint splatters. Adhere the sentiment and backed it with some gold floss.


The third card features the Poinsettia washi, dies. Sentiments from Thrill of Hope and the Slim Stitched Scalloped Rectangles.
I went for a soft look on this card so I adhered the washi to vellum and die-cut it using the co-ordinating dies. I really like this pretty washi with gold accents.

I stamped the sentiments onto white cardstock using versamark ink and heat embossed using WOW! metallic gold embossing powder. I sponged mix of pink and red inks lightly behind the floral cluster. To create the clusters, I simply played with all the washi die-cut images till I liked the result.


I kept my last card CAS to easily mass produce and have a bunch of last minute quick Christmas cards. It features the Thrill of Hope Wreath layering stencil. I sponged various inks through the stencils onto white mat layer, these make it so easy to create pretty wreaths. I then sponged Sky Blue ink to the edges and then sponged the same ink through the leafy squares stencils to add some more texture.

I heat embossed the sentiment using the Happy Holidays Circle Frame stamp. Die-cut and adhere to the mat layer.Flick gold splatters for more shine and texture.


 GIVEAWAYS
Pinkfresh Studio will be giving away the full release on the Pinkfresh blog & YouTube channel.

Pinkfresh Studio will be giving away a total of TEN $25 gift cards along the hop. The winners will be picked from the comments.

Pinkfresh Studio will post the winners on September 14 , 2021 on their GIVEAWAY PAGE. Please check that page & claim your prize within 2 weeks.
 
Pinkfresh Studio is offering free US shipping on all orders $75+ from September 6th to September 12th. Do check it out.


Hop List

You are invited to the Inlinkz link party!

Click here to enter
Supplies: