Tuesday, November 26, 2024

Pinkfresh Studio - Floral Celebration Card

Hello everyone, I am on the Pinkfresh blog today with a fun floral celebration card. I created a triangle of floral clusters, surrounding the sentiment to create movement of the eyes to the sentiment.

I used the Nested Rectangle: Diagonal Stitch dies for the cardbase and the frame as it gives an elegant touch to the project.

To start, I die-cut a white panel using the Nested Rectangle: Diagonal Stitch dies and also created a frame by using two of the smaller dies. I then sponged Waterfall ink towards the bottom right of the panel using the 1" Blending Brushes. Adhere the frame using 3D foam.

To create the flowers, I sponged various inks (Coral Reef, Passion Fruit, Raspberry Bliss, Berrylicious, Marigold, Apricot, Waterfall, Paradise, Grassy Knoll, Olive) through the Garden Party stencils. Next, die-cut these panels using the Garden Party dies. Create layered flowers to your liking and adhere to the panel. Add the leaves to create the movement.

Stamp the sentiment from the Always Smiling stamp set using Detail Black ink, die-cut using the coordinating dies. Die-cut one more piece with black cardstock and adhere slightly off-set to create a shadow effect. Add the sentiment to the card. To finish, I added Pixie Dist Ombrè Glitter Drops.

Hope you enjoyed the easy yet, layered card. Thanks for dropping by and have a nice day!
Wednesday, November 13, 2024

Pinkfresh Studio - Masculine Birthday Card


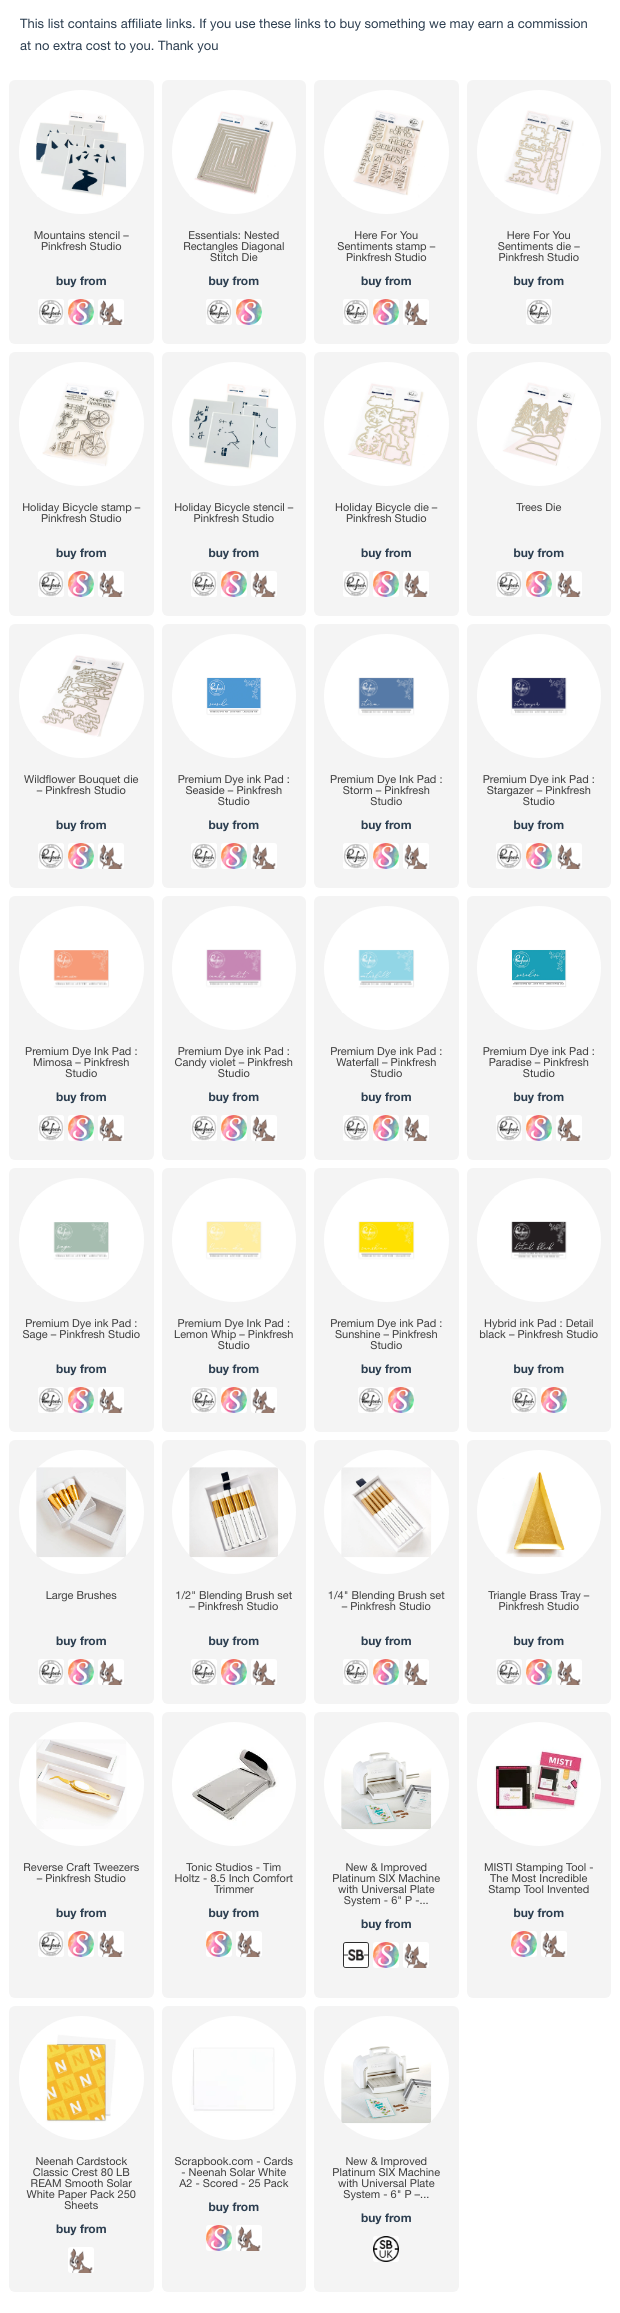
Hello everyone, I am on the Pinkfresh Studio blog today with a masculine card. We all need to create masculine cards and the abstract Mountain Stencils helps create easy backdrop. The new Nested Rectangles: Diagonal Stitch is perfect to give the elegant touch to our creations.
 

To start, I sponged inks (Seaside, Storm, Stargazer, Mimosa, Candy Violet, Waterfall, Paradise) through the Mountain Sencil but added color only to the mountain part. Sponge, waterfall and Lemon whip for the sky part using the 1" Blending Brushes, for a soft look.

Next, I die-cut the grassy slopes and grass using the Trees dies. Add color to the slopes using Sage ink. Die-cut the twigs from white cardstock using Wildflower Bouquet dies. Sponge Waterfall, Lemon Whip and Mimosa inks lightly onto the top part. 
 

For the gifts, I used the Holiday Bicycle stamps, added color using inks (Sunshine, Grassy Knoll, Mimosa, Waterfall) through the stencils and die-cut using the coordinating dies.

Die-cut the mountain scene using the the mid size die from the Nested Rectangles: Diagonal Stitch die, die-cut another piece using the 2nd largest die, sponge Waterfall ink moving from center towards the edge. This way we only get a slight tint of the color. Finally, die-cut one more layer using the biggest die to adhere to the cardbase. 
 

Assemble the card as per the photo. Next, I stamped the sentiment from the Here For You Sentiments stamp set using Detail Black ink, die-cut using the co-ordnating die. I adhered to an orange card, slightly off-set. I love adding another color behind my sentiments to pop them up.

Hope you got an idea for masculine card. Thank you for stopping by and have a nice day!
 

Tuesday, November 12, 2024

Spellbinders - November Large Die of the Month

Hello everyone! Today, I am sharing the "Large Die of the Month " from the November 2024 Club Kits of the month from Spellbinders. This is such an adorable images of cute critters, gifts, banner, a car. 

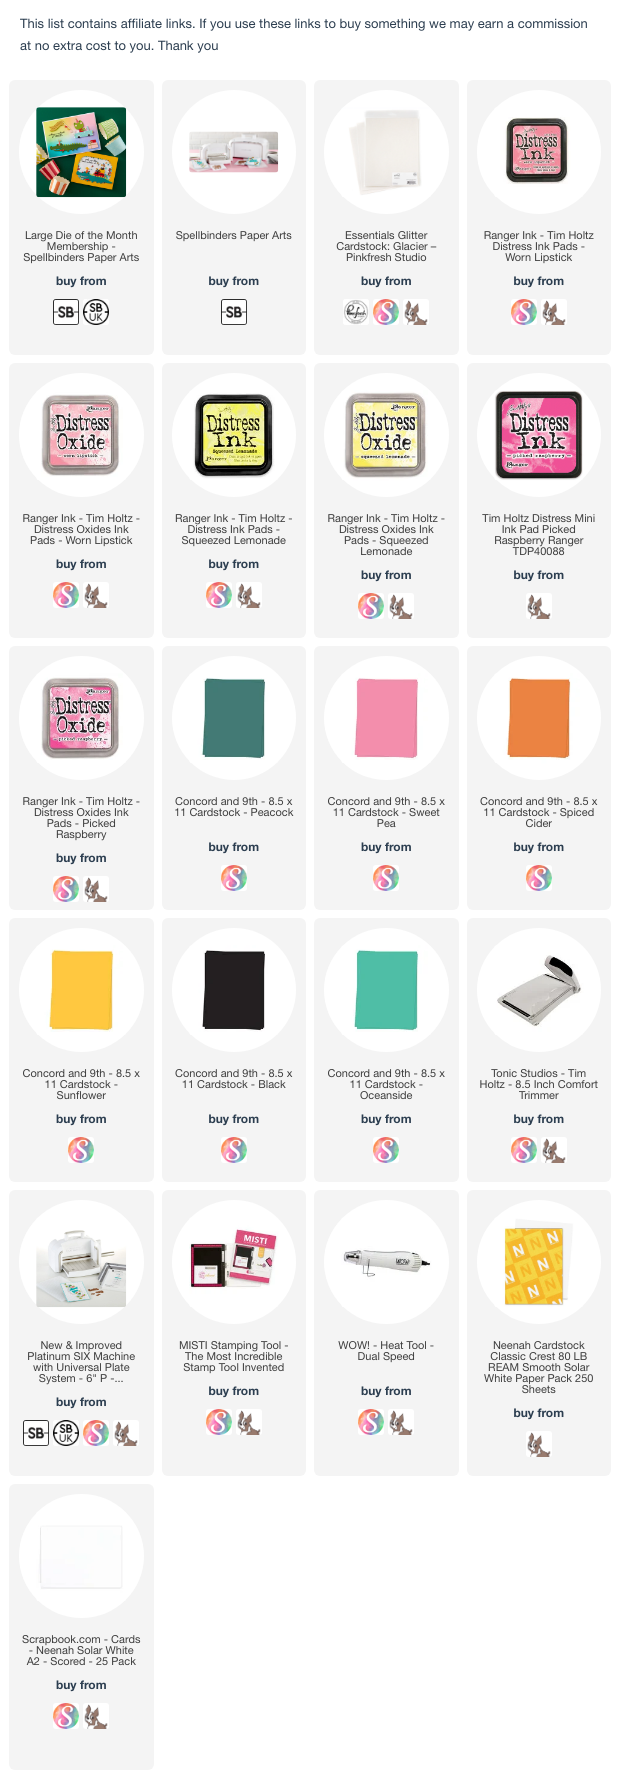
To create the background I used squeezed lemonade, worn lipstick and picked Raspberry distress inks and sponged them to create an ombré effect.

I used the colored card stock by Concord and 9th ( peacock, sweet pea,  tide pool, spiced cider and sunflower) along with some other cardstock colors from my stash. 

I used glacier glitter card stock by pinkfresh studio. Assemble the card as per the photo. I love this Hooray banner as my sentiment. 

I made a video for you to enjoy the process.


The product list is in the description below.

Thank you for dropping by and have a nice day!

Tuesday, November 5, 2024

Pinkfresh Studio “Essentials” Release Blog Hop

 Hello everyone! I am so excited to join Pinkfresh Studio "Essentials" release bloghop. Pinkfresh Studio is refreshing their Essentials collection in this release, adding 8 amazing new die sets that you'll reach for time and time again. 

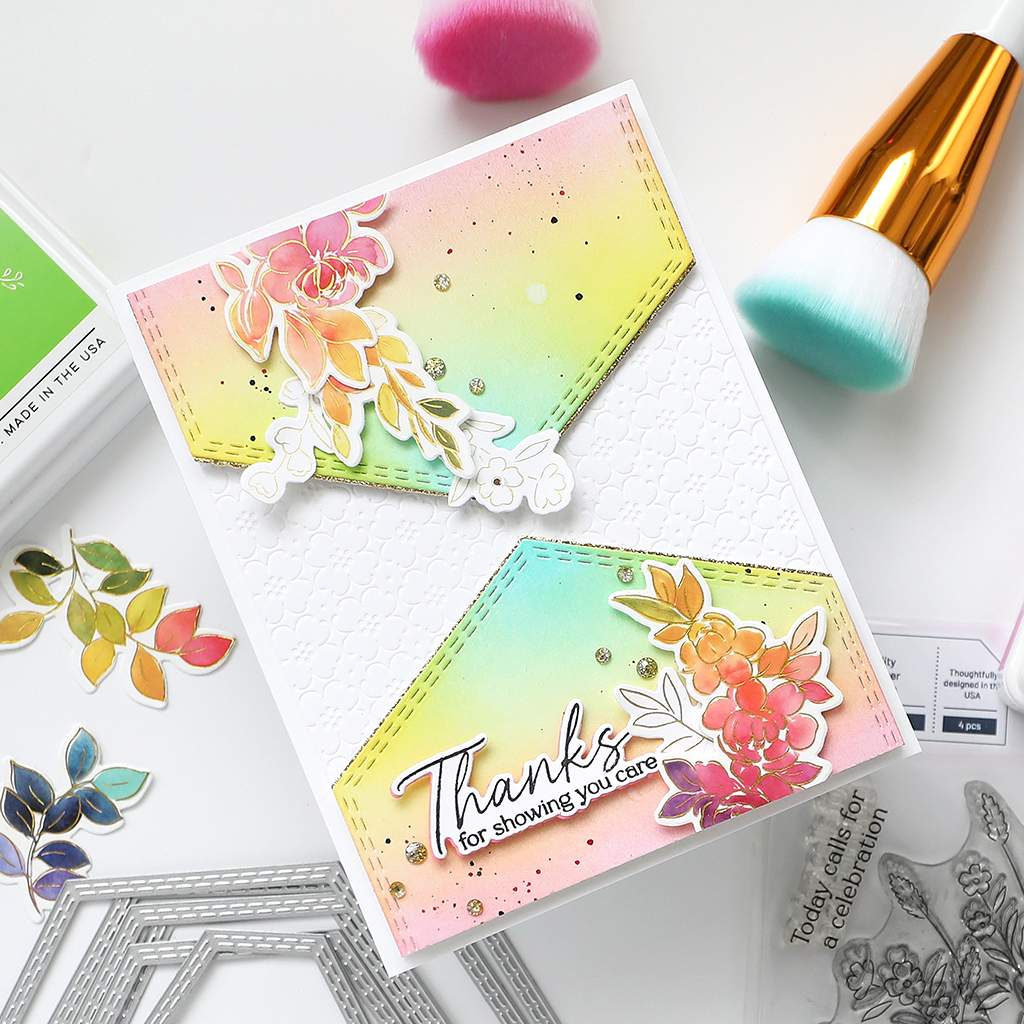
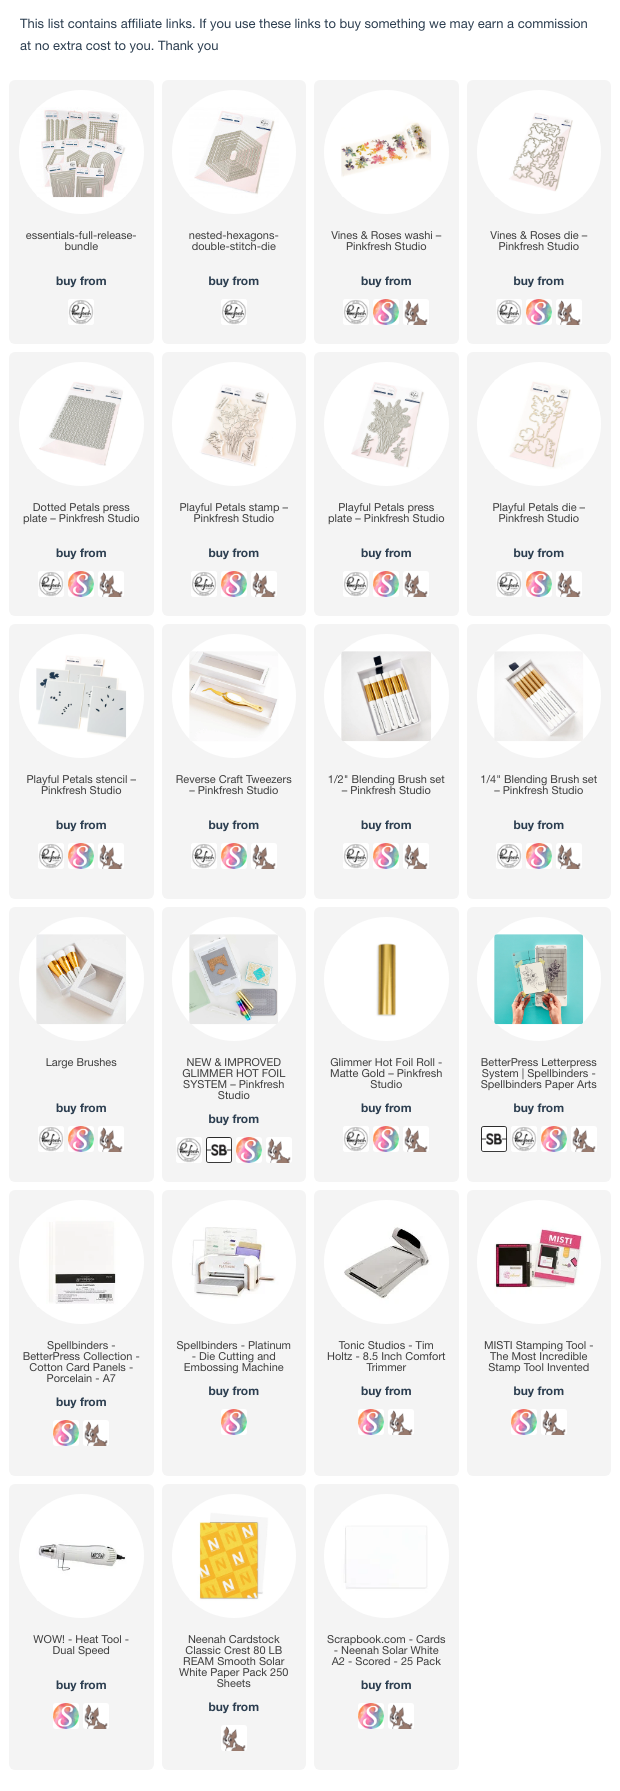
I am focusing on the Nested Hexagons: Double Stitch die set. I love the stitching detail in this die.  

I created this fun, artsy card with clean lines, to focus on the stitching details :)

 
I started by two white panels using the Nested Hexagon: Double stitch dies. I then sponged Waterfall, Bubble Gum, Lemon Whip inks. The 1 inch Blender Brushes are amazing to get a smooth, soft blending effect. Flick some water and some splatter of black and Raspberry Bliss inks. Die-cut another panel from Gold Glitter cardstock and adhere behind the stitched panel. 

 
Then, I used Dotted Petals Press Plate to add the texture to a white panel. 
Next, I adhered the Vines and Roses washi to white cardstock, die-cut using the coordinating dies. I used the Playful Petals Press Plate and foiled the image using Gold Matte foil, die-cut.
 

Create the cluster onto the panel. I added the sentiment from the same stamp set as above. Adhere to the card.

 To finish, I added some Ombrè Glitter drop: Sparkle and Shine. 

GIVEAWAYS:
Pinkfresh Studio will be giving away the full release on the Pinkfresh blog & YouTube channel.
As well as a total of TEN $25 gift cards along the hop. As per usual with blog hops - the winners will be picked from the comments.
Pinkfresh Studio will pull the winners & post them on November 13, 2024 on their GIVEAWAY PAGE. Don't forget to check that page & claim your prize within 2 weeks.
 
Here is the link to complete HOP list
CLICK TO ENTER HERE
 

Monday, October 28, 2024

Pinkfresh Studio - Window Scene Card

Hello and Happy Monday everyone! Hope you had a wonderful and relaxing weekend. I have a peeking through the window scene card on Pinkfresh Studio blog today. The inspiration came from looking out of my window :)

The Mountains Stencils are perfect to create beautiful scenes. Along with them I used the Always Smiling Stamp, Stencils and Dies.


To start, I started by sponging inks (Lemon Whip, Bubble Gum, Waterfall, Sage, Candy Violet, Grassy Knoll) through the mountains stencils to create a scene. I then adhered a piece of vellum over it to have a translucent effect.

Die-cut a window using the Nested Arches die from white cardstock. Adhere to the panel using 3d foam.


Stamp the floral cluster from the Always Smiling Stamp set using Detail Black ink. Add color using inks (Sunshine, Peony, Raspberry Bliss, Grassy Knoll, Paradise) through the coordinating stencils. Die-cut using the coordinating dies. Adhere to the card. Stamp the sentiment using Raspberry Bliss ink, die-cut. Mat with a black die-cut for a shadow effect.


To finish, I added some Clear Drops-Ice. Hope you enjoyed the view. Thank you for dropping by and have a nice day!

Wednesday, October 23, 2024

Spellbinders | Club Kits of the Month October 2024

Hello everyone! Today, I am sharing the October 2024 Club Kits of the month from Spellbinders. 

For my first card I featured the "Festive Friends" small die of the month, 2nd card features "Checkered Argyle" Embossing Folder of the month and the last card features "Cozy Toes Slippers" Large Die of the Month.

 
I am in love with these cute and playful penguins in the set. I paired them with the "Sprinkled Confetti" Press Plate

 
For the 2nd card, I masked the edges of the card and sponged distress inks to it. Then I sprayed some shimmer spritz to it. Once dry, I embossed this piece using the "Checkered Argyle" Embossing Folder.
 
 
I used the flowers from the Floral Spray (S5-638) dies. These are on sale if you want them :)
The word "HELLO" is from "A Little Hello" sentiment and die set.

 
 For my last card I used the "Cozy Toes Slippers" Large dies. I love the penguins yet again, so decided to play with them.