Thursday, November 27, 2025

“One Stamp, Two Stunning Cards | Altenew Vellum Embossing & Watercolor Backgrounds”

 Hello crafty friends! Today I’m sharing a fun creative journey that started with a single idea… and ended up becoming two very different cards. I’m thrilled to inspire/create with you as an Altenew Ambassador for a couple of months :)


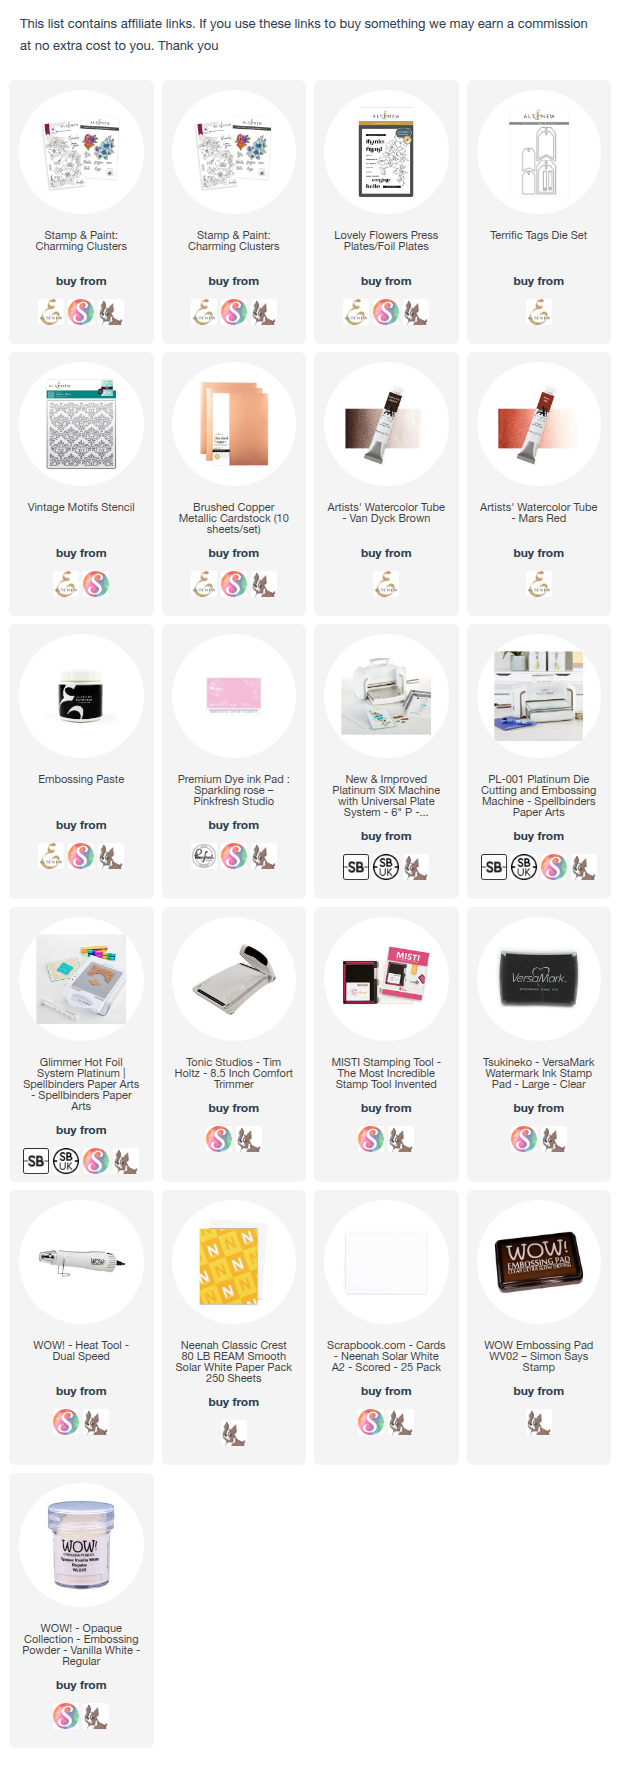
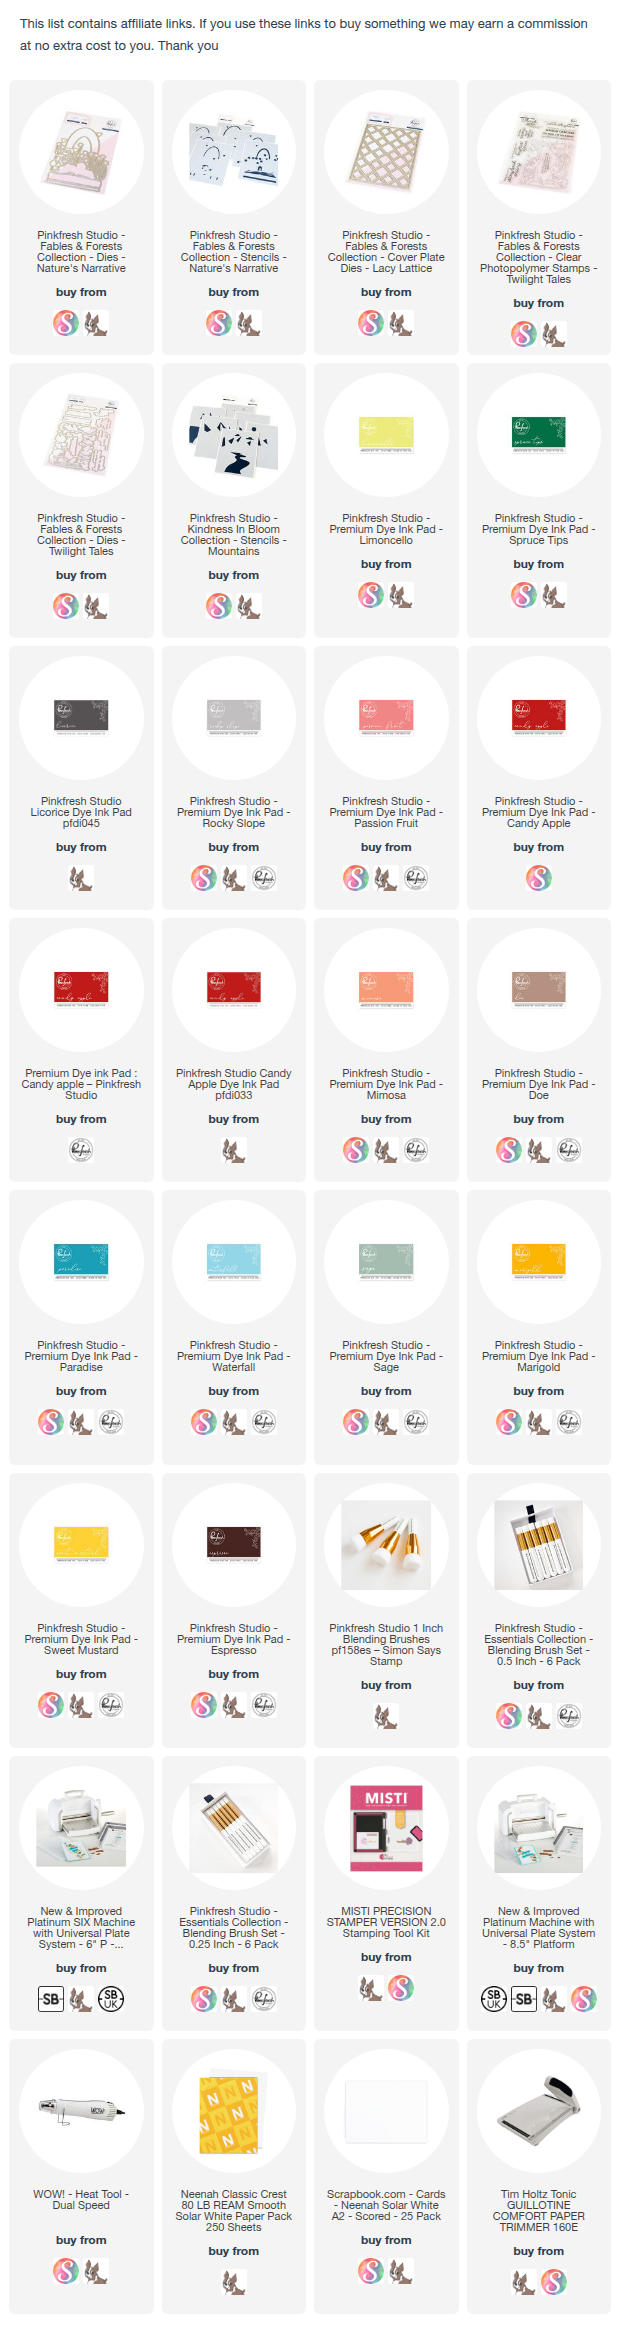
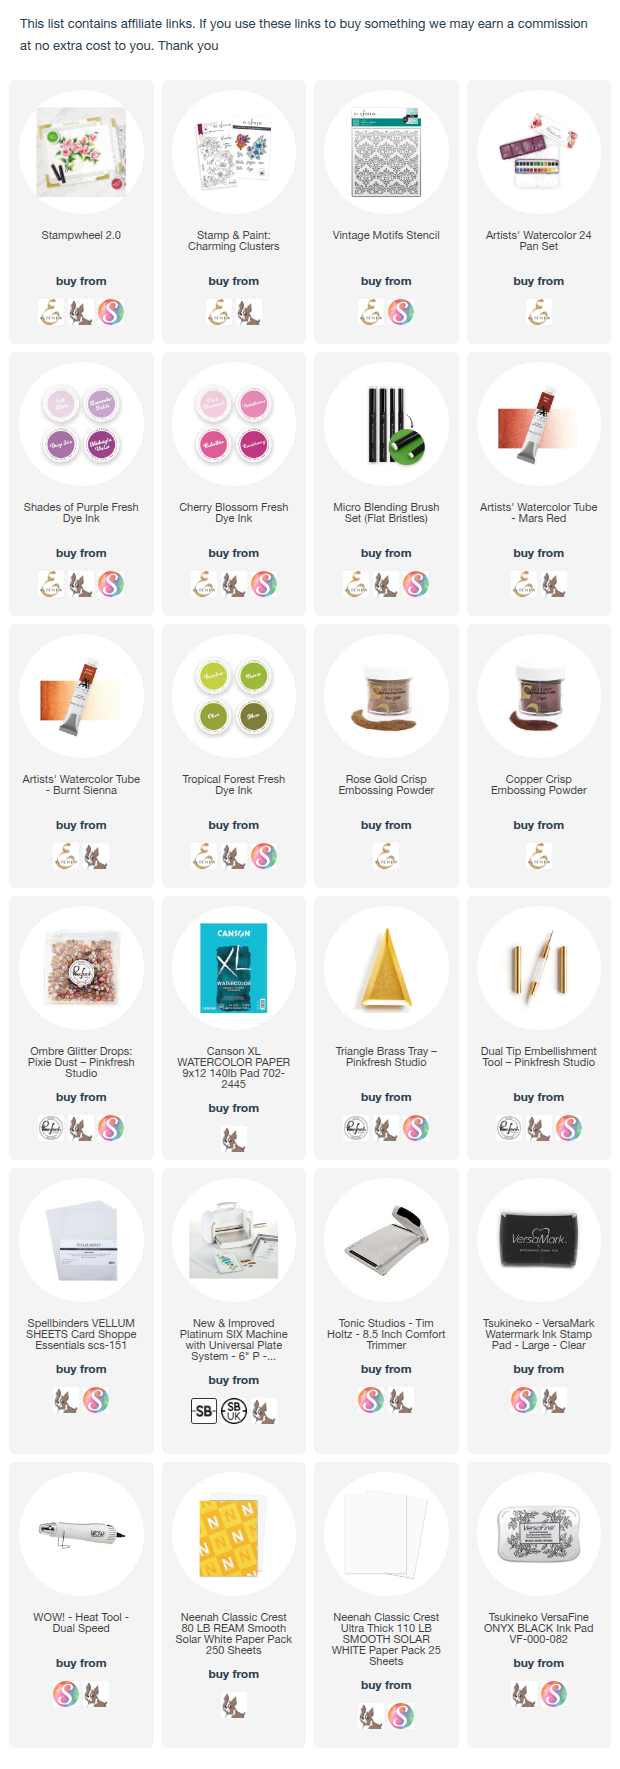
Before we start, there are black Friday offers going on and also the free US shipping and a discount for internationals (No code needed). Here is the link, if you want to take up on the offer and get your favourite products. I have added the full supply list below too. I would really appreciate it. Thank you :)


I have a process video for these cards and a 20$ giveaway on my YouTube channel 


For these cards, I used the Charming Clusters stamp and die set (already on sale, if you want) from the November release. The coordinating dies include two floral clusters and six sentiment words, making it a wonderfully flexible set. I also incorporated the Vintage Motifs stencil for added texture.

The first card features a soft watercolor wash paired with delicate rose-gold heat embossing on vellum, distressed gold edges, and layered die-cuts. The look is elegant, airy, and beautifully detailed.


The second card uses the floral cluster embossed in copper, with ink-blended color on the back of the vellum, a soft pink watercolor wash, and stenciled texture in the background. This combination creates a brighter, more contemporary feel.


Both designs use the same stamp set — but the techniques completely change the final look. I love how versatile this set is, and I hope these ideas inspire you to try vellum embossing, watercolor washes, and layered die-cutting in your own projects.

I hope you got inspired. Which card do you like more? Let me know — I’d love to hear!


A process video and giveaway on my YouTube channel

Thanks for stopping by, and happy crafting!
Friday, November 14, 2025

Pinkfresh Studio “Delicate Details” Release Blog Hop

Hello crafty friends!! I am so excited to join Pinkfresh Studio "Delicate Release" bloghop. This release is versatile as always and I love it.


NEWS: Do take advantage of the Cyber Monday sale HERE and you don't wanna miss this for sure :) 


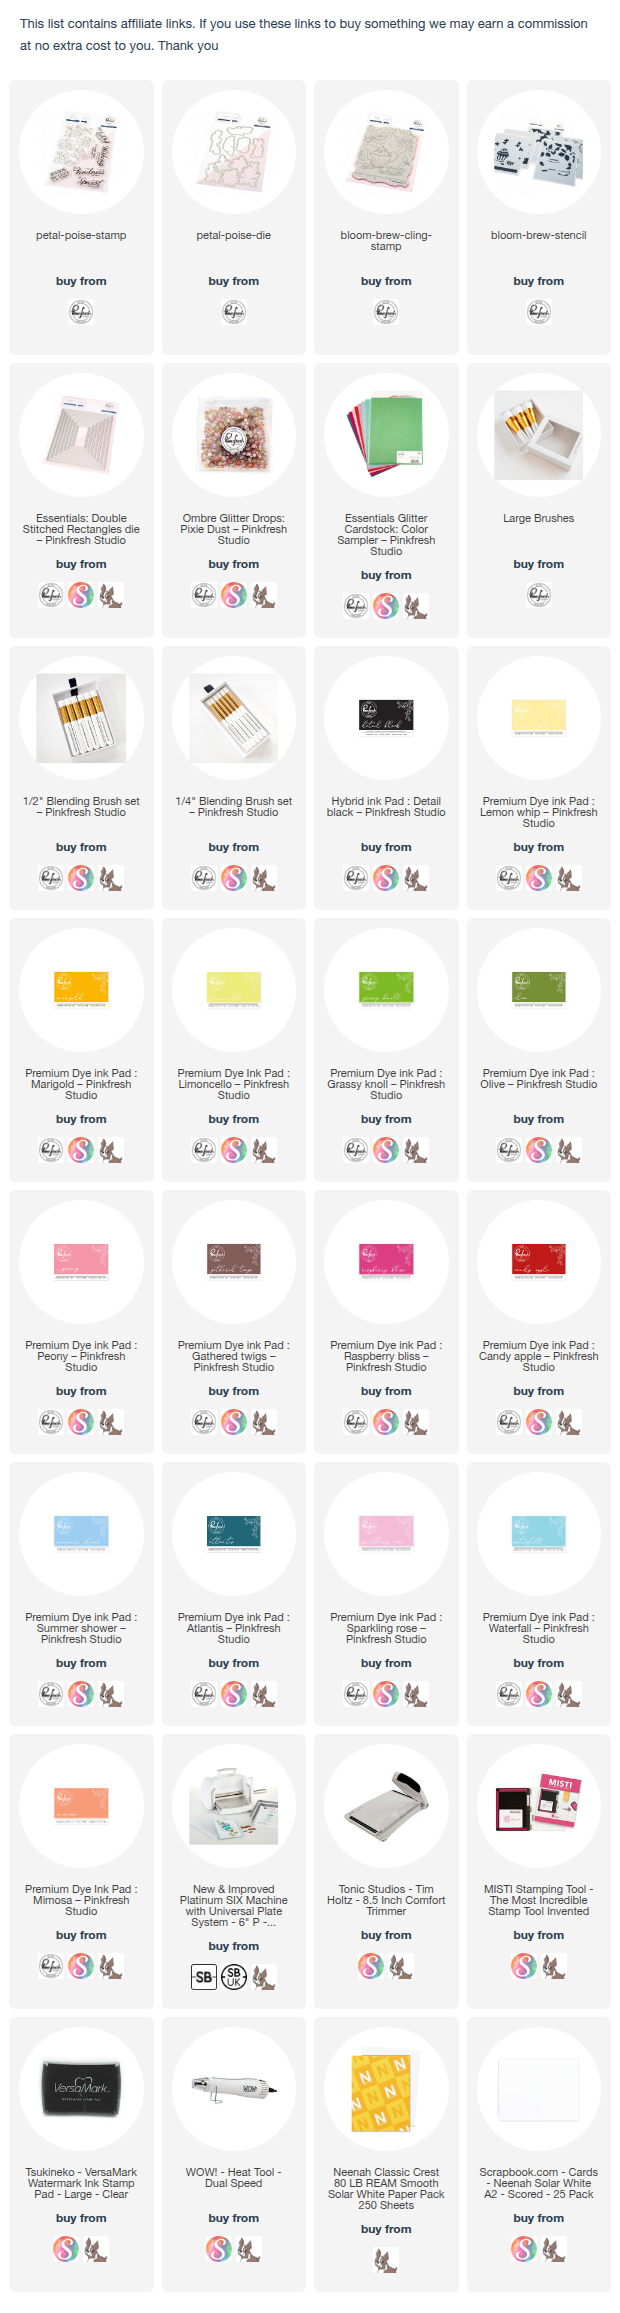
Today I decided to focus on the Bloom & Brew product suite - a beautiful mix of teapots, teacups, and detailed florals that come together easily. What I really love about this set is that, there is a stencil in the set, which covers all the images, and we can add color to the background.

I am sharing two cards, I kept both cards centered around ink blending for smooth gradients and bold contrasts, then finished each panel with different color stories to show how versatile the set can be.


All the products are linked below.

CARD 1 — Soft Garden Teapot Shaker (Bright + Airy Version)


I started by, adding color to the teapot, cup, and florals using the coordinating shades of teal, pink, and yellow.

I kept the images brighter in the center and slightly darker toward the edges for depth.


For the background, I started by ink blending a soft green backdrop using Mint and Meadow inks. Then added depth using Emerald City and Evergreen inks. Sentiment: For a special someone — offset was turquoise glitter card.


I layered and added a stitched frame to give the layout an elegance, and create the shaker element. Finally, I added the sentiment on top of the acetate window.

CARD 2 — Moody + Deep Version


The teapot and cup were colored in bright yellows and soft corals to pop against the dark backdrop.
Florals were kept bold and saturated, leaning toward reds and blues.


For a dramatic contrast background, I blended deeper tones of all the colors. I used Turquoise, Lush Forest, Evergreen and Black inks.


This shifts the mood completely — almost like an evening high-tea scene.

A dark green frame helps anchor the entire design. I used some Ombre glitter drops: Pixie Dust

Final Thoughts
Using one design set in completely different color palettes is a great way to stretch your supplies. The Bloom & Brew set lends itself naturally to both soft, cheerful tones and bold, dramatic scenes. Ink blending remains an easy and controlled way to build backgrounds that look polished without extra layers.
If you try either palette, I’d love to know which direction you choose — bright or moody!

Giveaway
Pinkfresh Studio will be giving away the full release on the Pinkfresh blog & YouTube channel.
As well as a total of TEN $50 gift cards along the hop. As usual the winners will be selected from the comments.
Pinkfresh Studio will pull the winners & post them on November 21, 2025, on their GIVEAWAY PAGE.
Don't forget to check that page & claim your prize within 2 weeks.

Here is the link to complete HOP list

CLICK TO ENTER HERE

Thank you so much for dropping by and have a wonderful weekend!

Wednesday, November 12, 2025

Altenew “For You” and “Hello” Cards – Two Looks, Same Products with few Techniques

Hi everyone!
I’m excited to share a pair of floral cards today featuring Altenew’s products — and a fun twist on how one design can look completely different with just a change in technique and color palette.


Both cards use the same floral press plate and tag die, but one celebrates soft and delicate watercolor vibrance, while the other embraces elegant simplicity and clean lines. Let’s dive in!

I have listed the products below :)

 Card 1: Watercolored Tags – Bright & Playful


For this card, I used the letterpress system with the press plate onto watercolor paper. Die-cut two tags out of it. Then, I watercolored the flowers using Altenew’s Artists’ Watercolor, mixing pinks, reds and corals for a natural petal variation.


I added embossing paste through the Vintage Motifs stencil in the background.and the two tags are slightly offset for a dimensional layered look.

I finished with a sentiment from Build-A-Garden: For You, some black twine, and a few sequins for sparkle. 

Card 2: Sleek & Minimalist Tag Design


This card shows how elegant simplicity can be! I used glimmer hot foil machine to foil on the Brushed Copper cardstock.


Then, I die-cut the tag on a black card layer for contrast and added a bold white-embossed sentiment, “hello,” to tie everything together.

A few black enamel dots add just the right touch of texture and sophistication.

Final Thoughts
I love how these two cards showcase the versatility of  the same products — from soft watercolor feel to modern graphic minimalism.
Sometimes, all you need is a shift in technique, color and finish to create a whole new mood.

Which one speaks to your style — soft and colorful or clean and elegant? I’d love to know in the comments!

Discount Code: 

To celebrate today, I have an Exclusive Discount Code for my followers!

Code name: ISHAFREE

Duration: From November 12th - 19th. at 11:59 pm EDT

Offer: FREE Crafter's Essential Micro-Tip Tweezers ($8.99 value) on every order over $79

Instructions: Add the Crafter's Essential Micro-Tip Tweezers to your cart and use the code ISHAFREE at checkout to get it for free.

Link to Use: https://altenew.com/discount/ISHAFREE?sca_ref=6333953.TchYT5DdF6q (Note: This link is integrated with the code)

Thank you for dropping by and have a wonderful day!

Thursday, October 30, 2025

Cozy Winter Greetings with Spellbinders and Simon Hurley

 Hello everyone!! Welcome to my cozy corner of winter crafting! Today, I’m sharing a trio of cards created with the new ski-sons-greetings collection by Simon Hurley at Spellbinders — featuring charming A-frame cabins, snowy trees, and a cheerful skier gliding through frosty hills.

For my friends in Switzerland, it's also available at the shop Scraphouse.


I fell in love with the small cabin and the embossing folders and the skiers are so close to my heart :) These dies make it so easy to create little winter stories — whether it’s a season of cheer, a happy new year, or winter greetings, there’s a touch of magic in every layer! 
Grab your inks, a hot drink, and let’s dive into some winter inspiration

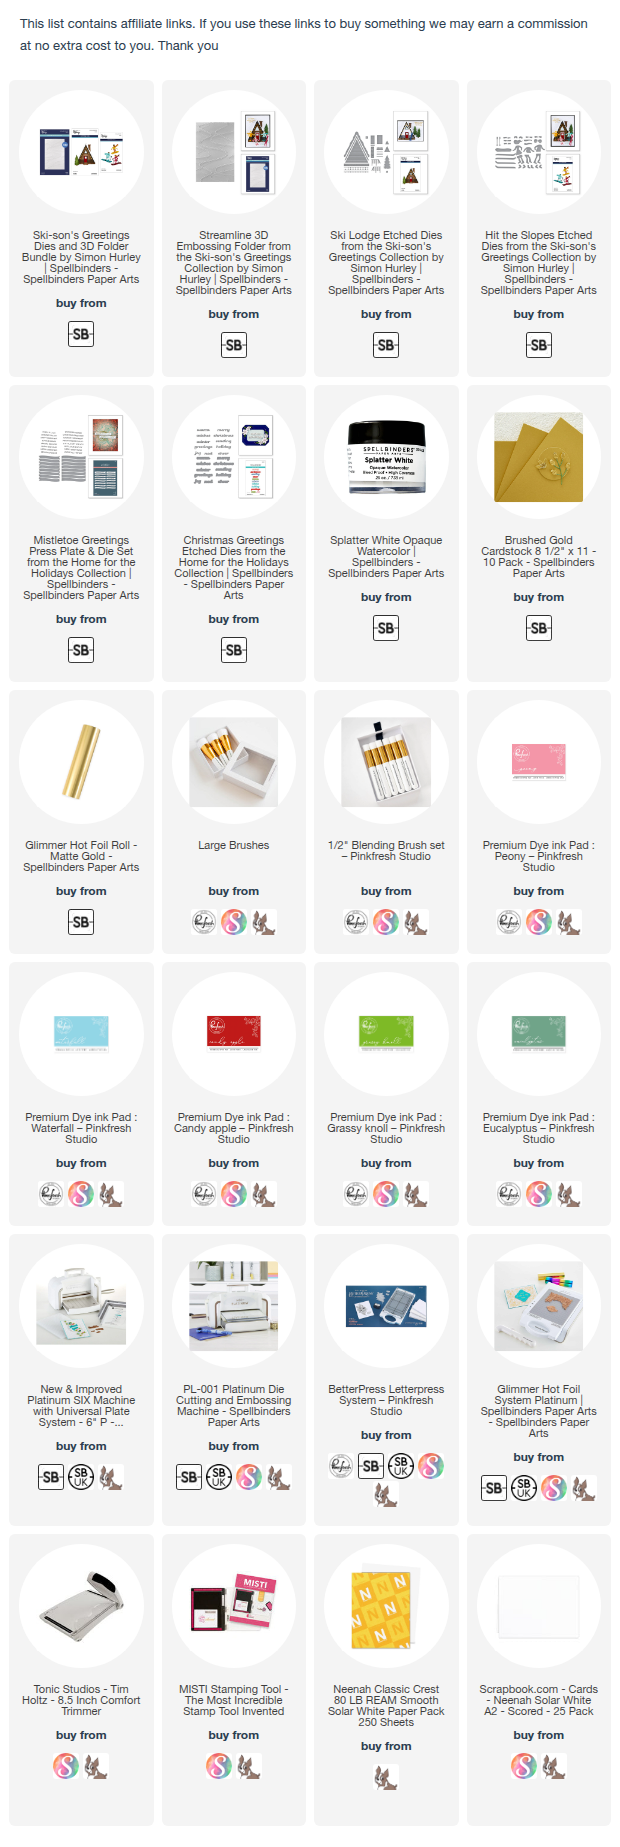
I have linked the supplies below for easy access to you :) I did make a video, which I will be adding within a week I hope.

Card 1 – Season of Cheer 


For this card, I chose a deep red cabin against a soft blush pink sky. I used the Ski Lodge, Streamline embossing folder along with the Mistletoe Greetings from the previous release, which I used my glimmer to hot foil. The background has that gentle snowy swirl, created using the embossing folder for subtle texture. 


I ink-blended around the trees and roofline for contrast, then finished it off with a simple sentiment banner: “Season of Cheer”


It feels like a warm cabin glowing in the middle of a quiet snowfall :)

🎿 Card 2 – Winter Greetings


This one captures the fun and sporty side of winter! I used the Ski Lodge, Hit the Slopes, Streamline embossing folder along with the Christmas Greetings Etched Dies.


I added the adorable skier die cut, surrounded by evergreens dusted with ink-blended greens. The sentiment “Winter Greetings” is stacked in soft pastels with a touch of shimmer to bring in that frosty, magical light. I used a soft ombré blend of blue, lilac, and pink for the sky to give it that crisp winter morning vibe.

🎄 Card 3 – Happy New Year


For the final card, I went bold and bright! I used the Ski Lodge, Streamline embossing folder along with the Mistletoe Greetings from the previous release, which I used my glimmer to hot foil.


A pink A-frame cabin sits against a rich red background, dotted with white splatters to mimic falling snow. I love how the mix of warm pinks and cool greens gives a festive, slightly retro holiday feel. The banner saying “Happy New Year” ties it all together — cheerful and full of hope for new beginnings.

I had so much fun playing with this collection — it’s the perfect mix of cozy and creative!
Which one would you like to create this winter: the red cabin, the pink-frame, or out on the ski slopes? ⛷️
Thank you for stopping by and have a nice day!

Wednesday, October 22, 2025

Pinkfresh Studio “Flourish & Glow” Release Blog Hop

Hello crafty friends! I’m so excited to join today’s Pinkfresh Studio “Flourish & Glow” Release Blog Hop— it’s filled with fresh, elegant designs and endless creative possibilities! This release truly captures the beauty of floral detail and heartfelt sentiments, and I can’t wait to share a couple of cards I created using these new products. There is gorgeous Washi in this release too :)

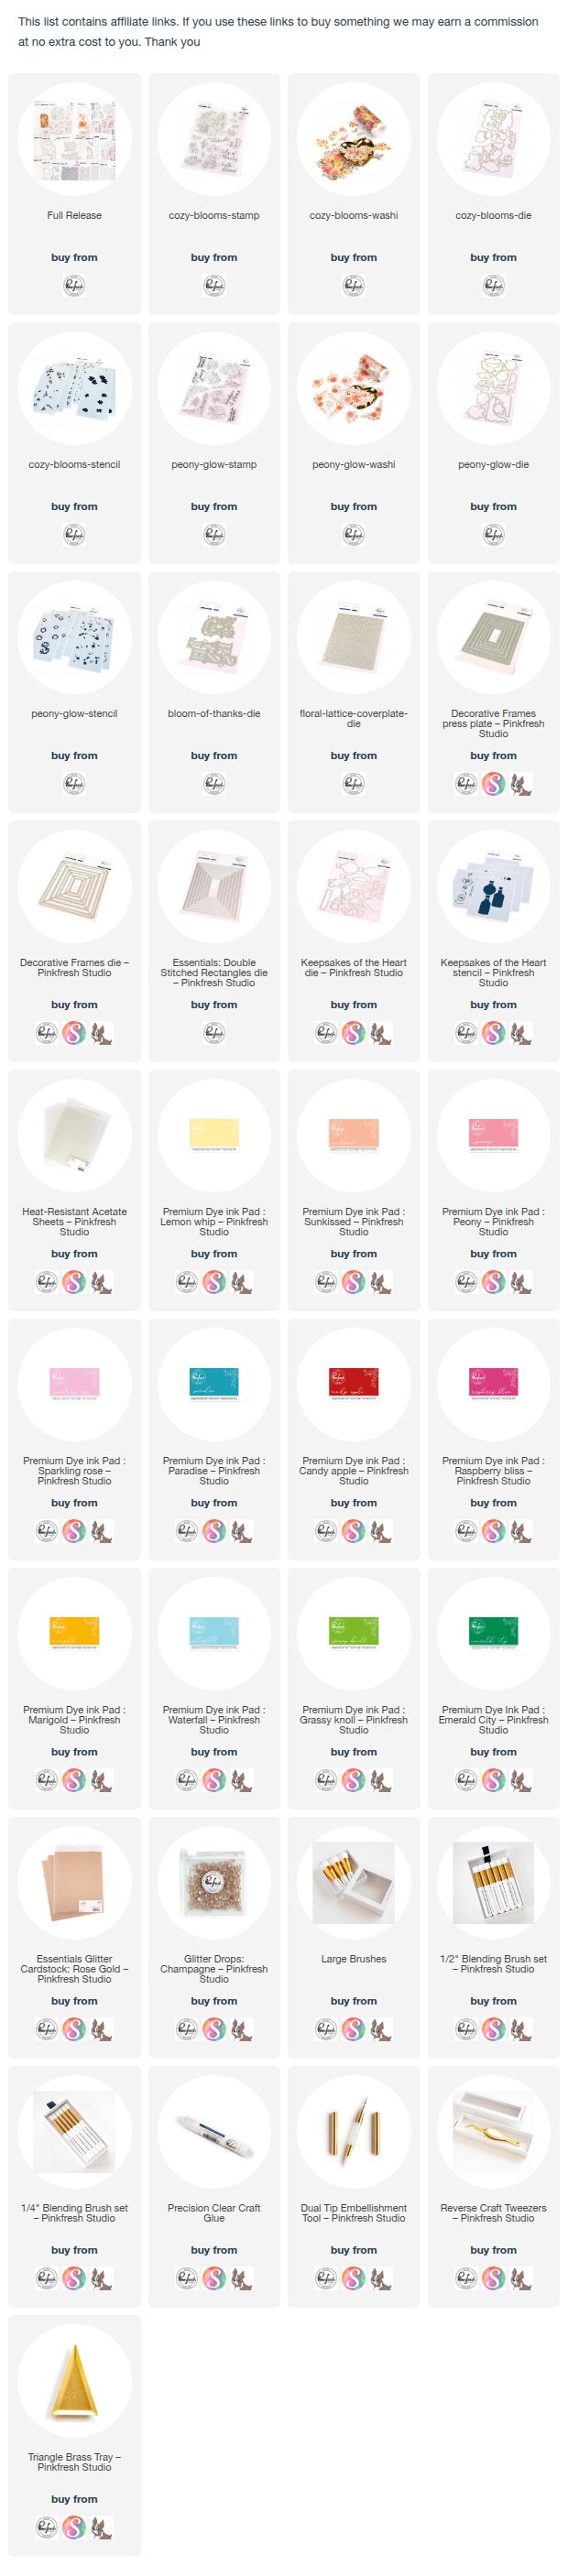
I have the full supplies listed below, so it's easy for you if you would like something :) I also made a video, hopefully I will post it tomorrow if not later today!


Card 1: Lots of Thanks

For my first card, I used the Cozy Blooms washi, coordinating dies, Bloom of Thanks dies and the Decorative Frames (from the previous release) - a perfect combination for creating layered floral magic! As you know, I love shaker interactive elements, so this is a shaker card...lol


I started by softly blending Lemon Whip, Sunkissed and Peony inks over a panel. Then I die-cut  “THANKS” die-cut letters to give them a warm, gradient glow. Then, I added the stunning Cozy Blooms Washi Tape florals onto vellum, arranging them around the letters for a gorgeous, dimensional look.

To complete the design, I used the Decorative Frame pressplate and die for a stitched border and finished it off with the sentiment “lots of thanks” from the coordinating stamp set. I love how the florals pop against the white background — cheerful and elegant at once! 

Card 2: You Make Life Beautiful

My second card features the Peony Glow stamp, stencil and dies, Floral Lattice coverplate, Keepsakes of the Heart dies and stencil and the Double Stitched Rectangle dies. — and it’s truly a showstopper in bold colors. 
This is special stamp as it's designed by Pinkfresh owner and a dear friend Kinnari herself. Check out the washi too, it's GORGEOUS. 


I colored the beautiful bouquet using Pinkfresh inks (Sparkling Rose, Paradise, Candy Apple, Raspberry Bliss, Marigold, Waterfall, Grassy Knoll, Emerald City) for a bold, fresh feel.

The bouquet sits inside a softly shaded vase from the Keepsakes of the Heart collection, framed with a rose gold glitter border for a touch of shimmer. The Floral Lattice Cover Plate Die adds subtle texture in the background.

To tie everything together, I added the sentiment “You make life beautiful” — because who wouldn’t want to receive a card like that, right?

Giveaway
Pinkfresh Studio will be giving away the full release on the Pinkfresh blog & YouTube channel.
As well as a total of TEN $50 gift cards along the hop. As usual the winners will be selected from the comments.
Pinkfresh Studio will pull the winners & post them on October 29, 2025, on their GIVEAWAY PAGE.
Don't forget to check that page & claim your prize within 2 weeks.

Here is the link to complete HOP list

CLICK TO ENTER HERE

Thank you so much for stopping by today! I hope my cards inspired you to play with this new release and bring your own floral ideas to life. 

Thursday, October 9, 2025

Pinkfresh Studio - Birthday Card - From Flat to Fabolous

Hello crafty friends, I am on Pinkfresh YouTube channel today with this fun card, which is a lovely combination of partial die-cutting, dry embossed texture, stencilled ink blending and a touch of glittery shine. 

I have added the supply list below for you. I would be more than happy if you shop via my link. Thank you.


YouTube link HERE