Monday, October 28, 2024

Pinkfresh Studio - Window Scene Card

Hello and Happy Monday everyone! Hope you had a wonderful and relaxing weekend. I have a peeking through the window scene card on Pinkfresh Studio blog today. The inspiration came from looking out of my window :)

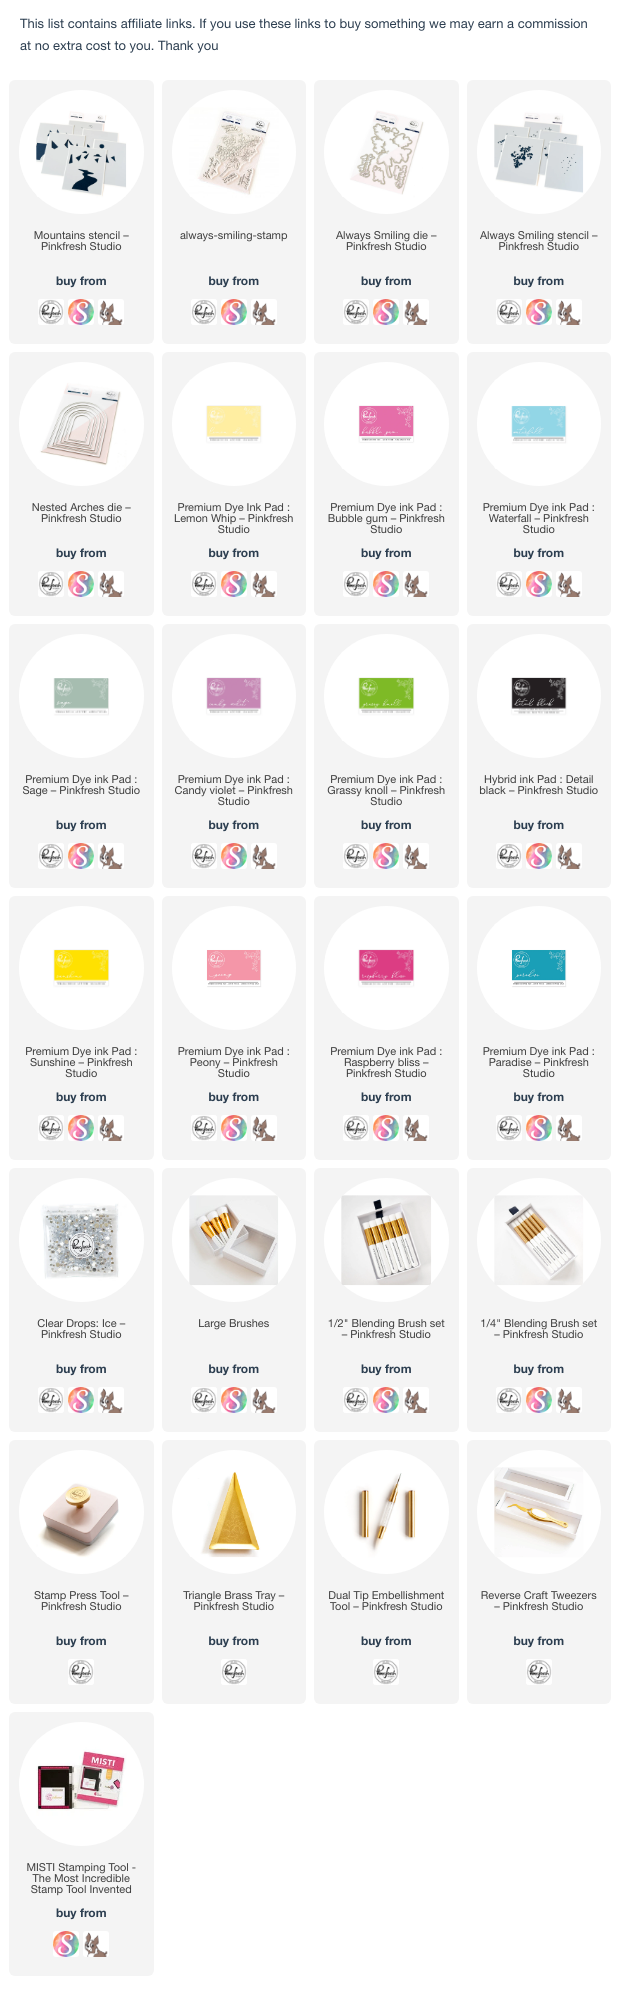
The Mountains Stencils are perfect to create beautiful scenes. Along with them I used the Always Smiling Stamp, Stencils and Dies.


To start, I started by sponging inks (Lemon Whip, Bubble Gum, Waterfall, Sage, Candy Violet, Grassy Knoll) through the mountains stencils to create a scene. I then adhered a piece of vellum over it to have a translucent effect.

Die-cut a window using the Nested Arches die from white cardstock. Adhere to the panel using 3d foam.


Stamp the floral cluster from the Always Smiling Stamp set using Detail Black ink. Add color using inks (Sunshine, Peony, Raspberry Bliss, Grassy Knoll, Paradise) through the coordinating stencils. Die-cut using the coordinating dies. Adhere to the card. Stamp the sentiment using Raspberry Bliss ink, die-cut. Mat with a black die-cut for a shadow effect.


To finish, I added some Clear Drops-Ice. Hope you enjoyed the view. Thank you for dropping by and have a nice day!

Wednesday, October 23, 2024

Spellbinders | Club Kits of the Month October 2024

Hello everyone! Today, I am sharing the October 2024 Club Kits of the month from Spellbinders. 

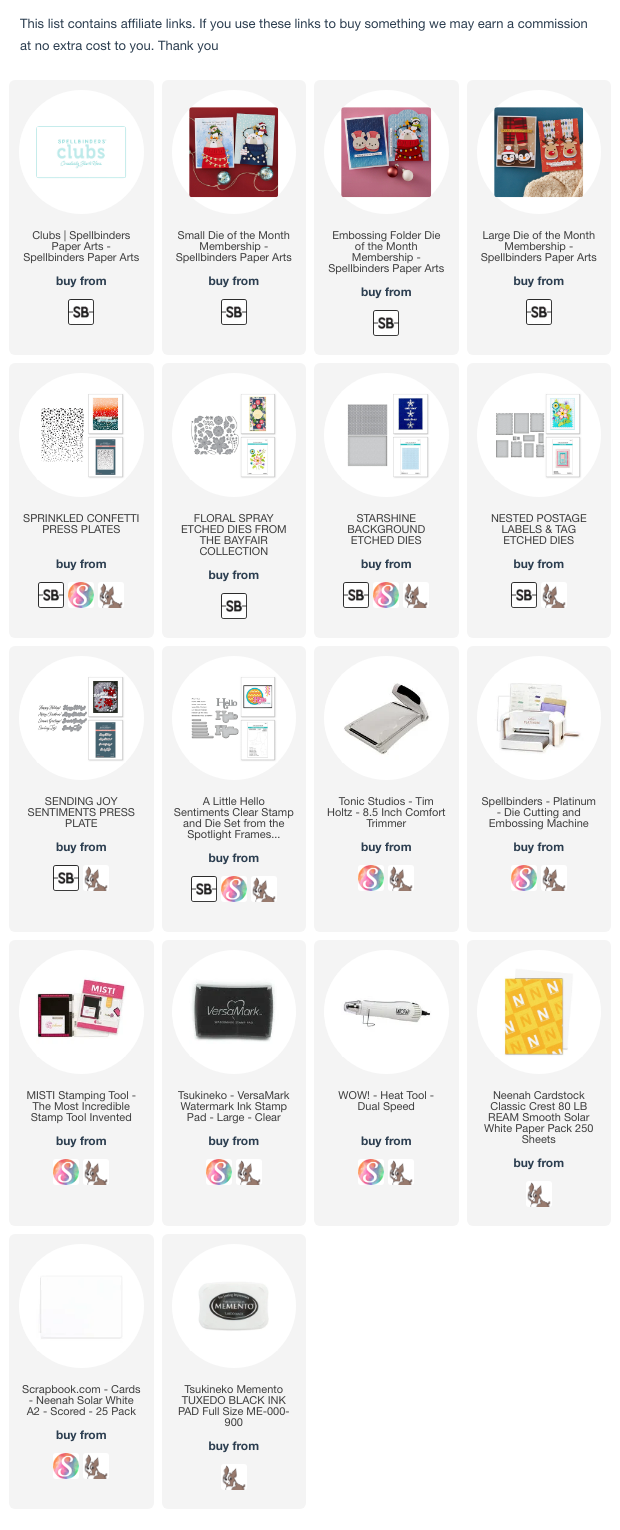
For my first card I featured the "Festive Friends" small die of the month, 2nd card features "Checkered Argyle" Embossing Folder of the month and the last card features "Cozy Toes Slippers" Large Die of the Month.

 
I am in love with these cute and playful penguins in the set. I paired them with the "Sprinkled Confetti" Press Plate

 
For the 2nd card, I masked the edges of the card and sponged distress inks to it. Then I sprayed some shimmer spritz to it. Once dry, I embossed this piece using the "Checkered Argyle" Embossing Folder.
 
 
I used the flowers from the Floral Spray (S5-638) dies. These are on sale if you want them :)
The word "HELLO" is from "A Little Hello" sentiment and die set.

 
 For my last card I used the "Cozy Toes Slippers" Large dies. I love the penguins yet again, so decided to play with them. 


Monday, October 14, 2024

Pinkfresh Studio - Framed Art Trio

Hello and Happy Monday everyone! I am on the Pinkfresh Studio Blog today, sharing three cards featuring various products from the release and a fun way to use the abstract stencils from the Framed Art product suite. Hope you enjoyed our new release hops last week.

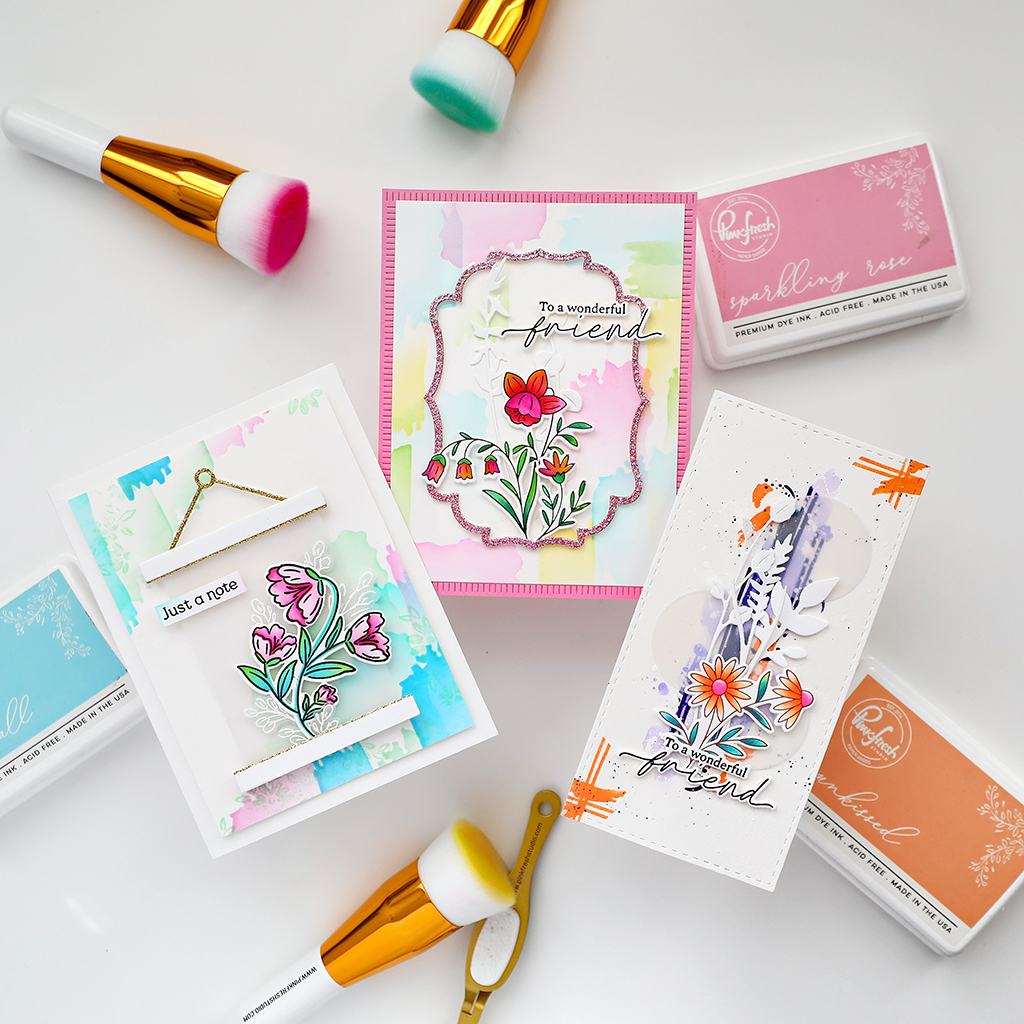
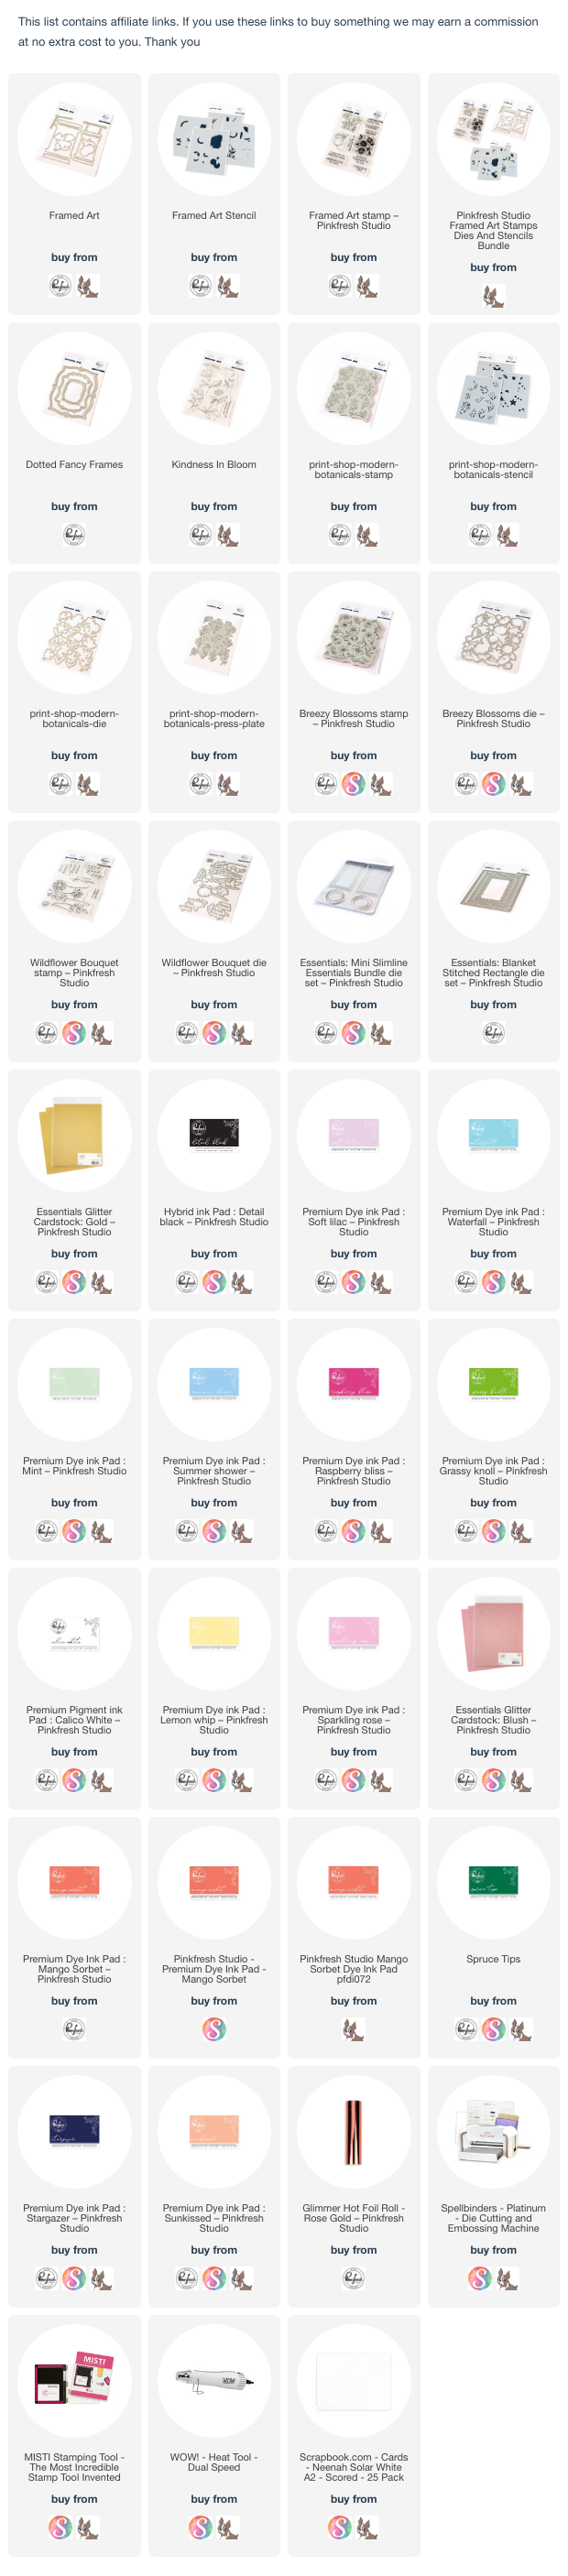
For my first card, I used Framed Art stencils, stamp and dies along with the Kindness in Bloom stamp (sentiment), Breezy Blossoms stamps and dies (as accent)

I started by adding various inks (Soft Lilac, Waterfall, Mint, Summer Shower) through the brush stroke stencils. To get more interest, I chose two different brushstrokes. Next, I stamped the floral cluster from the Framed Art stamp using Mint ink in an abstract way to this panel.


Die-cut the wall hanging using vellum, Die-cut the top and bottom panel using white card, I added some gold glitter from the Essentials: Gold Glitter pack for a touch of sparkle. Stamp the image using Detail Black ink, add color through the stencils using inks (Soft Lilac, Raspberry Bliss, Grassy Knoll, Summer Shower) and die-cut using the coordinating dies.

Stamp the sentiment, add a bit of color to the two edges and cut into a stripe. Stamp the Breezy Blossoms using Calico White ink, emboss with white embossing powder and die-cut. Adhere around the main focal image as an accent.

For the 2nd card I used the Framed Art stencils to create the background using inks (Sparkling Rose, Waterfall, Lemon Whip, Grassy Knoll)

 
I then die-cut a pink cardbase using the Blanket Stitched Rectangle die and adhered behind the mat layer. Next I die-cut a frame from Blush Glitter Card using the Dotted Fancy Frames die. Adhere to the card. 
 

Stamp the florals from Modern Botanicals stamp, add color using inks (Mango Sorbet, Raspberry Bliss, Spruce Tips,  Grassy Knoll)through the stencils, die-cut using the dies.

Die-cut some twigs using white card from the Wildflower Bouquet dies. Assemble everything together. Use the sentiment from the Wildflower Bouquet stamp set and die-cut. 

For the last card, I decided to go for a bit more artsy and abstract mini slimline card.

 I swipe the Stargazer inkpad through the Framed Art stencils and sponged some more elements from parts of the stencils, add some flicks using the same ink. Add a touch of water (yes, Pinkfresh inks reacts with water) and let it dry. I then added some more strokes using the Sunkissed ink. 

Die-cut this panel using the Mini Slimline Essential Bundle, now die-cut three vellum circles using the small circle die in this set. Adhere the white twigs from the Wildflower Bouquet dies. Foil the florals with Rose Gold foil using the Modern Botanicals press plate. 

Add ink using the stencils, die-cut and adhere to the card. To finish adhere the sentiment.

Hope you got inspired. Thank you for dropping by and have a nice day!
Tuesday, October 8, 2024

Pinkfresh Studio “Kindness In Bloom” Release Blog Hop

Hello everyone! I am so excited to join Pinkfresh Studio "Kindness In Bloom" release bloghop. This release has a lot of products in a variety of styles and that makes it really versatile. 


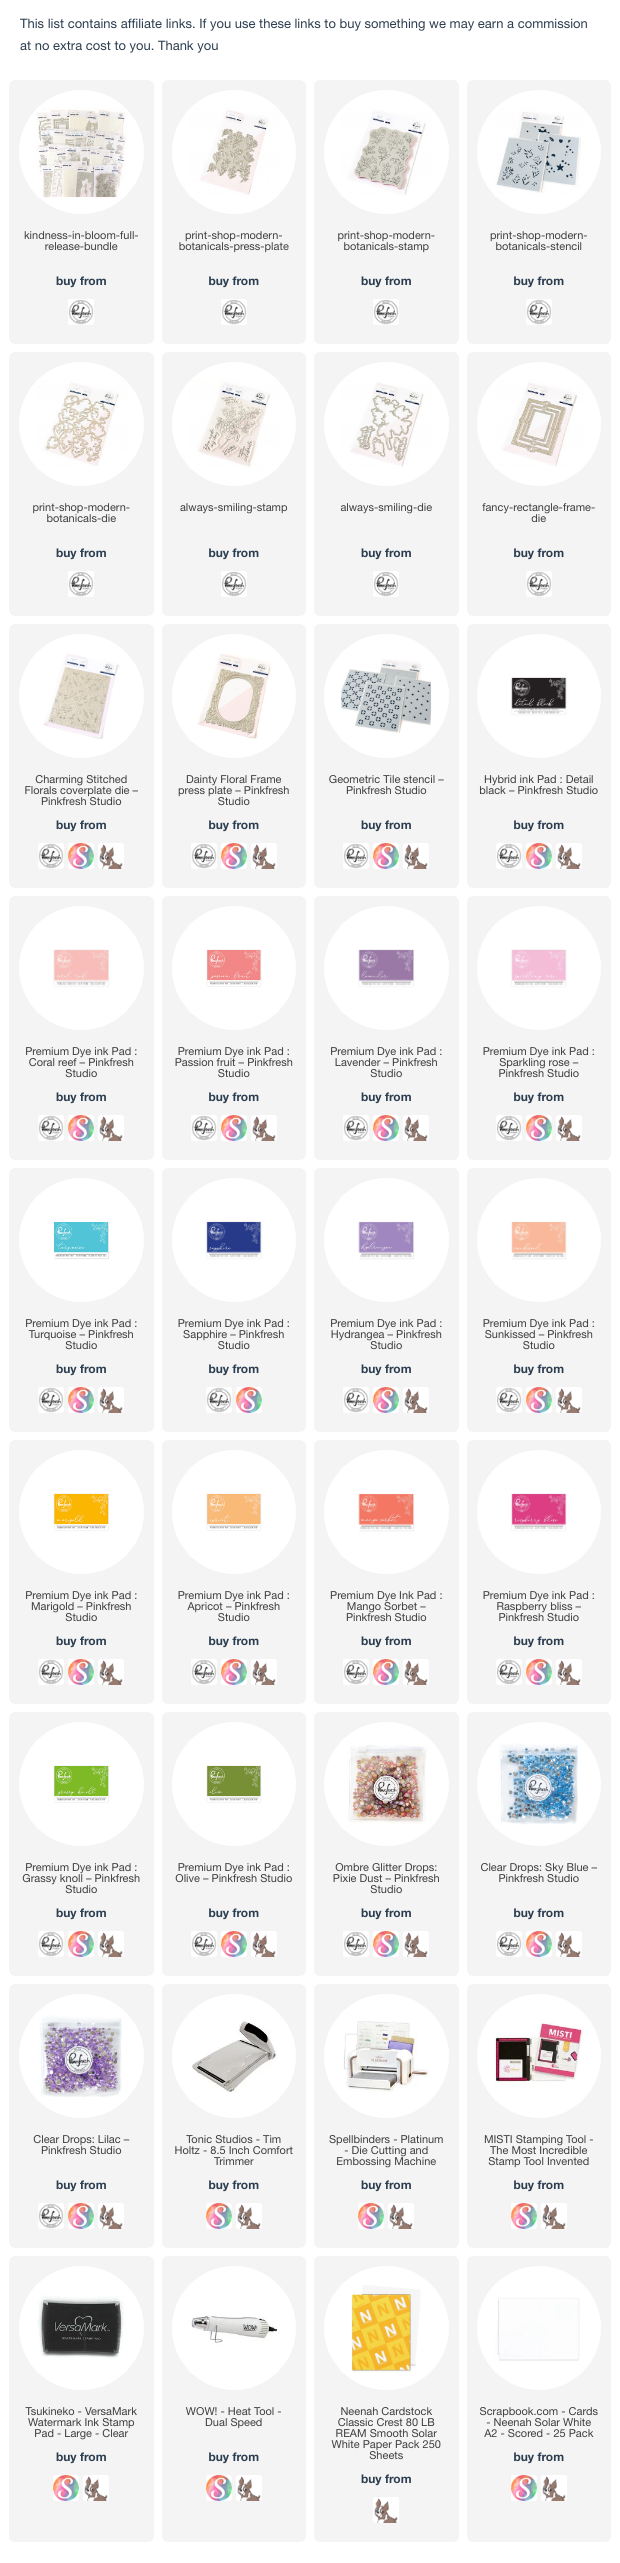
I am focusing my cards on the Print Shop: Modern Botanicals product suite today. 


I used the Modern Botanicals pressplate, inked it using Detail Black ink and then added color (coral reef, passion fruit, Lavender, sparkling rose, turquoise, sapphire) using the Stencils, die-cut the florals using the co-ordinating dies. For the background, I sponged Lavender, Sparkling Rose, Hydrangea, Coral Reef and Passion Fruit inks. 
 

Next I used the Charming Stitched Florals coverplate die to add the texture. To give my florals a frame, I used the NEW Fancy Rectangle Frame dies. These are so pretty and intricate. Adhere the frame to the card. Add florals.
 
 
I stamped and embossed the sentiment from the NEW Always Smiling stamp set. Adhere to the card and finished the card using some Clear Drops in Sky Blue and Lilac shades.
 
For my 2nd. card I used the Modern Botanicals pressplate, stencils and dies. 


I started by sponging inks to some of  the edges of the panel using inks (sunkissed, marigold, coral reef). For the texture I used Dainty Floral Frame press plate. In the center, add ink through the Geometric Tile stencil. Add black ink to the pressplate and take the impression. 

 
Add inks (apricot, mango sorbet, raspberry blissapricot, grassy knoll, olive) to the florals, die-cut. Next I stamped the florals onto vellum and embossed using white embossing powder, heat set. Die-cut and add to the card

 
Add few gold ink splatters. Sentiment is from the Always Smiling stamp set. To finish adhere Pixie Dust glitter drops.
 
GIVEAWAYS:
Pinkfresh Studio will be giving away the full release on the Pinkfresh blog & YouTube channel.
As well as a total of TEN $25 gift cards along the hop. As per usual with blog hops - the winners will be picked from the comments.
Pinkfresh Studio will pull the winners & post them on October 16, 2024 on their GIVEAWAY PAGE. Don't forget to check that page & claim your prize within 2 weeks.
Here is the link to complete HOP list
CLICK TO ENTER HERE

Friday, September 27, 2024

Pinkfresh Studio - Creative Stencilling

 Hello and Happy Friday everyone! Isha back on the Pinkfresh Studio blog sharing on creative way to stretch your stencils. I really like to stretch my supplies and Pinkfresh products are really versatile to just help me do that.

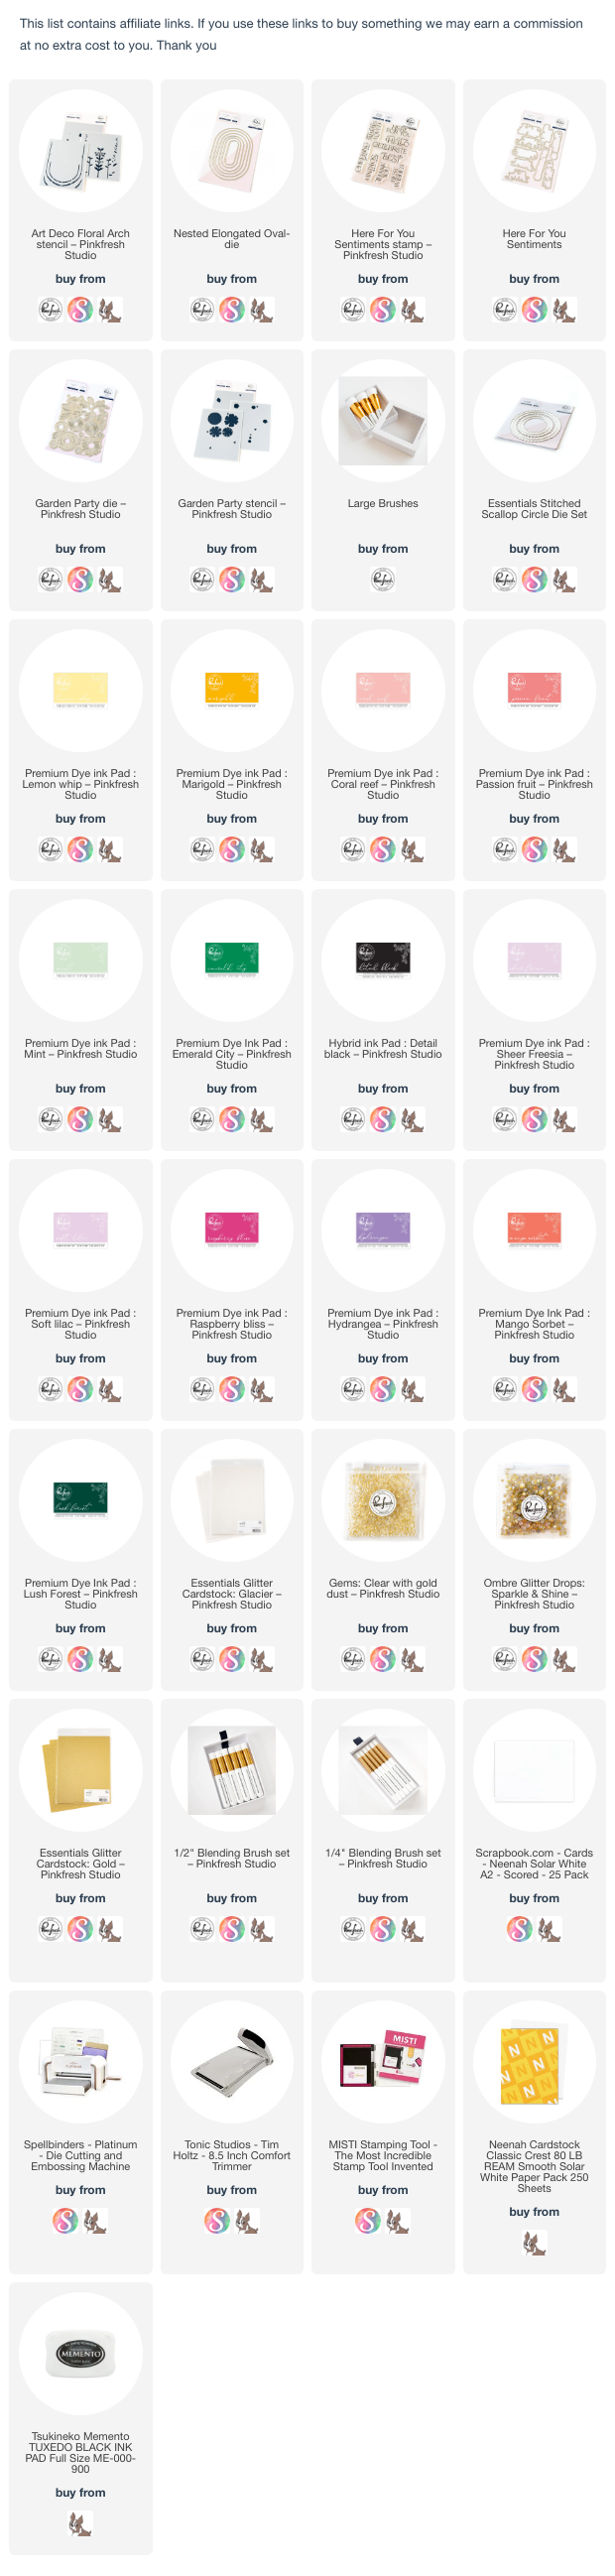
For my first card, I used the stencils from the Art Deco Floral Arch Suite but instead of using them to add color to the images, I created the fun background by using only two of the stencils.


I paired this background with the floral from the Garden Party Die, Nested Elongated Ovals die, sentiments from the Here For You stamps and the coordinating dies.

Sponge inks (Lemon Whip, Marigold, Coral Reef) to a white card panel, sponge the same inks through the stencil in an ombré. I used the 1 inch and 1/2 inch blending brushes. Die-cut the center using the Nested Elongated Ovals die. Adhere the oval to a yellow card and the negative outer frame using 3d foam.


Die-cut the flowers and leaves from the Garden Party Die. Sponge inks (Marigold, Coral Reef, Passion Fruit, Mint, Emerald City) Adhere to the card. I die-cut some leaves from vellum and adhered them to add some layering. Flick gold paint to this card.


Stamp the sentiment from the Here For You stamps using Detail Black ink, die-cut using the coordinating dies. Die-cut one more sentiment using the Gold Glitter cardstock, adhere behind the stamped sentiment slightly offset. Adhere to the card using 3d foam. Adhere Sparkle and Shine glitter drops around the sentiment and to the flower center I used Clear Gems with gold dust.

For my second card, I used the leaves part of the Garden Party stencil and sponged inks (Sheer Freesia, Soft Lilac) through it.


Adhere this piece to a lilac cardbase. Next, I die-cut inverted scallop from the Stitched Scallop circle die from Glacier Glitter cardstock. Adhere to the card using 3d foam.


Ink (Raspberry Bliss, Hydrangea, Marigold, Mango Sorbet, Mint, Lush Forest) the flowers and leaves using the stencil. Die-cut using the coordinating die. I die-cut some leaves using white cardstock too.


Spray some sparkle frost spritz for subtle shimmer to all the die-cuts. Adhere to the card. Stamp the sentiment from the Here For You stamps using Detail Black ink, die-cut using the coordinating dies. Adhere to the card.

Hope you got some ideas to stretch the stencils.
Have a nice weekend. Thank you for dropping by!
 

Friday, September 13, 2024

Pinkfresh Studio - Shaped Cards and Fun with Vellum

Hello and Happy Friday everyone! I am on the Pinkfresh Studio blog and today I have two shaped cards with fun techniques using vellum. Did you know, it's so easy to foil using the press plates onto vellum? And that we can use Pinkfresh Studio inks to color onto vellum too. It doesn't take much time to dry but if you are in a hurry, simply heat set using the low heat setting.

I love using vellum on my cards and sponging ink to the edges gives beautiful glow to the cards.

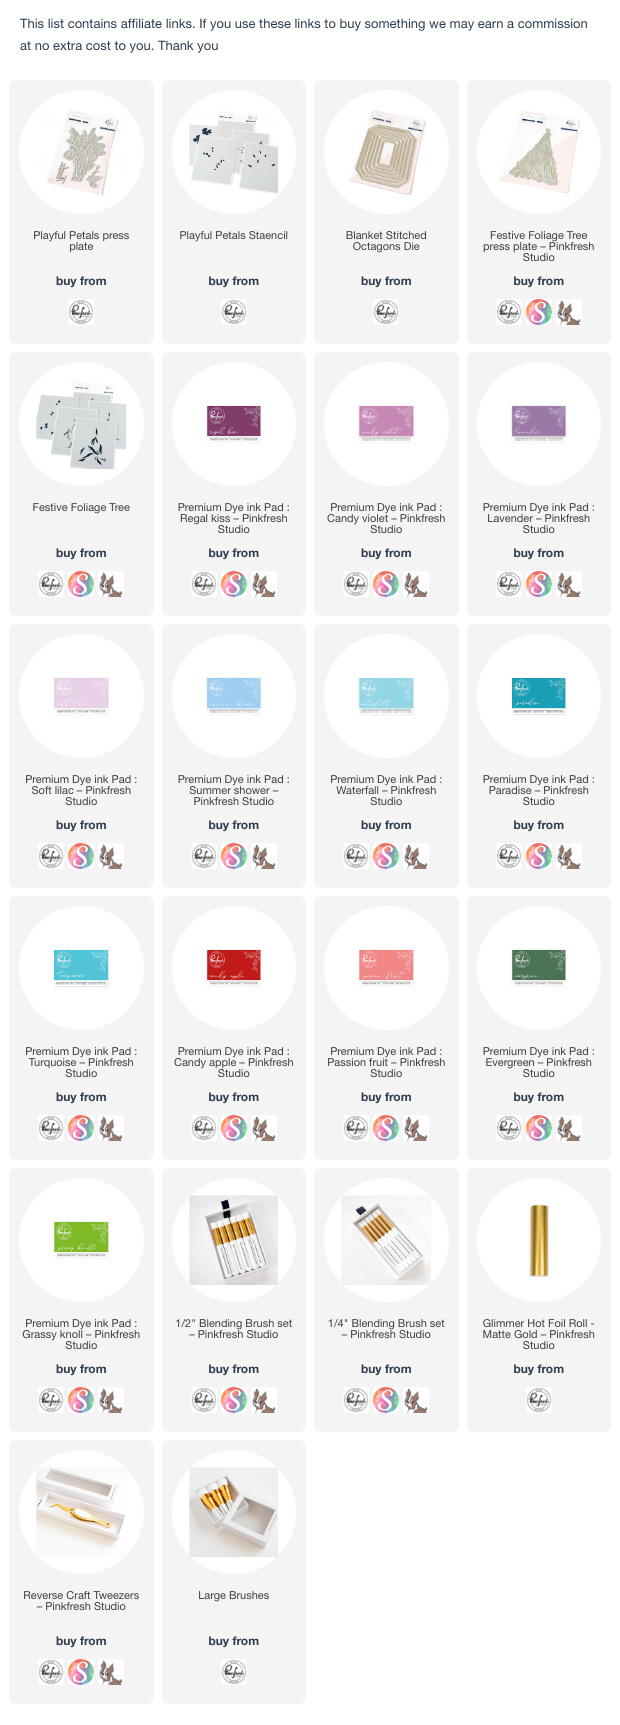
For my first card I used the Festive Foliage press plate to foil the image using Matte Gold foil. Using the coordinating stencils, I added inks ( Grassy Knoll, Evergreen, Passion Fruit, Candy Apple, Turquoise, Paradise) to the image with the 1/2 inch blender brushes.

Next I used the new bigger blender brush and applied Waterfall ink to the outer edges. Die-cut two pieces of white cardstock using the biggest die from the new Blanket Stitched Octagons dies. Score half inch from the top of one piece, add adhesive to the scored part and adhere to the back of the second piece to create a shaped base. Adhere the vellum layer to a white cardstock.

Die-cut a lilac frame using the Blanket Stitched Octagons dies. Adhere to the card using 3d foam.

Stamp the sentiment, sprinkle gold embossing powder and heat set. Adhere the sentiment to the card.

For my second card I used the new Playful Petals press plate to foil the image using Matte Gold foil. Using the coordinating stencils, I added inks ( Grassy Knoll,, Summer Shower, Soft Lilac, Lavender, Candy Violet and Regal Kiss) to the image with the 1/2 inch blender brushes.

Foil and die-cut the sentiment. Adhere to the card.

As for the above card, create the shaped card and assemble everything. Hope you enjoyed the playful vellum.

Thank you for dropping by!