Wednesday, September 9, 2020

Sunny Studio - Hello Interactive Card

Hello everyone! Today I have a fun interactive card using the adorable Scaredy Cat set by  Sunny Studio. I really love this cute image and the first thing came to my mind was to create an interactive card using an action wobbler :)

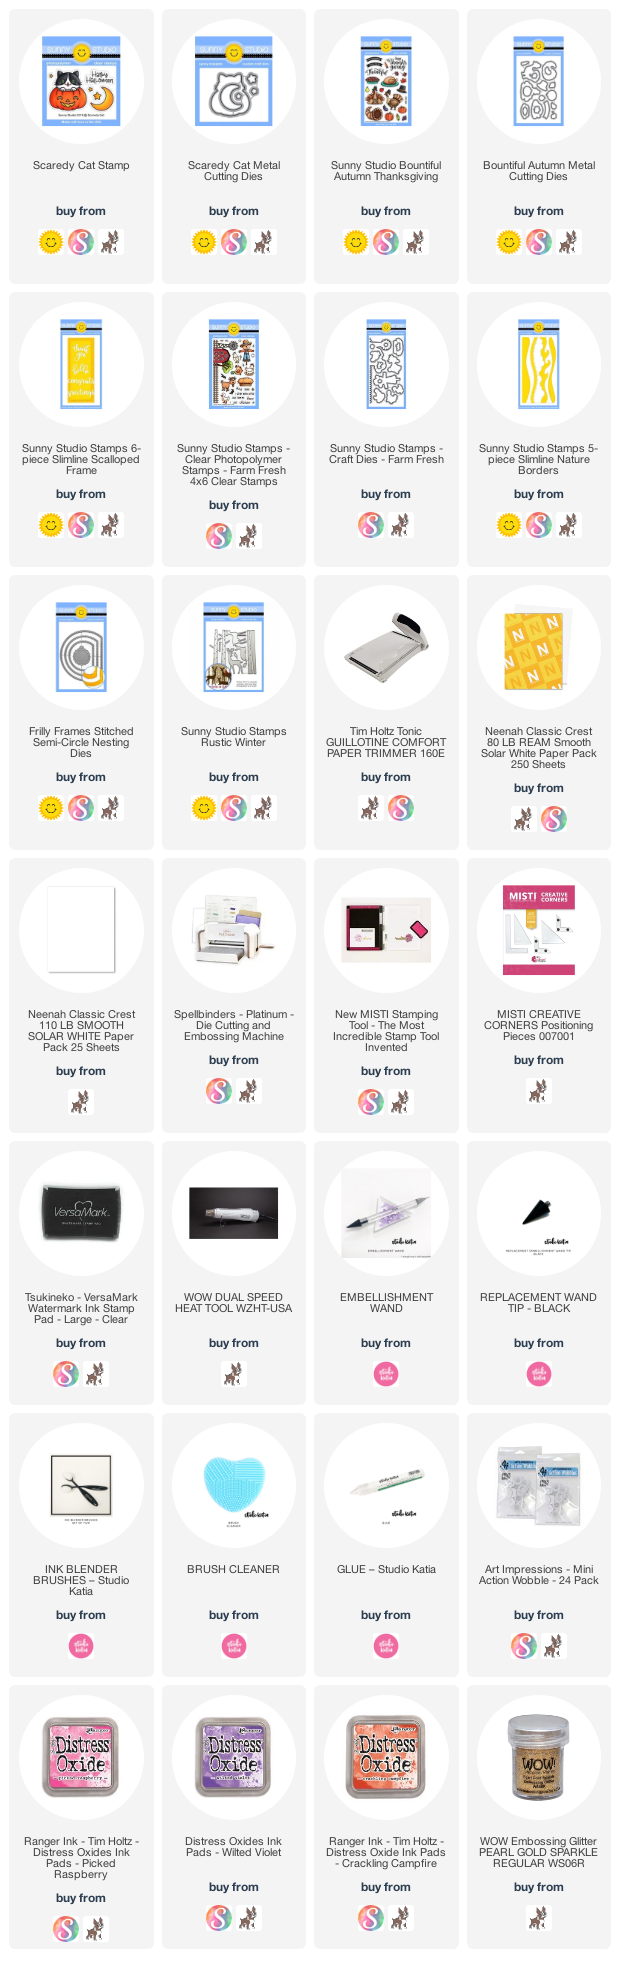
I started by die-cutting the semi circle using Stitched Semi Circle die. I then adhered the white negative  part to the card base. Sponge distress oxide inks to the background. Now I die-cut some birch trees using Rustic Winter Dies. Adhere to the inked piece. Die-cut the grass using the Slimline Nature Borders die. Sponge distress oxide inks.

Stamp the images using Scaredy Cat, Bountiful Autumn, Farm Fresh stamp set onto Neenah card. Color using copic markers and die-cut using coordinating dies.

Adhere the grass to the inked panel and adhere all the images. Adhere mini action wobbler at the back of the cute cat image. Adhere to the card. Adhere this semi circle piece to the card.

Here is the interactive part in action :)


Thank you for stopping by. Have a nice day!

Tuesday, September 8, 2020

Studio Katia - Happy Thoughts Mixed Media Card

 Hello everyone, I am on Studio Katia blog today with this mixed media card.

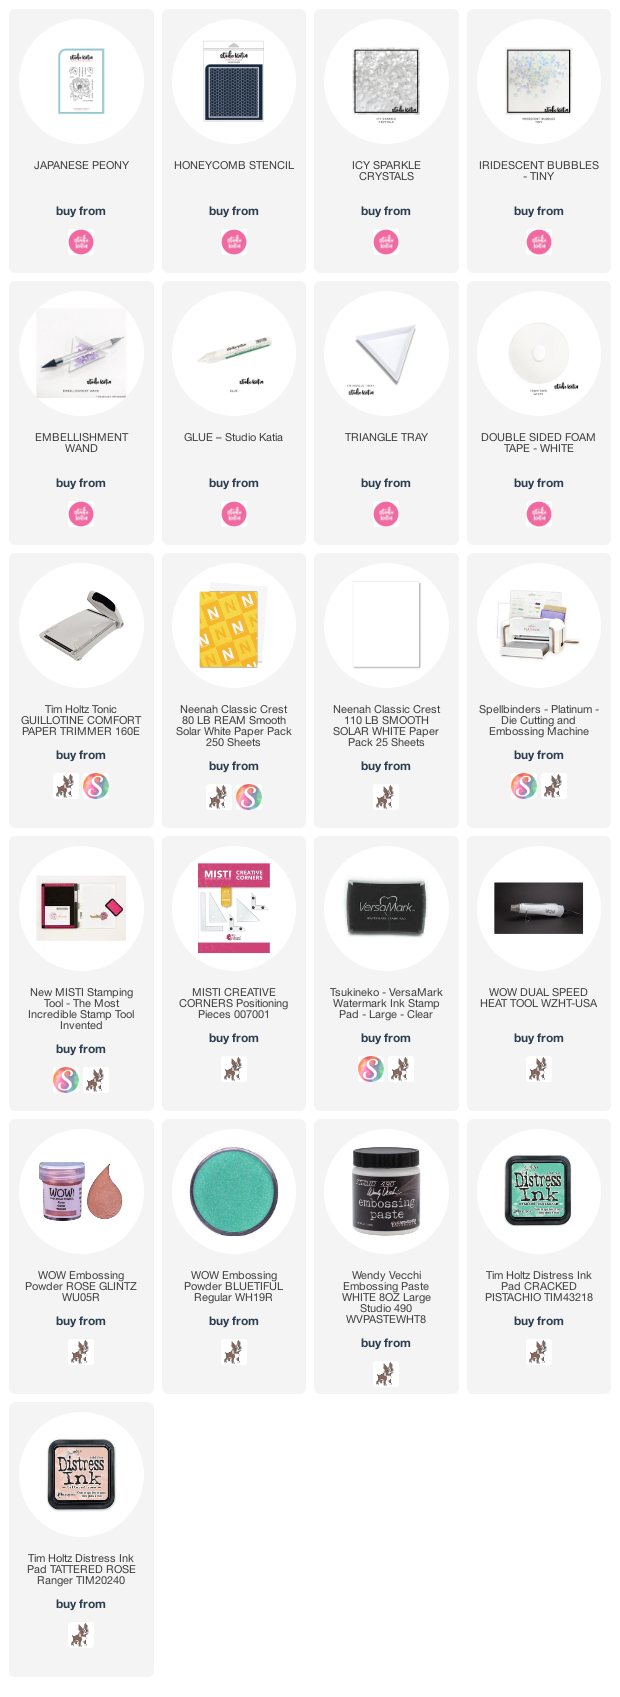
I started by applying some distress inks to the mat layer, let it dry. I then applied embossing paste through the Honey Comb stencil. Sprinkle WOW! Rose Glintz and Bleutiful embossing powder while the paste is still wet. Heat emboss. Apply some white acrylic paint to parts of the background.


Stamp and emboss the beautiful floral and a few extra leaves. Adhere to the card.

Stamp the sentiment onto a watercolor paper stripe and add a touch of cracked pistachio distress ink.
Adhere to the card using 3d foam.

To finish, add some Icy Sparkle Crystals and Iridescent bubbles tiny.

Thank you for dropping by! Have a nice day and stay safe!
 

Wednesday, September 2, 2020

Sunny Studio: Have A Mice Day Card

Hello Everyone! I am on Sunny Studio blog today sharing a no-line watercoloring technique card with you featuring the Harvest Mice Stamp set.
These mice are so so adorable and the coordinating stamps are perfect to create beautiful scenes.


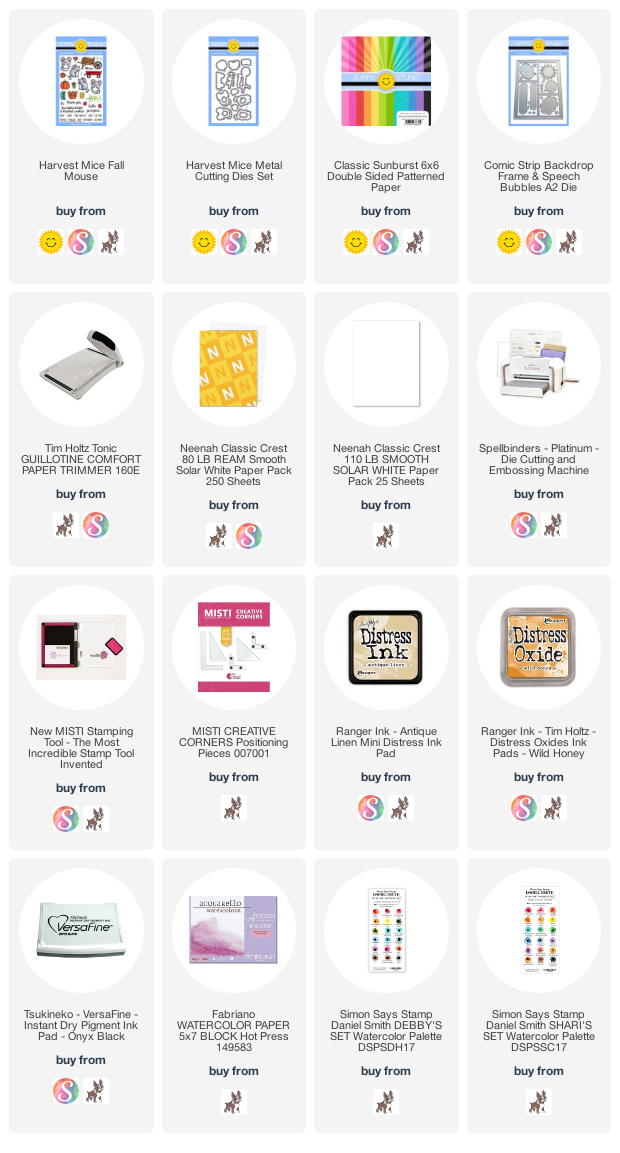
Firstly I stamped the images onto watercolor paper using Antique Linen distress ink. Color them using watercolors. We can get beautiful no-line color look using antique linen ink. Die-cut the images using the coordinating dies.
 
Die-cut the speech bubble die twice, once using white cardstock and second time using the pattern paper. Sponge wild honey distress oxide ink to the white inside parts. flick some ink. 
Adhere the pattern paper die-cut to the kraft cardbase. Adhere the white inside panels. Create the scene using the colored images. I used 3d foam on some of the images to create dimension and more interest.
Stamp the sentiment, die-cut the speech bubble, adhere the grey bubble slightly offset.
Thanks for dropping by!
 

Tuesday, September 1, 2020

WOW! Embossing Powder - Merry Christmas Card

Hello everyone, I am on WOW! Embossing powder blog today. Hope you are enjoying our September challenge over on facebook and the theme is "Christmas". It's perfect time to start on the Christmas cards for sure :) I love lots of sparkle in my cards for the holiday season.


I used Sunny Studio Christmas Trimmings, Classy Christmas, Season's Greetings stamps and dies along with the Fancy Frames Rectangle dies.

To start, I stamped the pine leaves using WOW! slow dry ink and embossed them using the Green Glitz and Aventurine embossing powders. Mix of colors gives additional interest to the image. I die-cut the frame, dabbed slow drying ink and sprinkled Sparkling Snow embossing powder. Heat emboss.


Take a watercolor mat layer and smoosh some watercolors to create the background. Once dry, adhere the pine leaves. Now adhere the frame.

Stamp the berries and die-cut. Stamp the sentiment and emboss it using Metallic Platinum embossing powder, die-cut. Adhere to the mat layer.


To finish, adhere the mat layer to a blue/green card base. Hope you liked my creation. Have a nice day!

Friday, August 28, 2020

WOW! Embossing Powder & Kat Scrappiness Blog Hop

Hello and Welcome to the WOW! Embossing Powder & Kat Scrappiness Blog Hop! We have TWO days of inspiration for you using Kat Scrappiness Stamps, Dies, and Embellishments and WOW! Embossing Powders.
 

I made a fun shaker card with no-line coloring technique.
You should have come here from Priscilla Bergman Joseph's blog. 
 
 
Actually, I have used the Kat Scrappiness products for the first time and I really like them. For today, I used WOW! Atlantica Sparkles in the shaker along with Opaque Bright White ep and Kat Scrappiness - - Lola the Giraffe stamp and die. Thank You with Shadow Die.
I started by szamping the image onto copic friendly paper using antique linen distress ink and colored it using copic markers. I sponged the background and diecut the Thank You using the shadow die. 
I then adhered clear acetate at the back side of this panel and added score tape all around it.

I then put some Sparkles - Atlantica onto the cardbase. Adhere the mat layer to the card. This creates a flat shaker card. I then die-cut the word Thank You, dabbed WOW! clear slow drying ink, sprinkle with Opaque White embossing powder and used the dual heat tool. Adhere the word inside the shadow opening. Adhere the image.


To finish, I die-cut some butterflies, color them with copics and adhere to the card.
 
And of course there are amazing PRIZES!
WOW! Embossing Powders is giving away a $25 Gift Certificate to either their UK or USA Store and Kat Scrappiness is giving away a $25 Gift Certificate to their store. All you need to do to win is COMMENT. The more blogs you comment on the more chances you have to win! The winners will be chosen at RANDOM from ANY of the blogs on the two day hop.

Enjoy the hop and have a nice day!

Tuesday, August 25, 2020

Sunny Studio Stamps: Hello

 Hello Everyone! I am sharing a playful Autumn theme slimline card using some of the new release products.  

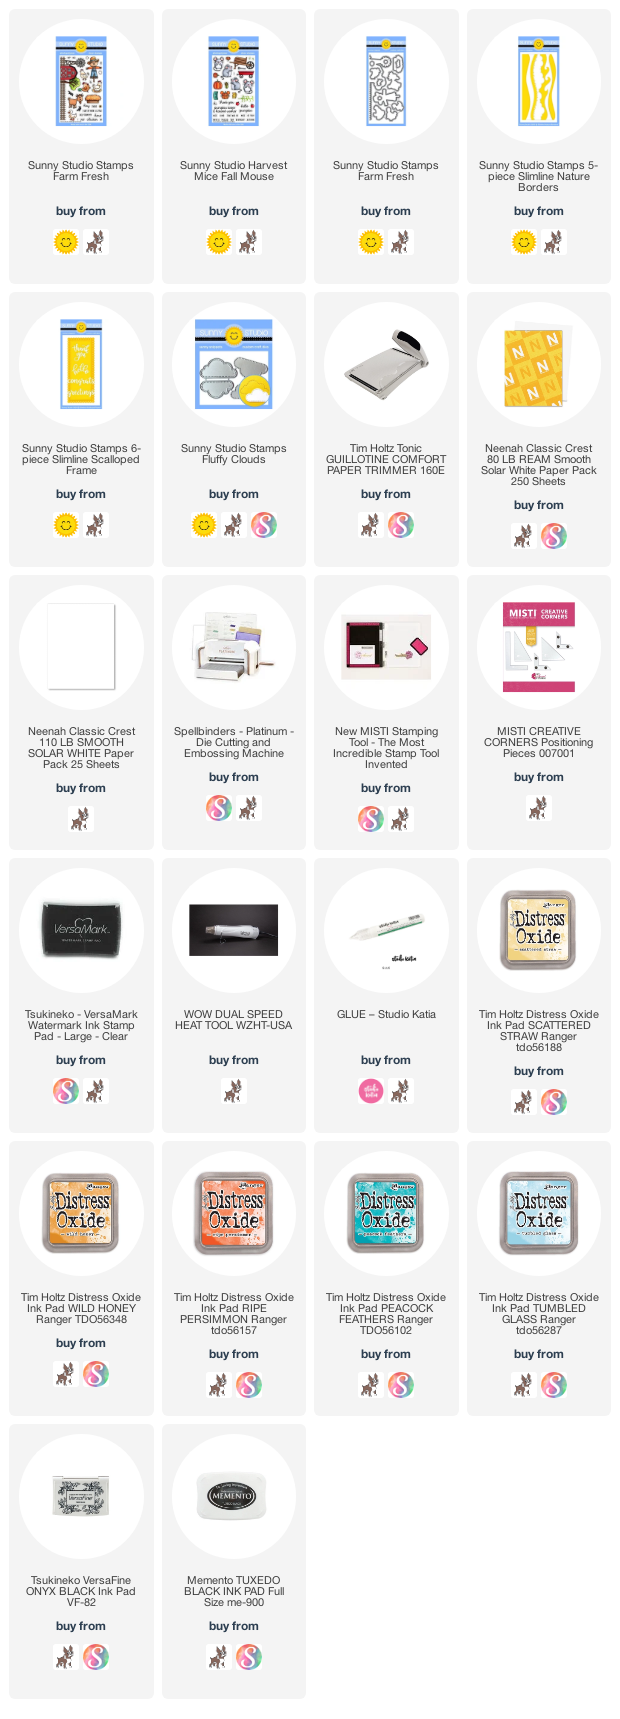
I started by die-cutting the grass and sponged distress oxide inks. Stamp the grass stamp. It’s light color just for texture.

Stamp all the images and color using copic markers. Die-cut using the coordinating dies.


Die-cut the clouds, sponge some distress oxide ink to them.

Die-cut the center panel using the slimline die, sponge shades in blue to create the sky. Adhere the grass panels and the images to this panel. I adhered some of the images using 3d foam too to create some dimension. Mat it using a dark grey panel. Adhere this panel to the slimline scalloped frame card base.


Stamp the sentiment from the Harvest Mice stamp set.

Hope you enjoyed my card as much as I enjoyed creating it :)

Thanks for dropping by!