Tuesday, October 31, 2023

Sunny Studio - Handmade With Love

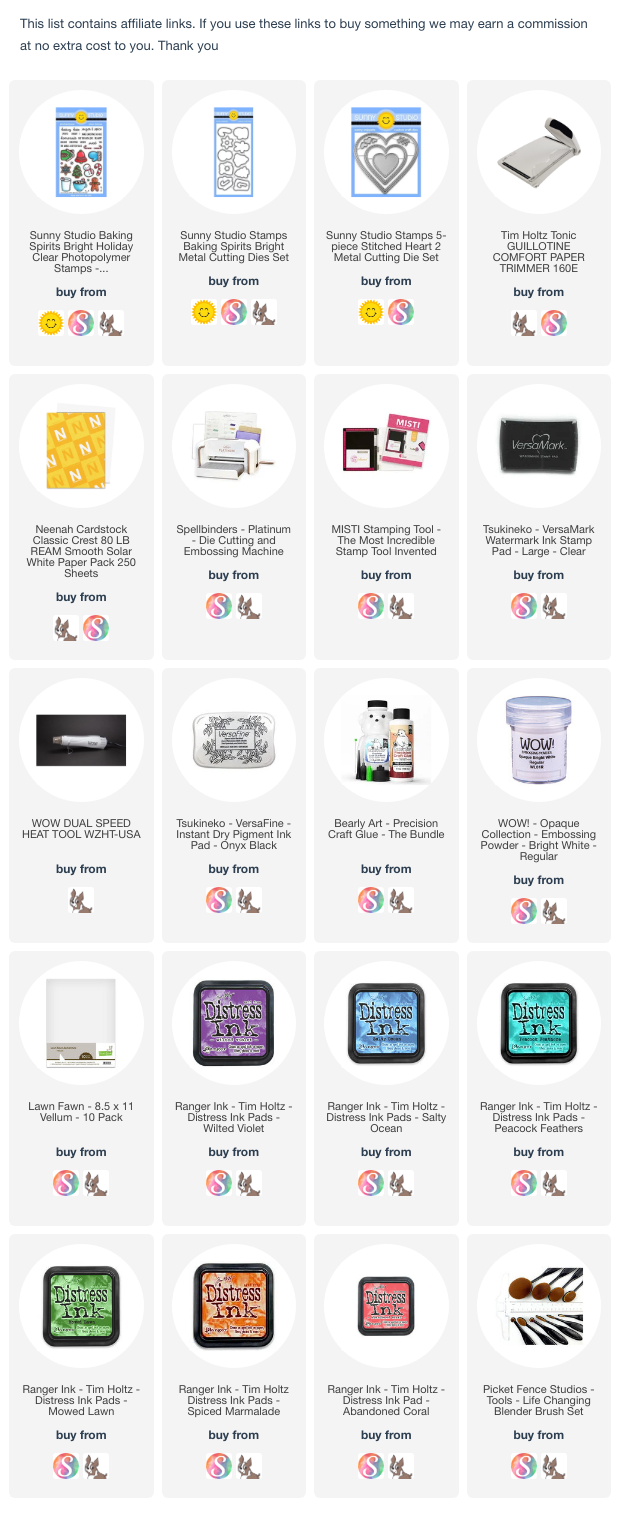
Hello everyone! Today I am on Sunny Studio blog with a CAS card featuring the Baking Spirits Bright stamps and dies. The details of this artistic stamp immediately gave this idea and I am happy it came out exactly as I had imagined. 
 

To start with, I die-cut the images from masking paper using the coordinating dies. Adhere to a white card panel. Sponge distress inks (wilted violet, salty ocean, peacock feathers, mowed lawn, spiced marmalade and abandoned coral) to achieve rainbow effect. Flick gold and white splatters.

Remove the masks. Stamp the images using black ink. Die-cut the heart from vellum twice using the Stitched Heart 2 dies. Adhere the hearts together and adhere to the layer. Stamp the sentiment onto black cardstock using versamark ink. Sprinkle WOW! white embossing powder, heat set.


Cut the stripes and adhere to the card using 3d foam tape.  Thank you for dropping by! Have a nice day.
Monday, October 30, 2023

Spellbinders - My Favorite Person

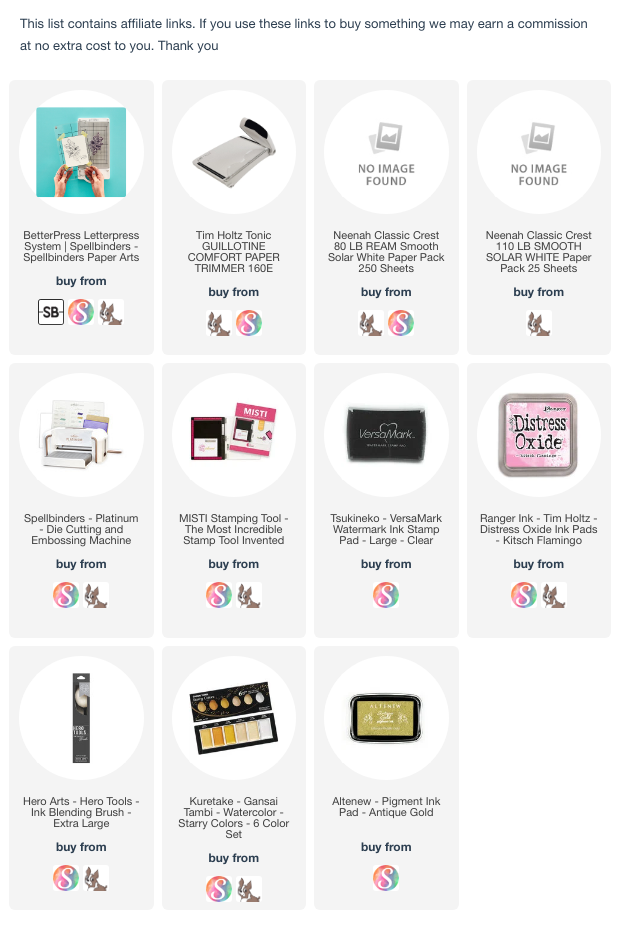
Hello everyone! Today I am sharing a fun watercolor clean and simple card on the new Betterpress by Spellbinders. Now this system comes with everything you need to create the card. Crafty friends in Switzerland can buy it from the Scraphouse shop, which is where I got mine :)

I started by using  the black ink that comes with the box. This system is easy to use and gives a beautiful letterpress look, which is difficult to share in the photos.

I did everything as per the instructions to get the impression.

I used my Daniel smith watercolors to color in the image and a soft wash in the background. You can use any watercolor you have. I have added Altenew Artist pan set which I use frequently.

To finish, I adhered this panel to a dark red cardbase. I also made a REEL for this card,  I will add it to the my instagram: ishagupta_ig

Here is the link for the YouTube video for a bit longer version


Have a nice day and thanks for dropping by!

Monday, October 2, 2023

Spellbinders - Congratulations Card

Hello everyone! Isha here sharing a pastel with subtle glimmer clean and simple card featuring the new Betterpress by Spellbinders. If you are in Switzerland, then you can buy from Scraphouse SHOP.

Now this system comes with everything you need to create the card. I decided to use a gold ink instead of the black ink that comes with the box. This system is easy to use and gives a beautiful letterpress look, which is difficult to share in the photos.

I did everything as per the instructions to get the impression. I then die-cut it with a scalloped edge die.

I used kitsch flamingo distress oxide ink to add some color to the two corners, stamp the sentiment and flicked some gold splatters to the panel.


To finish, I adhered this panel to a white cardbase. I also made a REEL for this card, however, I only could capture some part of the process. I will add it to my instagram account ishagupta_ig

Have a nice day and thanks for dropping by!

Friday, August 25, 2023

Sunny Studio 8th Birthday Blog Hop

Hello everyone and welcome to celebrate the 8th. birthday of  Sunny Studio with us. We are celebrating today with a lovely blog hop full of inspiration using the newly released products. 
Huge congratulations Mendi, you always come up with lovely releases and products every single time.
 

 You might have come here from Caly Person's blog. 
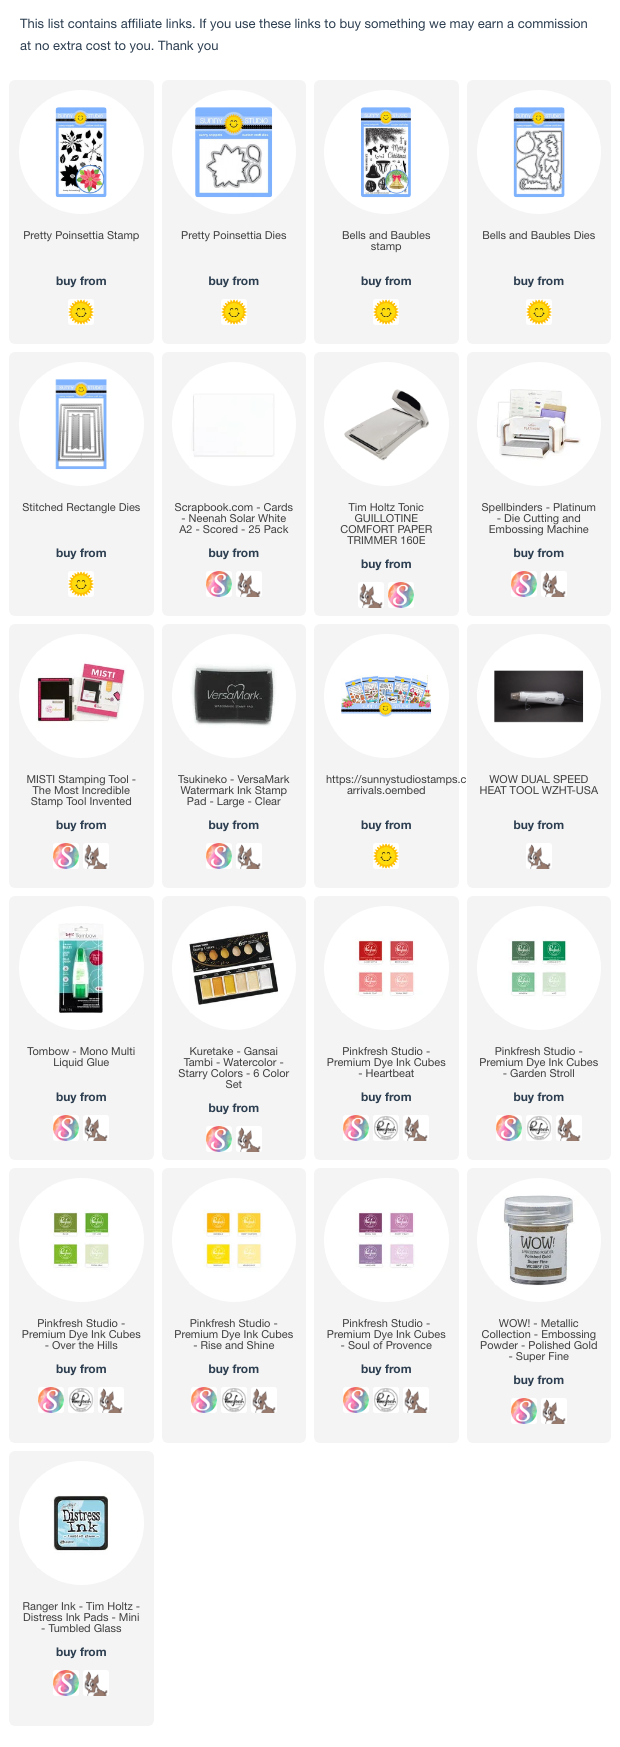
For my card, I am featuring the Pretty Poinsettia layering stamps and also the Bells and Baubles. 
 
 
I started by die-cutting a frame using the Stitched Rectangle dies. Next I sponged tumbled glass distress ink to the inside white panel to the top and bottom. Flick gold paint. Adhere the panel to a teal cardbase. Adhere the frame using 3d foam. Stamp the pine needles, Bell, bow from the Bells and Baubles stamp using various inks by pinkfresh studio. I will add them to the supply list below. Next I stamped the poinsettia from the Pretty Poinsettia stamp set. The layers are easy to allign and the results are gorgeous.
 

 Adhere all the images to the card using liquid adhesive and 3d foam. Stamp the sentiment using versamark ink, sprinkle WOW! gold embossing powder, heat set. Die-cut the sentiment 4 more times from white card and stack them all together. Adhere to the card.


 Sale Details:
Sunny Studio will be offering 20% off Sunny Studio branded products (excluding clearance and new release products) using discount code EIGHTYEARS at checkout through August 29th. Limit one discount code per order. They will also automatically include a free mini snowflake die on all orders. 


Prizes:
Sunny Studio is also offering a $25 gift code for each of the stop on the hop. All you have to do is comment till Monday, August 28th. Mendi will announce all winners on the Sunny Studio blog on Friday, September 1st, and will email all the winners their shopping codes directly.

Thank you for dropping by! The next stop on the hop is Bobbi Lemanski's blog
 
Full hop list
 

Wednesday, March 15, 2023

Sunny Studio - Baby Interactive Box Card

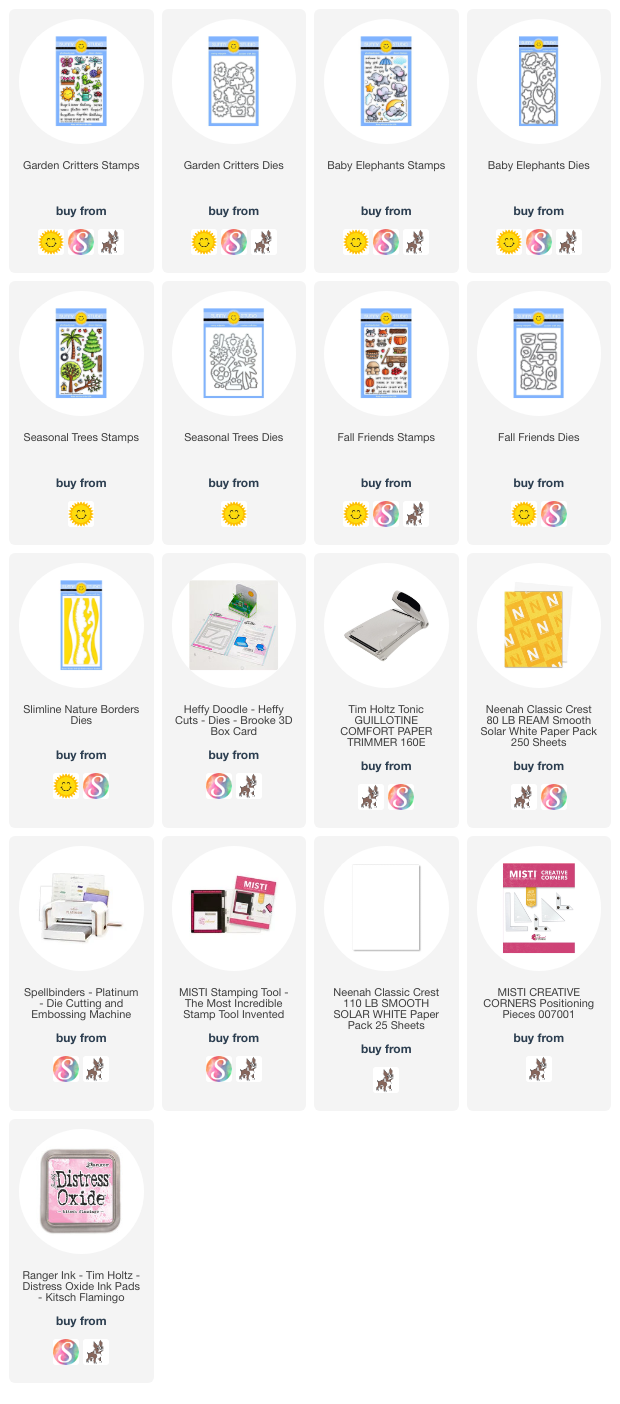
Hello everyone!  I am on Sunny Studio blog with a fun Baby card featuring the Garden Critters stamps and dies. These cute critters are so much fun for a baby card and it was so easy to incorporate other products from the previous releases.

I started by creating the back panel of the box by sponging some clouds using kitsch flamingo distress oxide ink through a cloud stencil. Flick pink and white inks. I used Heffy Doodle Brooke 3D box card die.

Next I die-cut the grass using the Slimline Nature Border dies. Adhere to the inside layer panels of the box. Next I stamped the images, color and die-cut using the coordinating dies.

Rest of the images - Garden Critters stamp and dies

Tree and the Log - Seasonal Trees stamp and dies

Elephant and the sentiment - Baby Elephants stamps and dies

Mushrooms - Fall Friends stamp and dies

Adhere the images to the box. Stamp the sentiment. I adhered the bees using a stripe of acetate for the feeling of them floating.

Here is how it looks in action


Thanks for dropping by and have a nice day!


Tuesday, March 7, 2023

Sunny Studio - Happy Birthday Card

Hello everyone! Today I am on Sunny Studio blog with a  CAS floral card featuring the Big Bold Greetings stamps and dies. These sentiments are really lovely with beautiful fonts and size.


I started by  sponging squeezed lemonade distress ink to a white panel. Flick some water and white paint. I then stamped the tulips and leaves from the Tranquil Tulips stamp set, it has got layering stamps for beautiful results. Die-cut using the coordinating dies. 

Adhere the inside of the Fancy Frame Rectangle to the white panel. Adhere this panel to a pink cardbase.

Adhere the images. Stamp the word "Happy Birthday" from the Big Bold Greetings stamp set using versamark ink, sprinkle WOW! oiled slate embossing powder. Heat set and die-cut using the coordinating dies. Die-cut the word using dark pink card, stack this behind the embossed sentiment slightly offset.

Adhere to the card. Thank you for stopping by and have a nice day!