
Hello everyone! I have a Christmas Card featuring all of the newest Slimline dies over on Sunny Studio blog today.
Slimline dies are very popular at the moment, so I am thrilled that Sunny Studio introduced these dies! and the best part is to have the various borders and the nature borders dies as well.

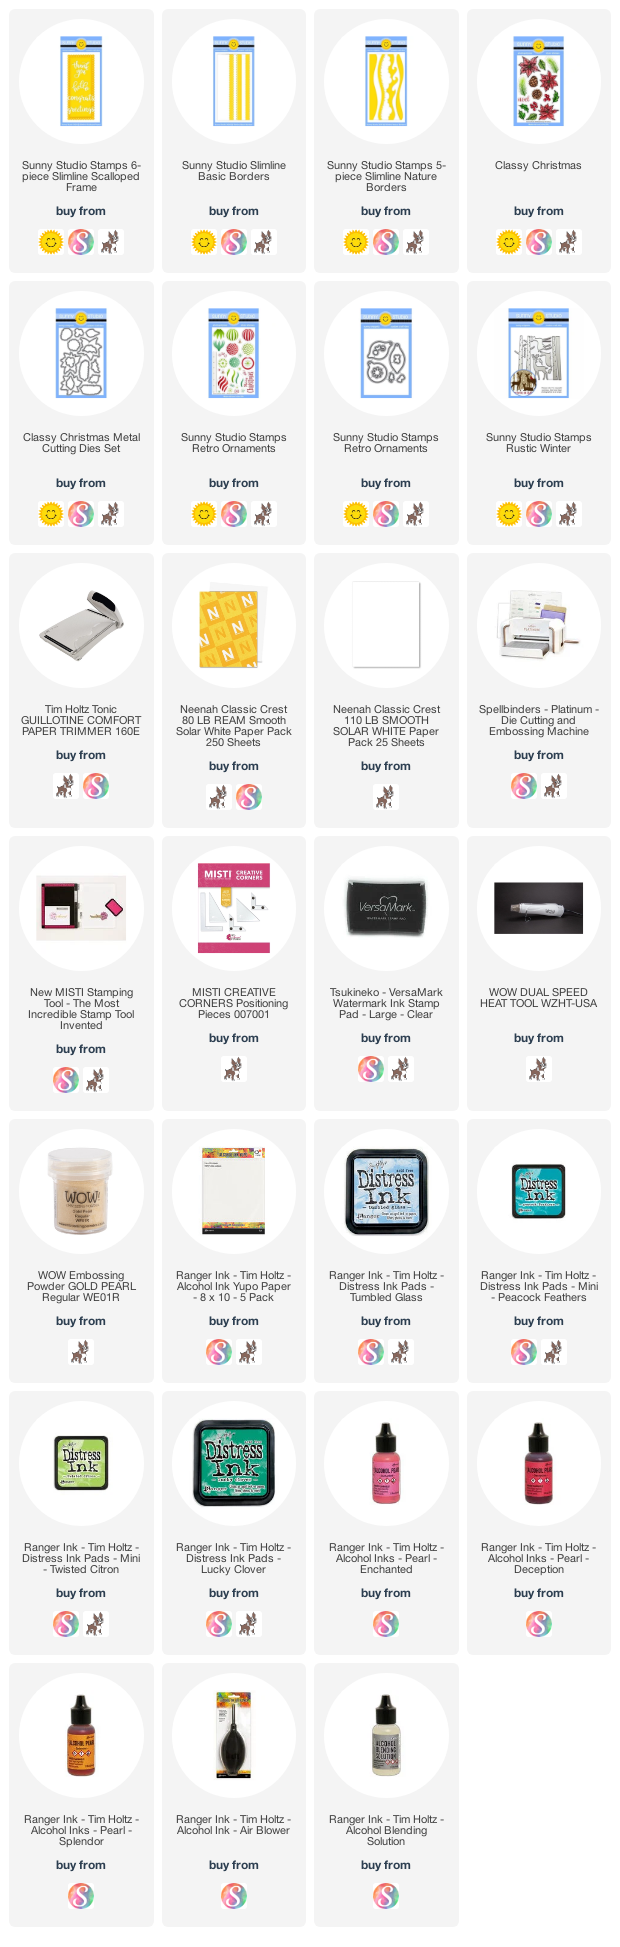
I started by die-cutting the main mat layer using the Slimline Scalloped Frame die. I sponged it using tumbled glass distress ink towards the top. I then die-cut some clouds and snow hills using the Slimline Nature Border dies. I sponged the edges of these using distress ink. Flick some iridescent watercolor, distress ink to all these panels and let dry.
I then die-cut the borders using the Slimline Borders die and colored them using copic markers to match my ornaments. Adhere to the mat layer.
Die-cut some trees from the Rustic Winter Dies. Adhere to the layer and then adhere the clouds and the snow hills. apply some stickles.
I then took Tim Holtz yupo paper and added some pearl alcohol ink, let dry. I then stamped one of the layer of the baubles using Retro Ornament stamp with versamark ink, sprinkle WOW! gold pearl embossing powder and heat emboss. Die-cut the baubles using coordinating dies.

Finally, I stamped the fir leaves using distress inks in various shades of green and peacock feathers using Classy Christmas Stamp set. Add some water using a damp brush. Die-cut using the coordinating dies.

Stamp and emboss the sentiment onto vellum. Assemble everything together.
Hope you enjoyed this project. Thank you for dropping by! Have a nice day!!
No comments:
Post a Comment